🏜️ Welcome to Arrakis: Your Ultimate Beginner's Guide to Surviving Dune: Awakening | Sietch Watermaster


"We Don't Hope, We Plan."
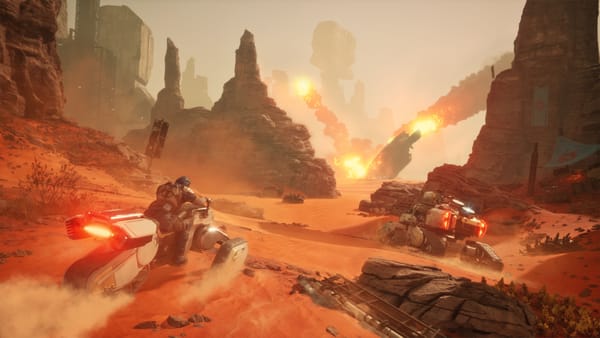
Welcome, brave adventurer, to the harsh sands of Arrakis—a perilous world where every step you take can mean life or death. Dune: Awakening isn't your typical MMO survival experience; it’s a place where strategic thinking and precise actions matter far more than brute force. Whether it’s dodging the insatiable hunger of massive sandworms, mastering water discipline beneath a relentless sun, or skillfully managing scarce resources, survival here is no small feat.
This guide is your essential companion, designed specifically for new players looking to understand and thrive in this unforgiving desert world. From your very first moments, I'll show you how to leverage critical strategies, efficiently unlock life-saving gear, and navigate around the unique hazards that Arrakis throws your way. Armed with the right knowledge, you'll not only survive—you’ll master the secrets of the sands.
Ready to conquer the desert, outrun the worms, and thrive where others fail? Let’s dive in and begin your journey into Dune: Awakening.
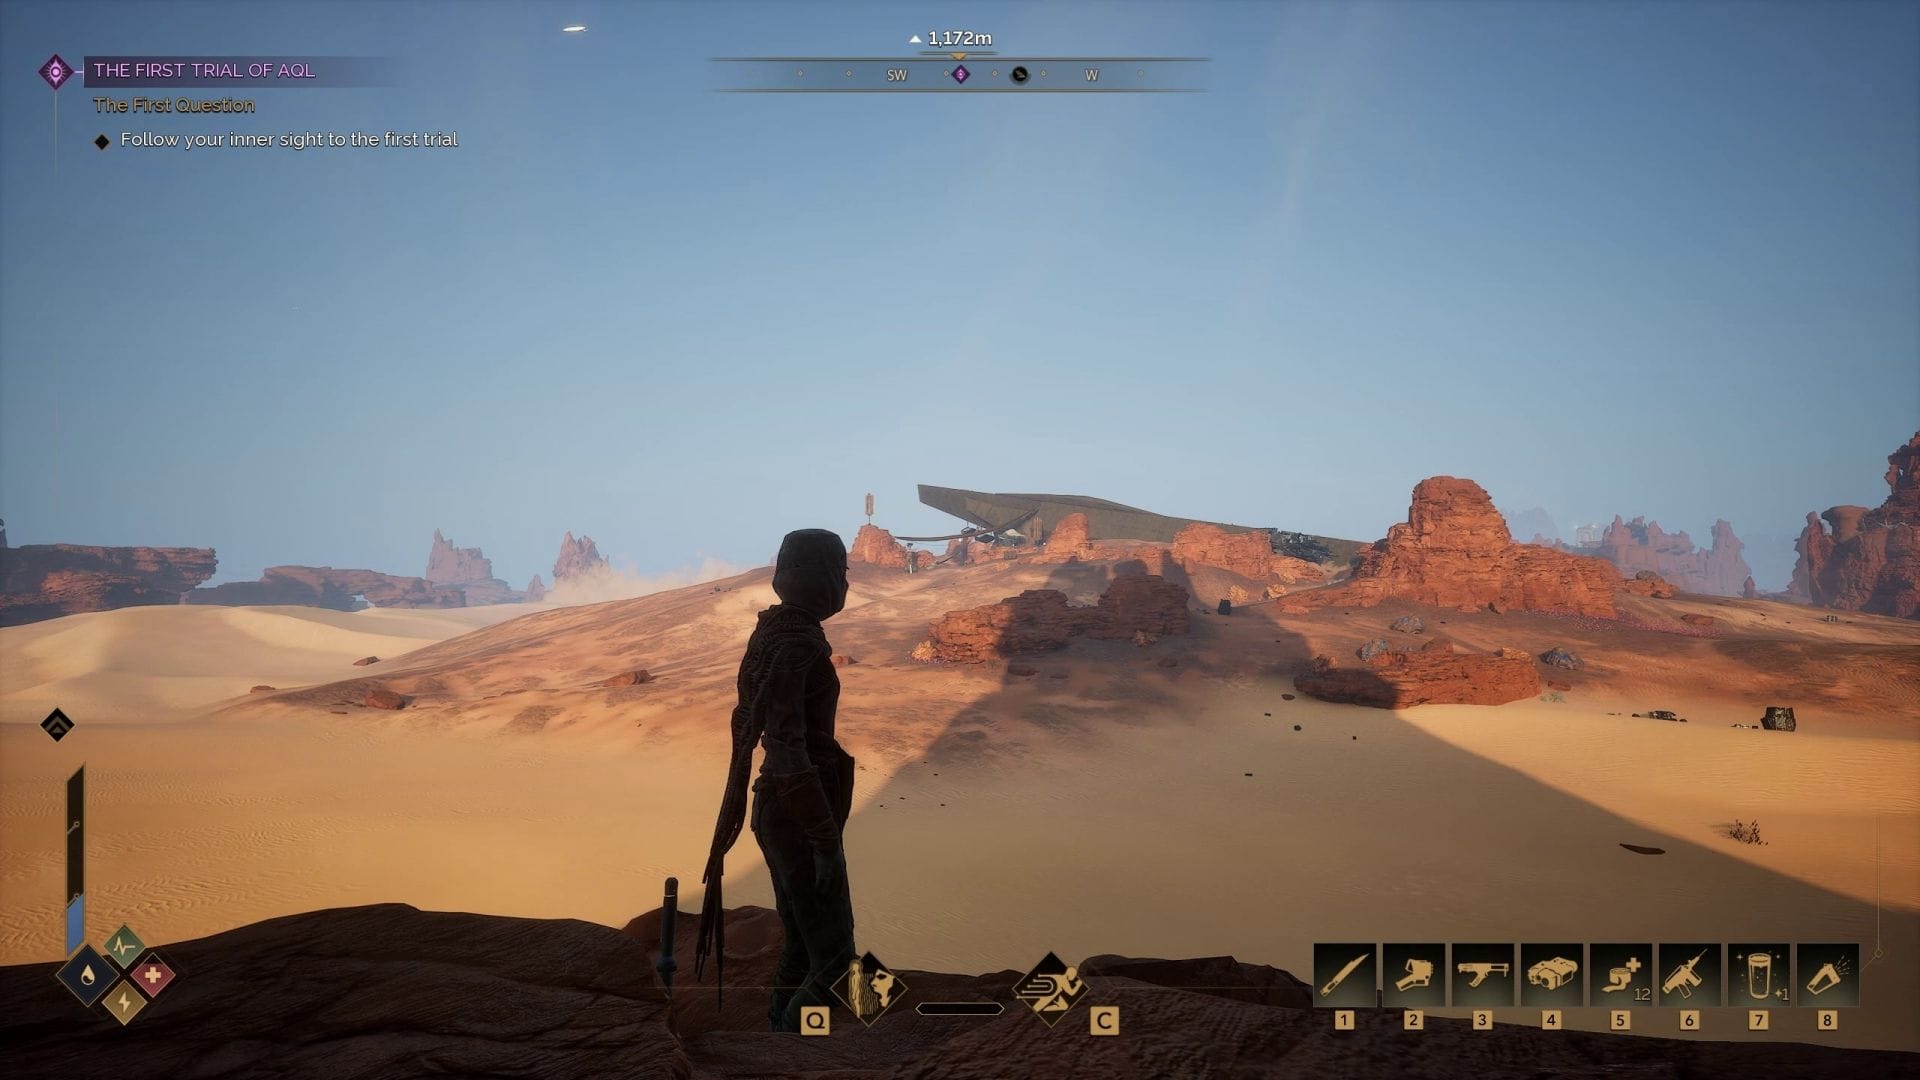
🔭Make Survey Probes your first exploration priority in any new region
When you enter a new region in Dune: Awakening, the map is initially hidden by fog of war. Although walking around will gradually uncover it, the fastest way to reveal the entire region is by using a Survey Probe.
You receive the Survey Probe Launcher and the Survey Probe early in the game—once you have a Fabricator at your base, crafting more probes is cheap and easy. Each probe requires just 1 Copper Ingot to craft.
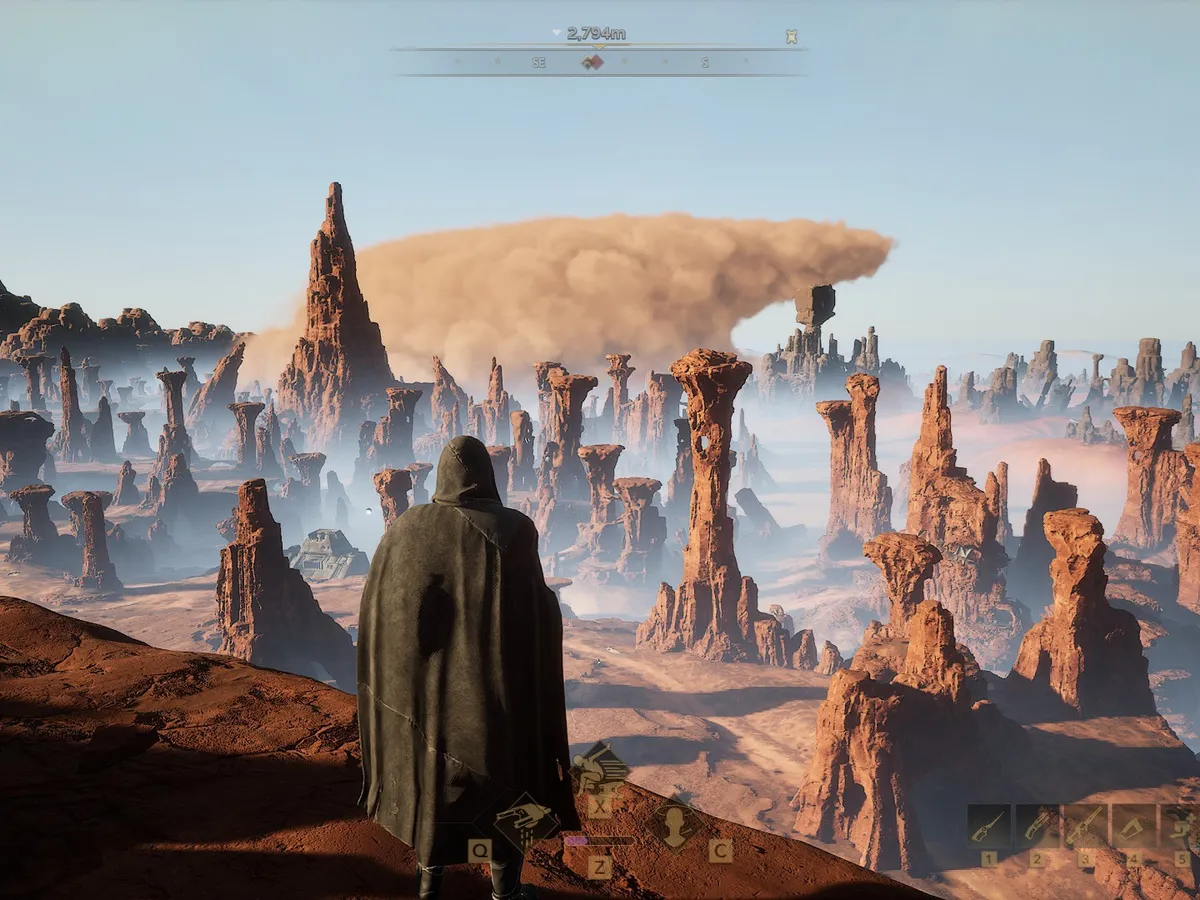
However, you must fire the probe from a high vantage point—mountain tops, tall rock formations, or cliff edges—to activate a full scan.
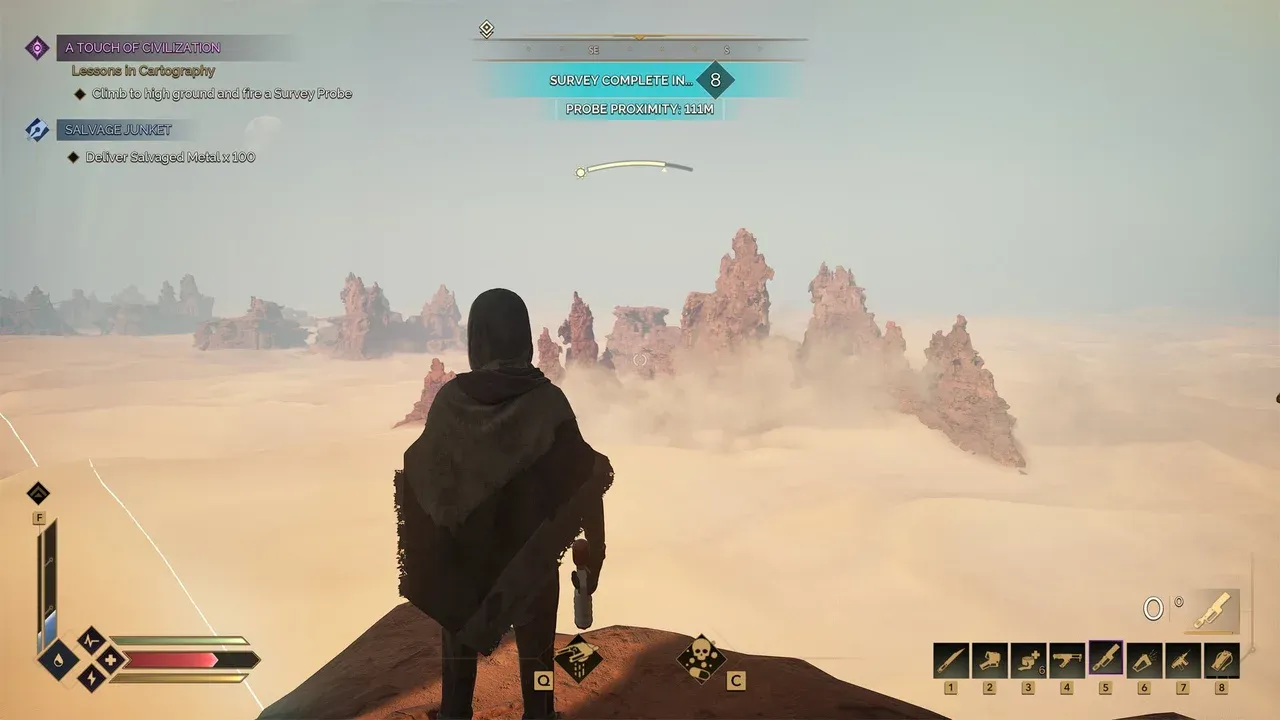
Once launched, the Survey Probe reveals all major Points of Interest (POIs)—outposts, wrecks, mining sites, Tradeposts, and Testing Stations—for that entire region. It does not reveal smaller scavenger camps, and it can only be used once per region.
✅ Best-Practice Workflow
1. Build or upgrade your Fabricator, and craft a Survey Probe Launcher and multiple probes.
2. Upon entering a new region, leave your base gear parked.
3. Take a sandbike and scout for a suitable high-point.
4. Climb up, equip the launcher, aim upward, and fire to initiate a region-wide survey.
5. Once the map is revealed, plot your route to missions, camps, and resources with full spatial awareness.
Using the survey probe strategy not only speeds up navigation—it helps you avoid hazards like sandworms and storms, plan efficient routes.
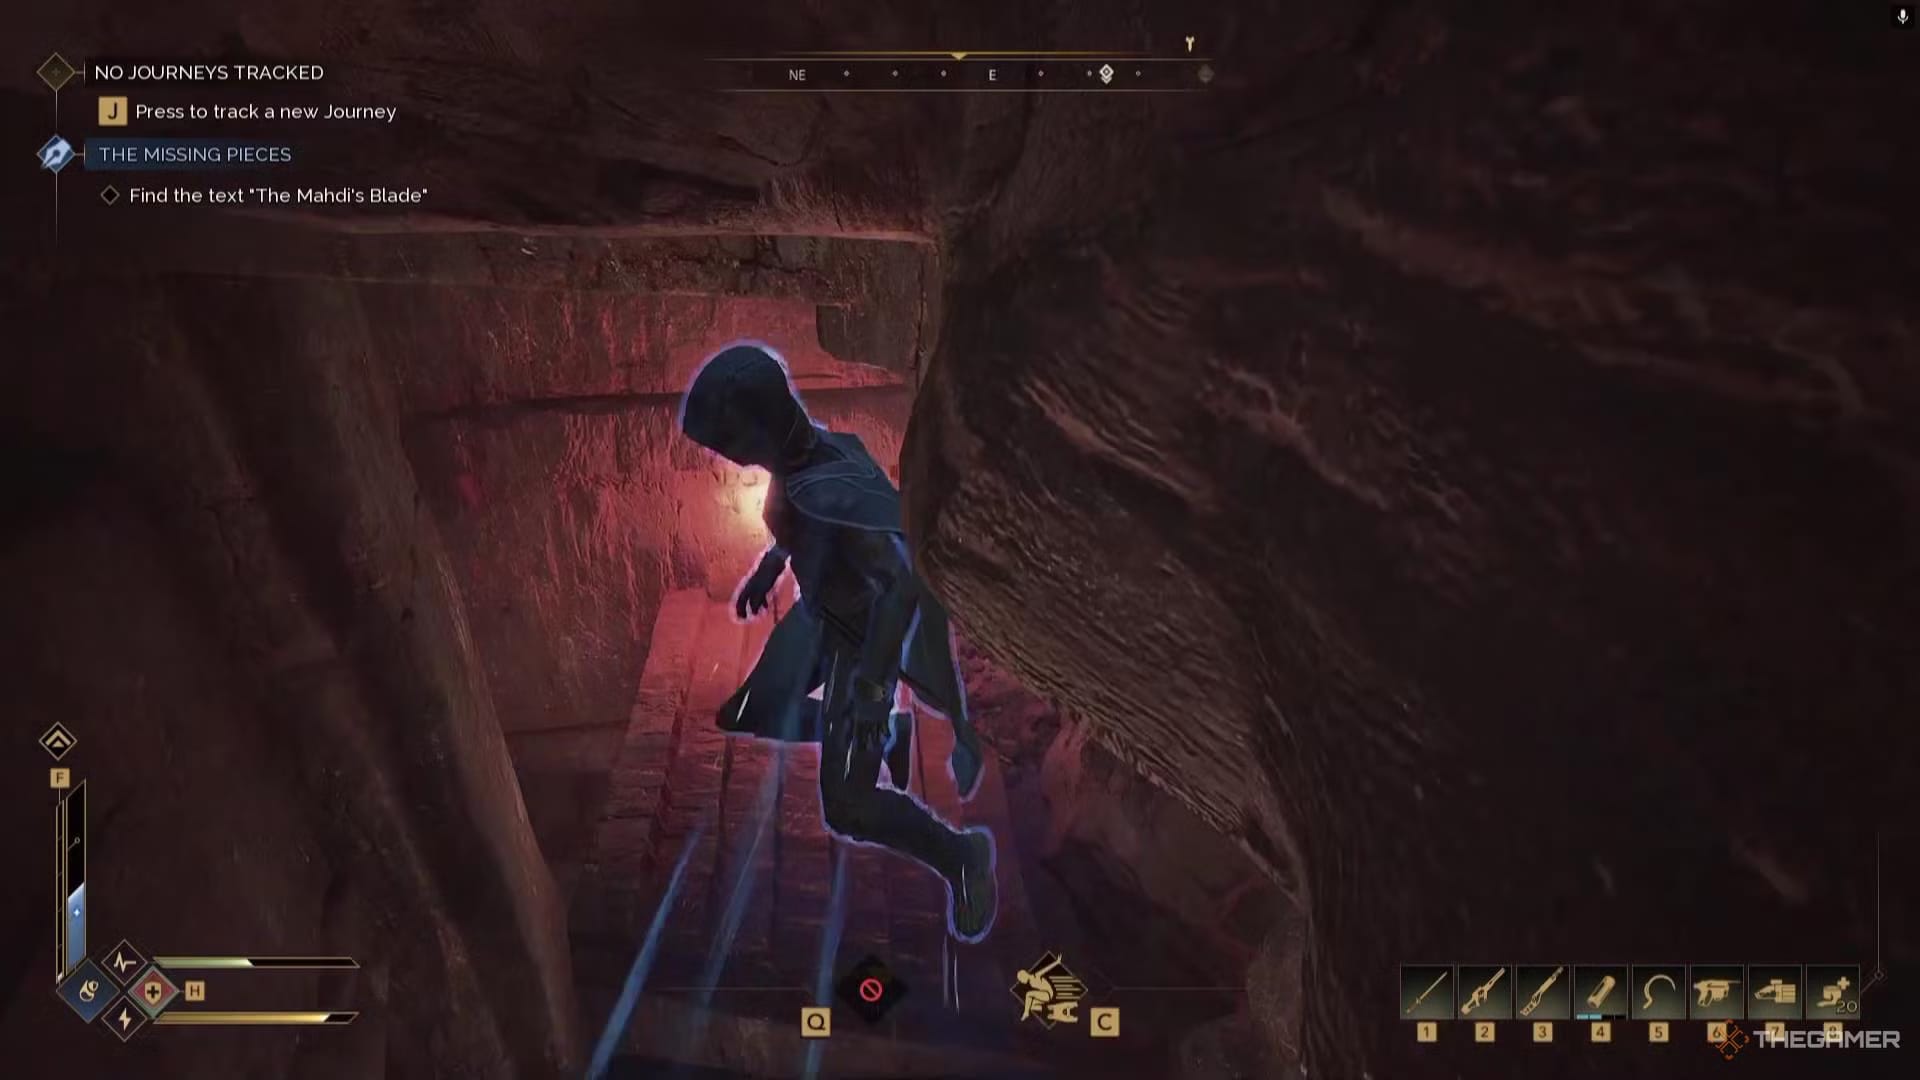
🧗Climb often. It allows for unconventional strategies.
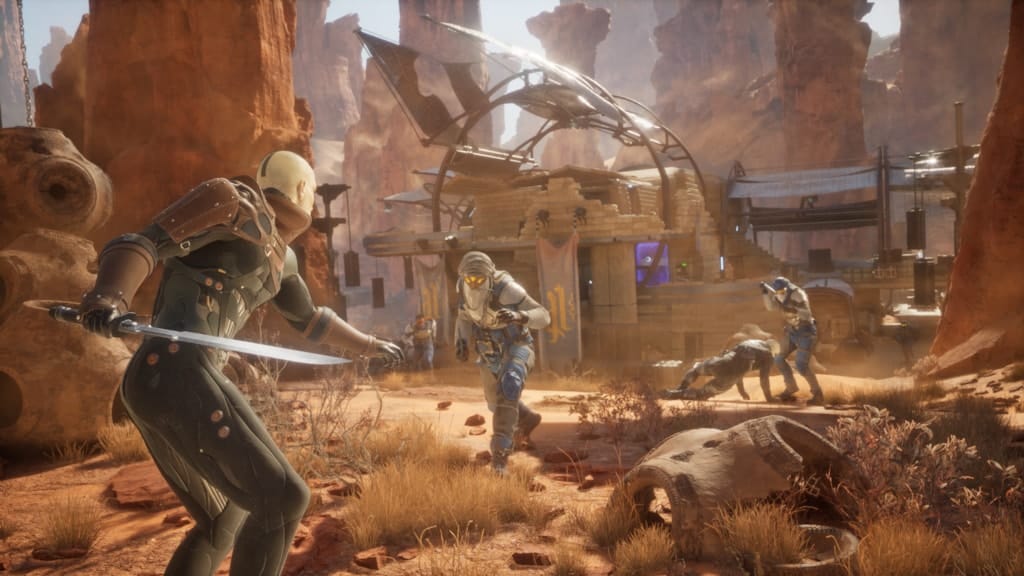
While certain dangerous zones in Dune: Awakening funnel you into confined spaces like underground complexes, open areas—such as bandit camps and hostile territories—offer greater freedom in your approach.
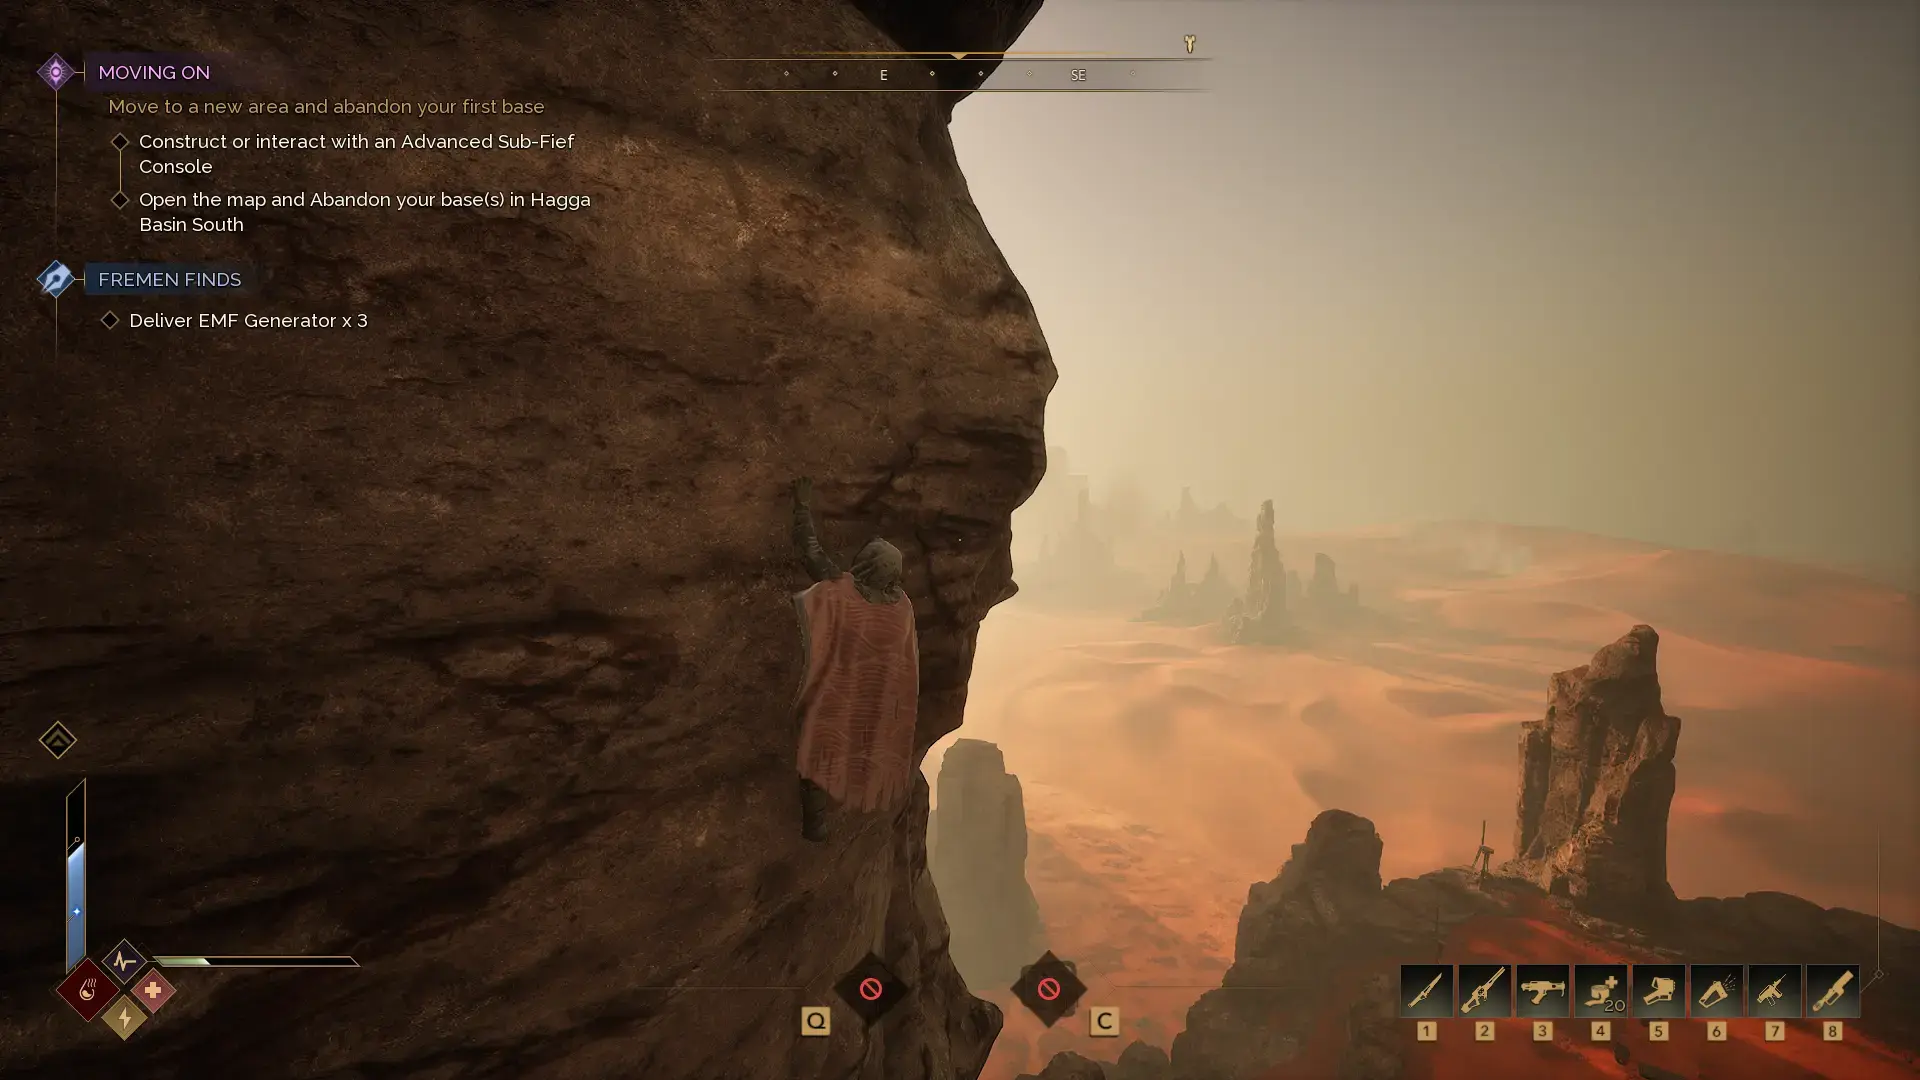
Instead of marching straight through obvious paths and doorways, consider scouting for alternative entrances or overlooked escape routes.


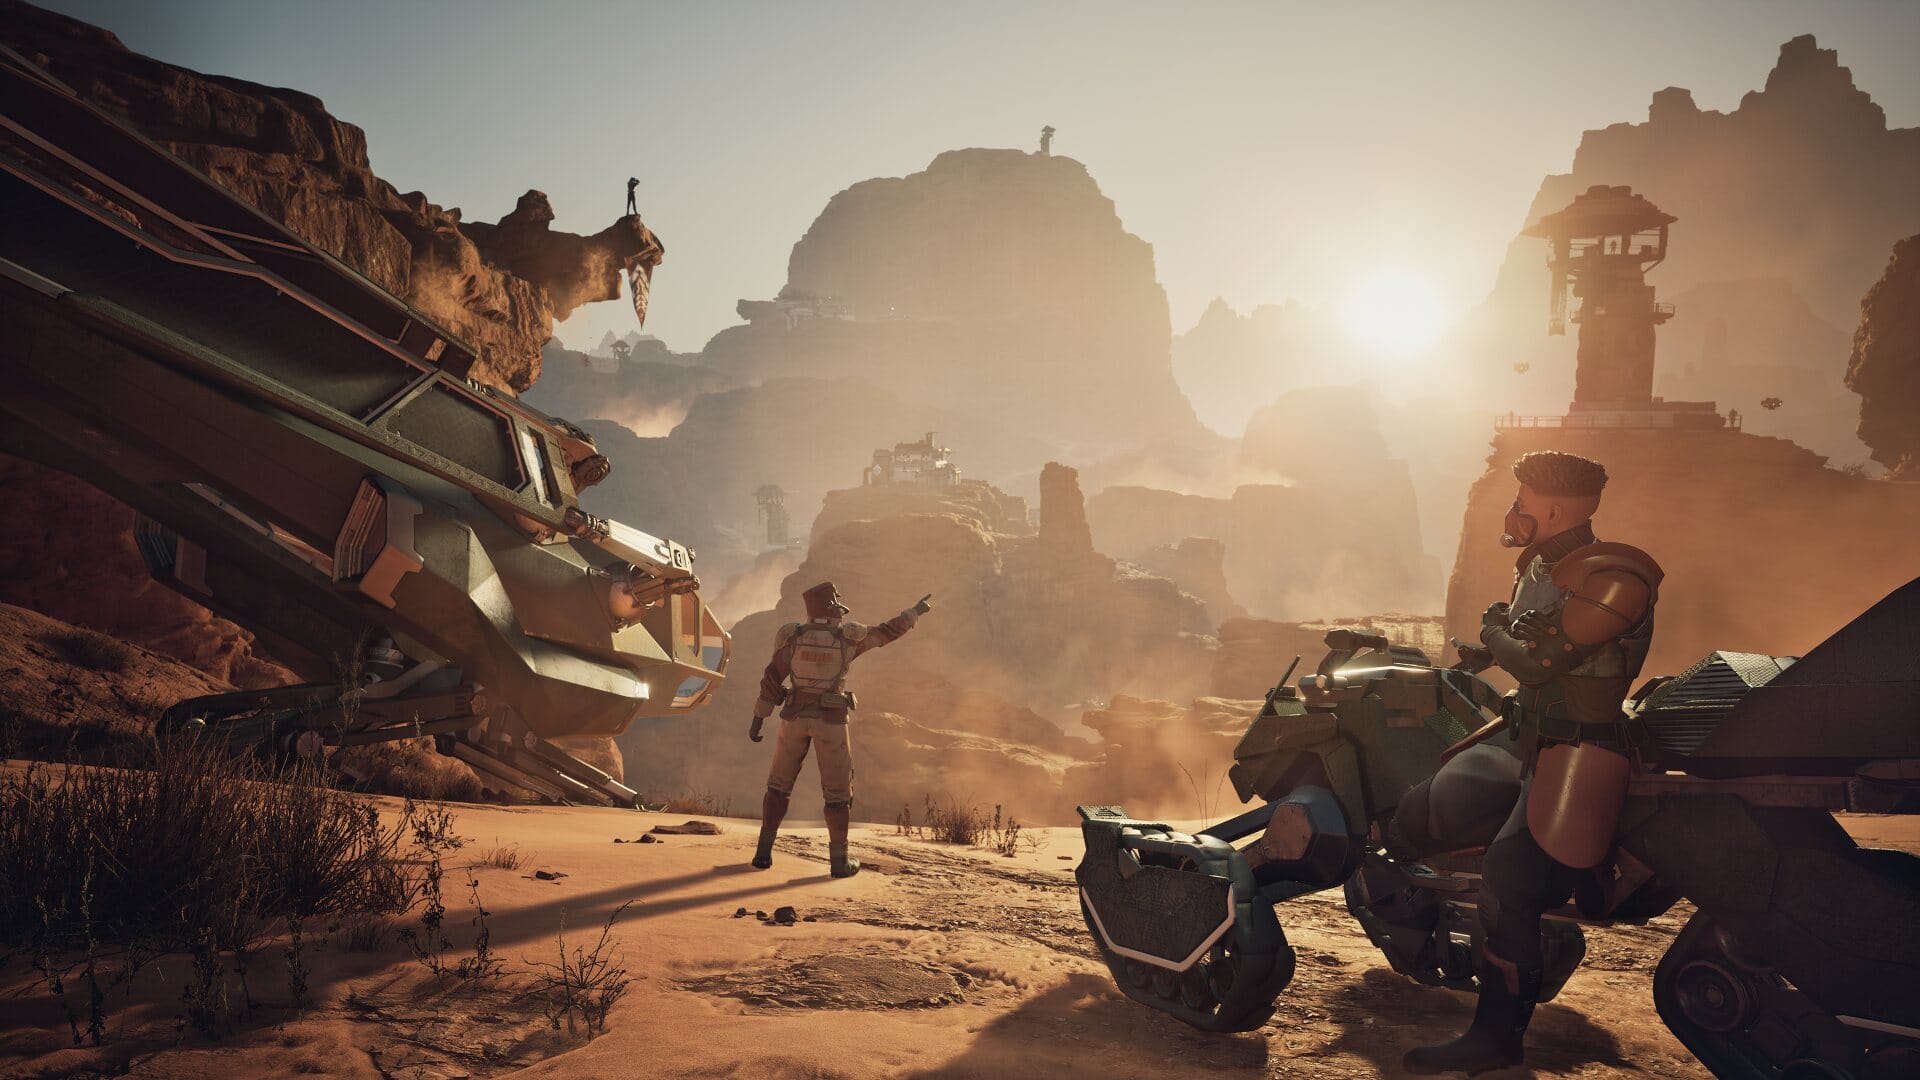
Good reconnaissance can help you find paths in you would not have seen. (Image source: Funcom)
Look for how many Scavengers there are. Also look for any visible loot, such as chests and glowing colored ID bands which in turn unlock treasure-filled rooms.
🔫Ignore your starting pistol for a while.
Zantara emphasizes ranged weapons early on, but they're disappointingly weak during much of your initial adventure, even with headshots. The Improvised Maula Pistol is just too ineffective.
In most cases, knife attacks are quicker and more reliable—especially if you're only facing one or two enemies at a time. Save ranged combat for later: once you've upgraded to a stronger firearm, you'll find guns significantly more effective against unshielded foes.
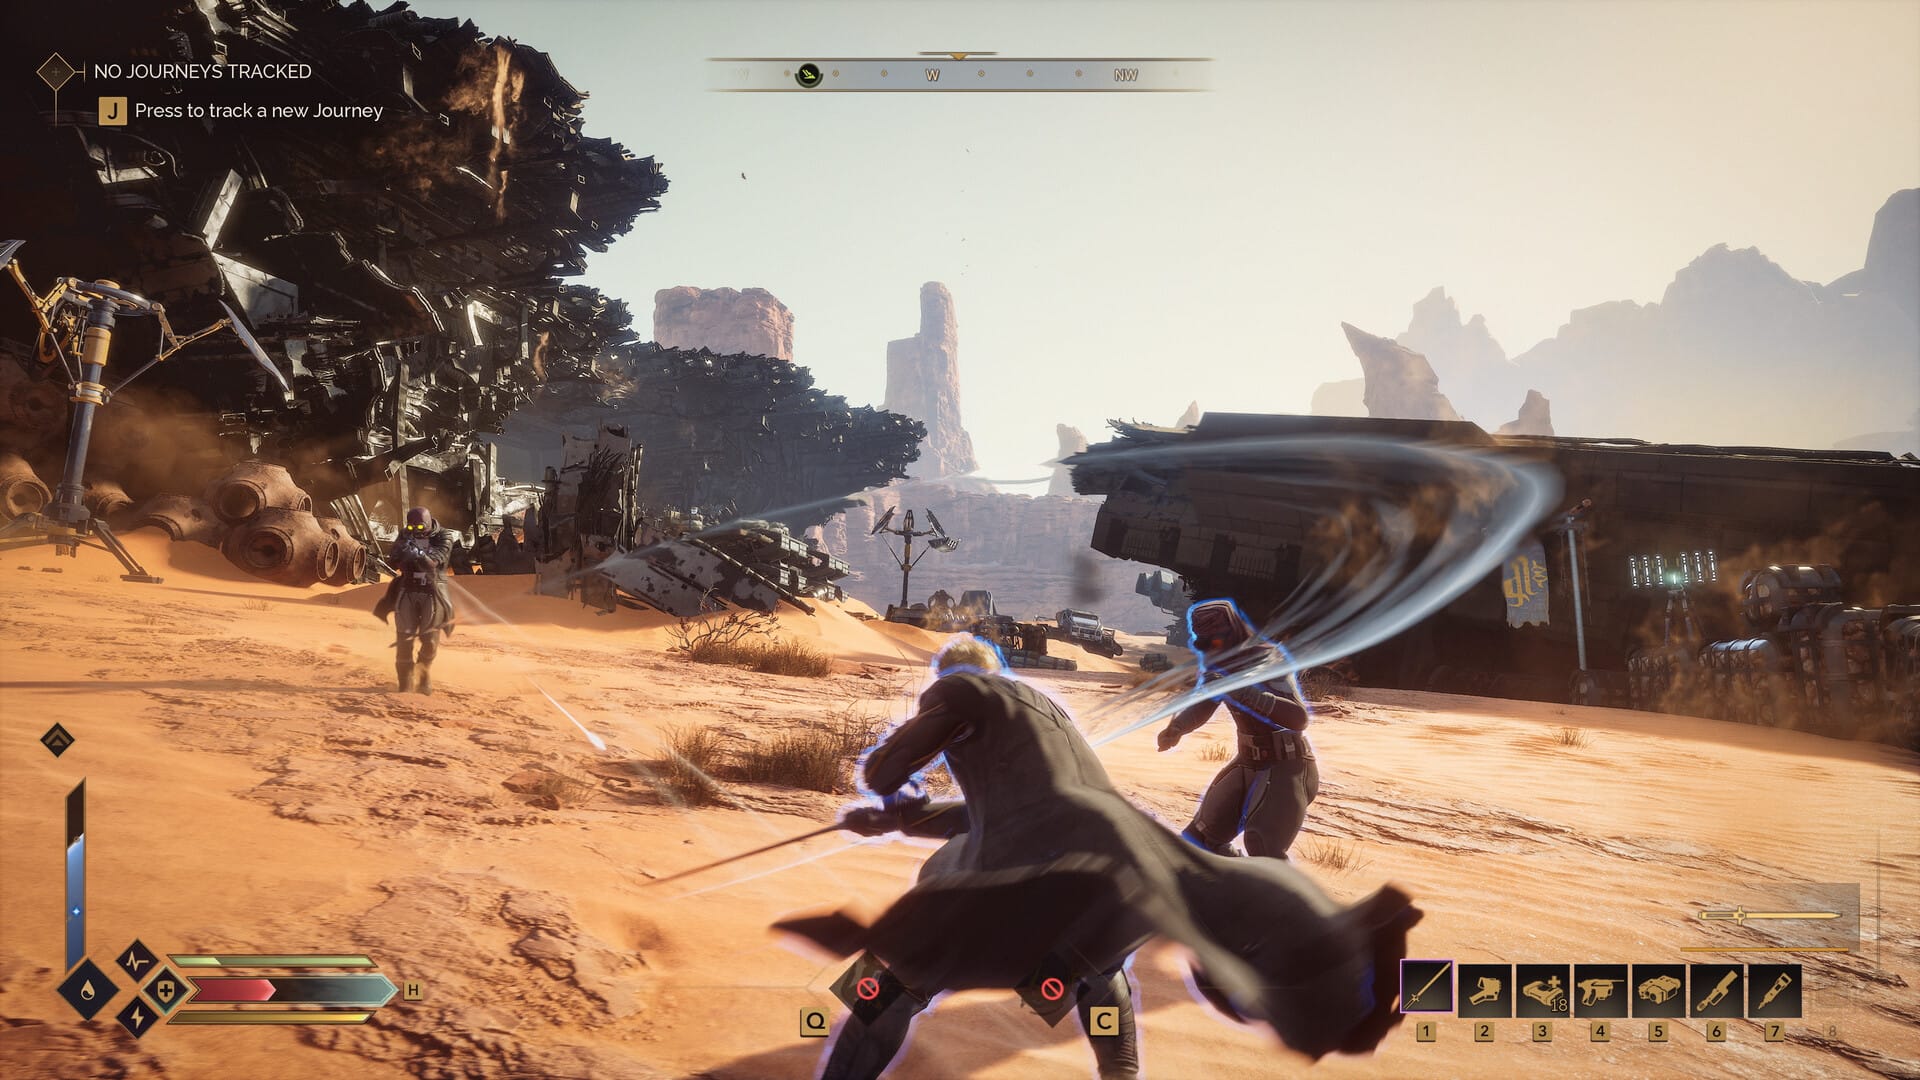
🔪Remember to melee shielded enemies and shoot unshielded ones.
In Dune: Awakening, knowing your enemy type is crucial: shielded enemies shrug off ranged attacks, especially early-game gunfire, and must instead be taken down with slow but powerful melee strikes.
“The slow blade penetrates the shield.” - Dune

Meanwhile, unshielded opponents are vulnerable to firearms—precise headshots can eliminate them more quickly, but in many instances a blade is still better in the early game.
A smart combat strategy is to first pick off any unshielded foes from a safe distance.
Leveraging elevation is particularly effective here; climbing to a high vantage point and sniping from above can dramatically tilt encounters in your favor, allowing you to pick off threats before they even realize you're there. Do it often.
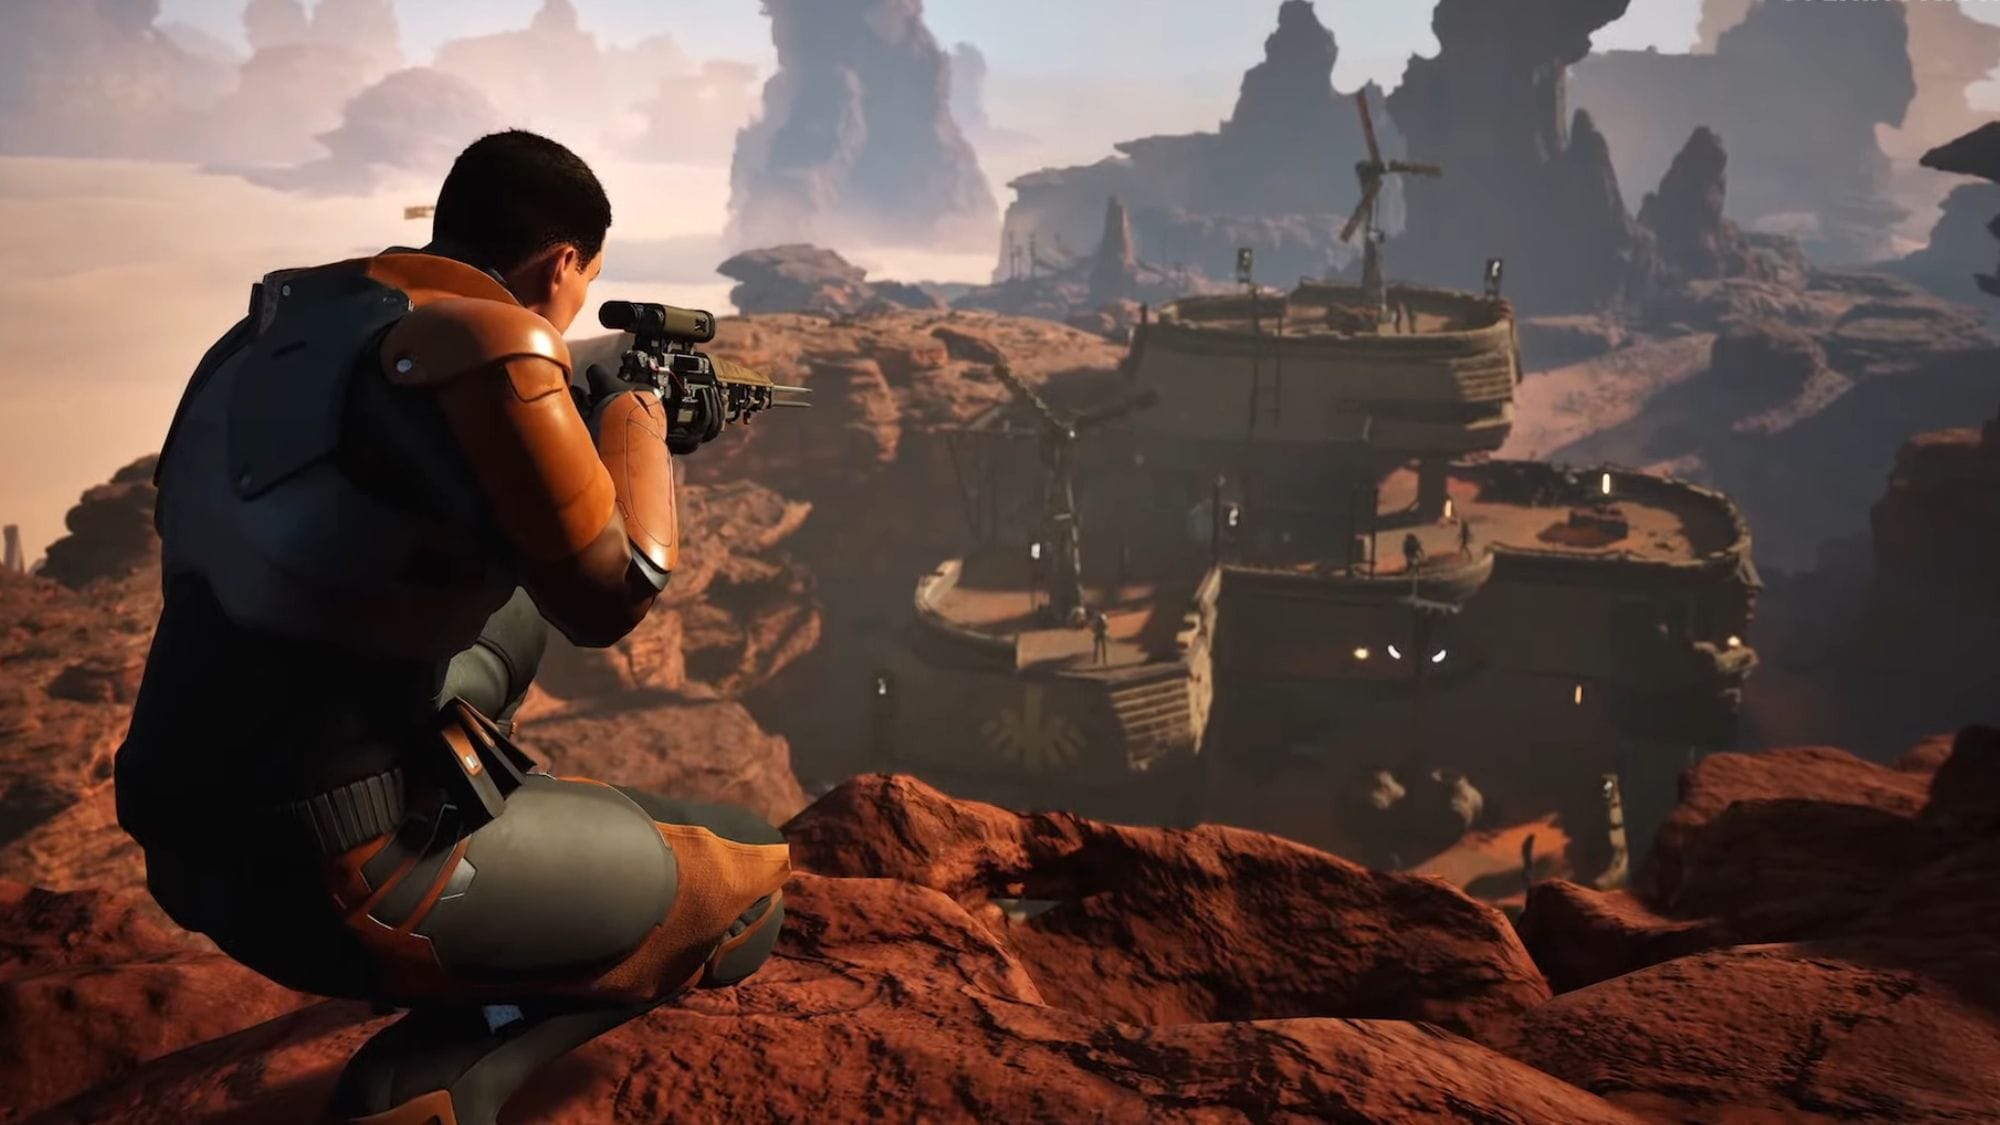
Once they're cleared out, you can confidently engage shielded enemies in melee without worrying about incoming fire. If you're overwhelmed, try drawing shielded enemies away from groups, allowing you to handle each threat separately and methodically.
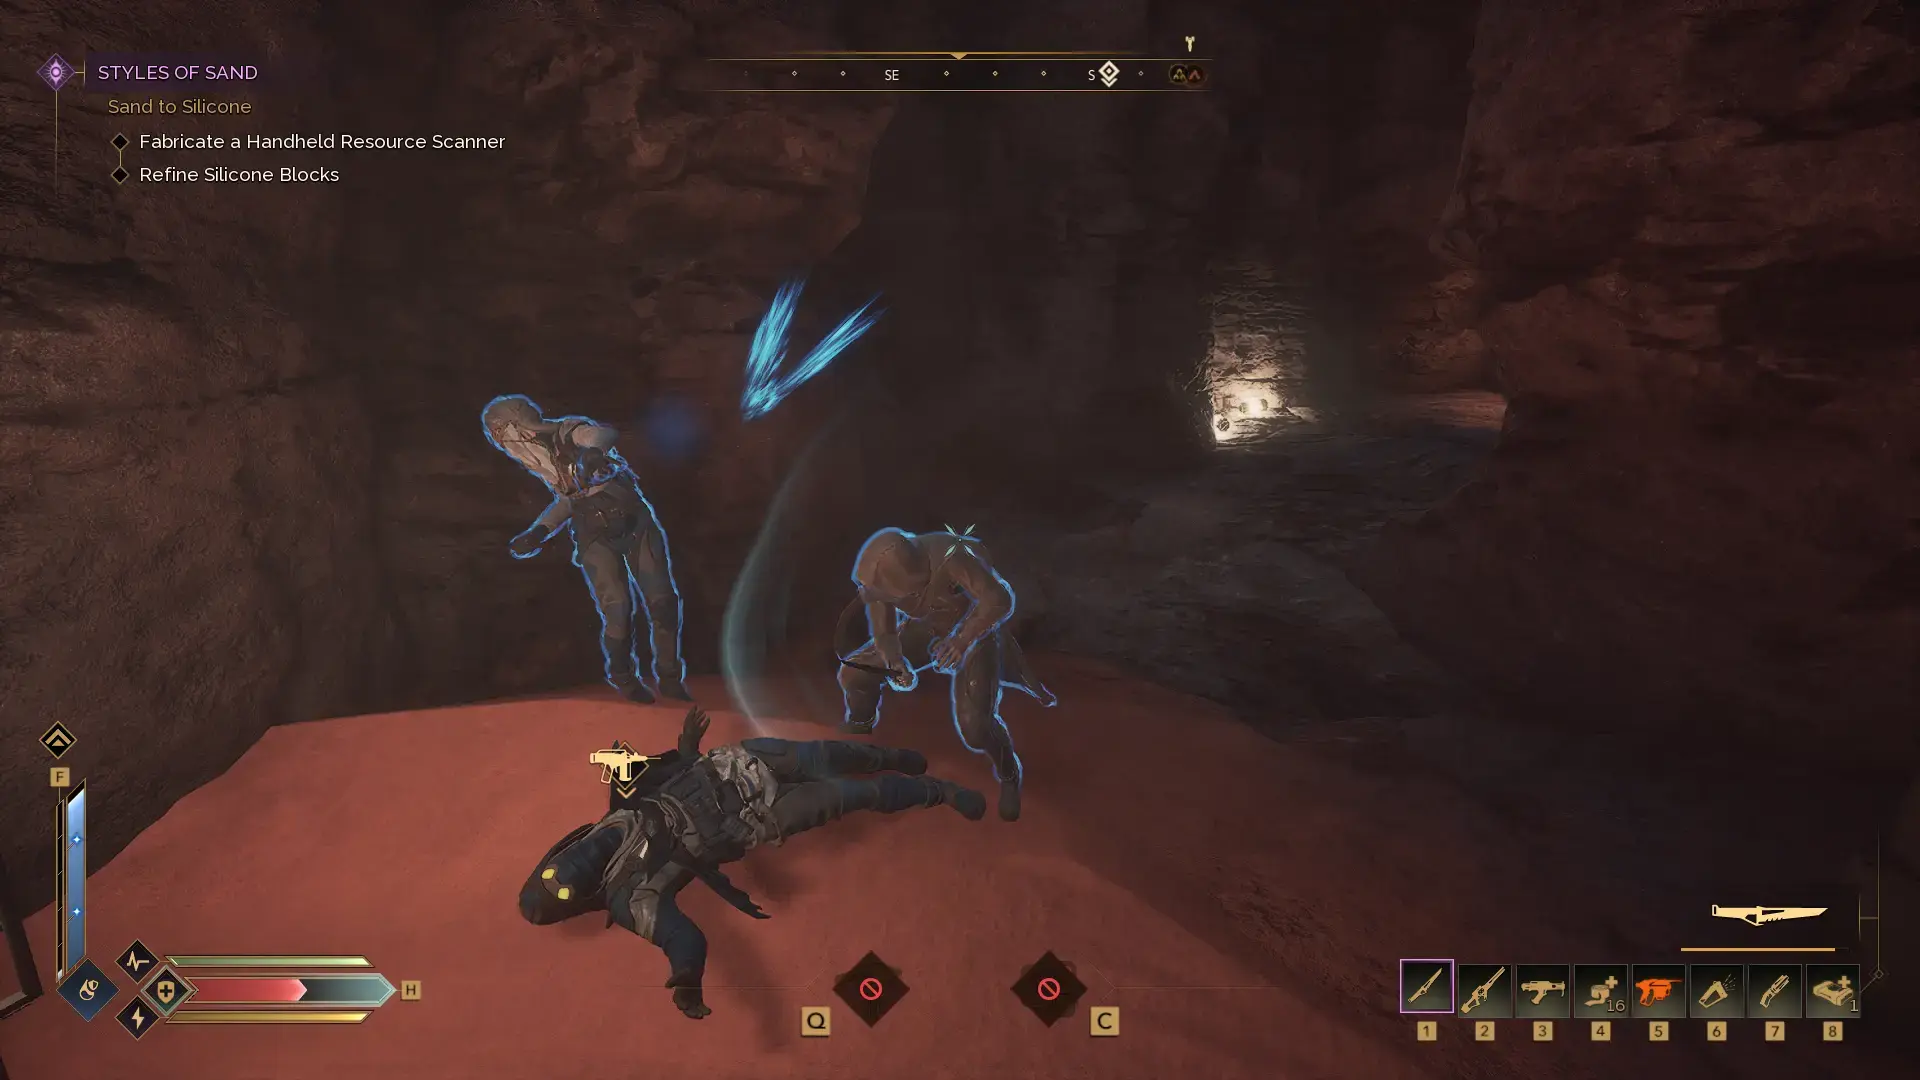
🩸Always Extract Blood from Defeated Enemies
This might sound unsettling, but mastering the use of your Blood Extractor and Blood Sack is essential. The Blood Extractor drains blood from fallen enemies, and Blood Sacks are containers for collected blood. You will have to carry a Blood Extractor and at least one Blood Sack of any size to harvest precious moisture from fallen foes.

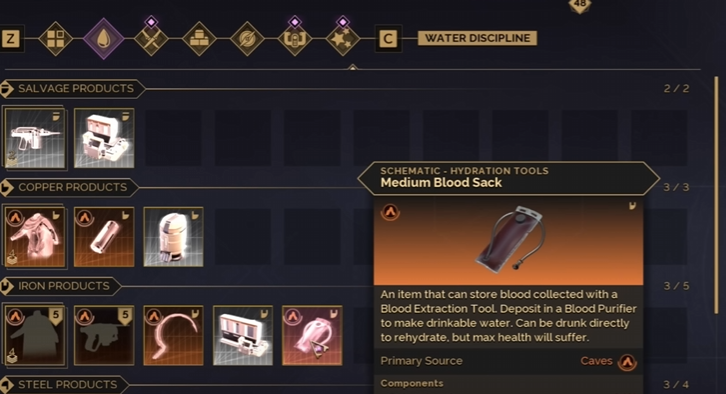
A Blood Extractor Mk2 and a Medium Blood Sack, both early-to-mid game items. (Image credit: Funcom)
After defeating enemies, always remember to extract blood from their corpses using the extractor and store it securely.
Bring the collected blood back to your base and process it with the Blood Purifier. When powered, the purifier converts blood into clean, drinkable water—a tremendous advantage for surviving the harsh deserts of Arrakis.
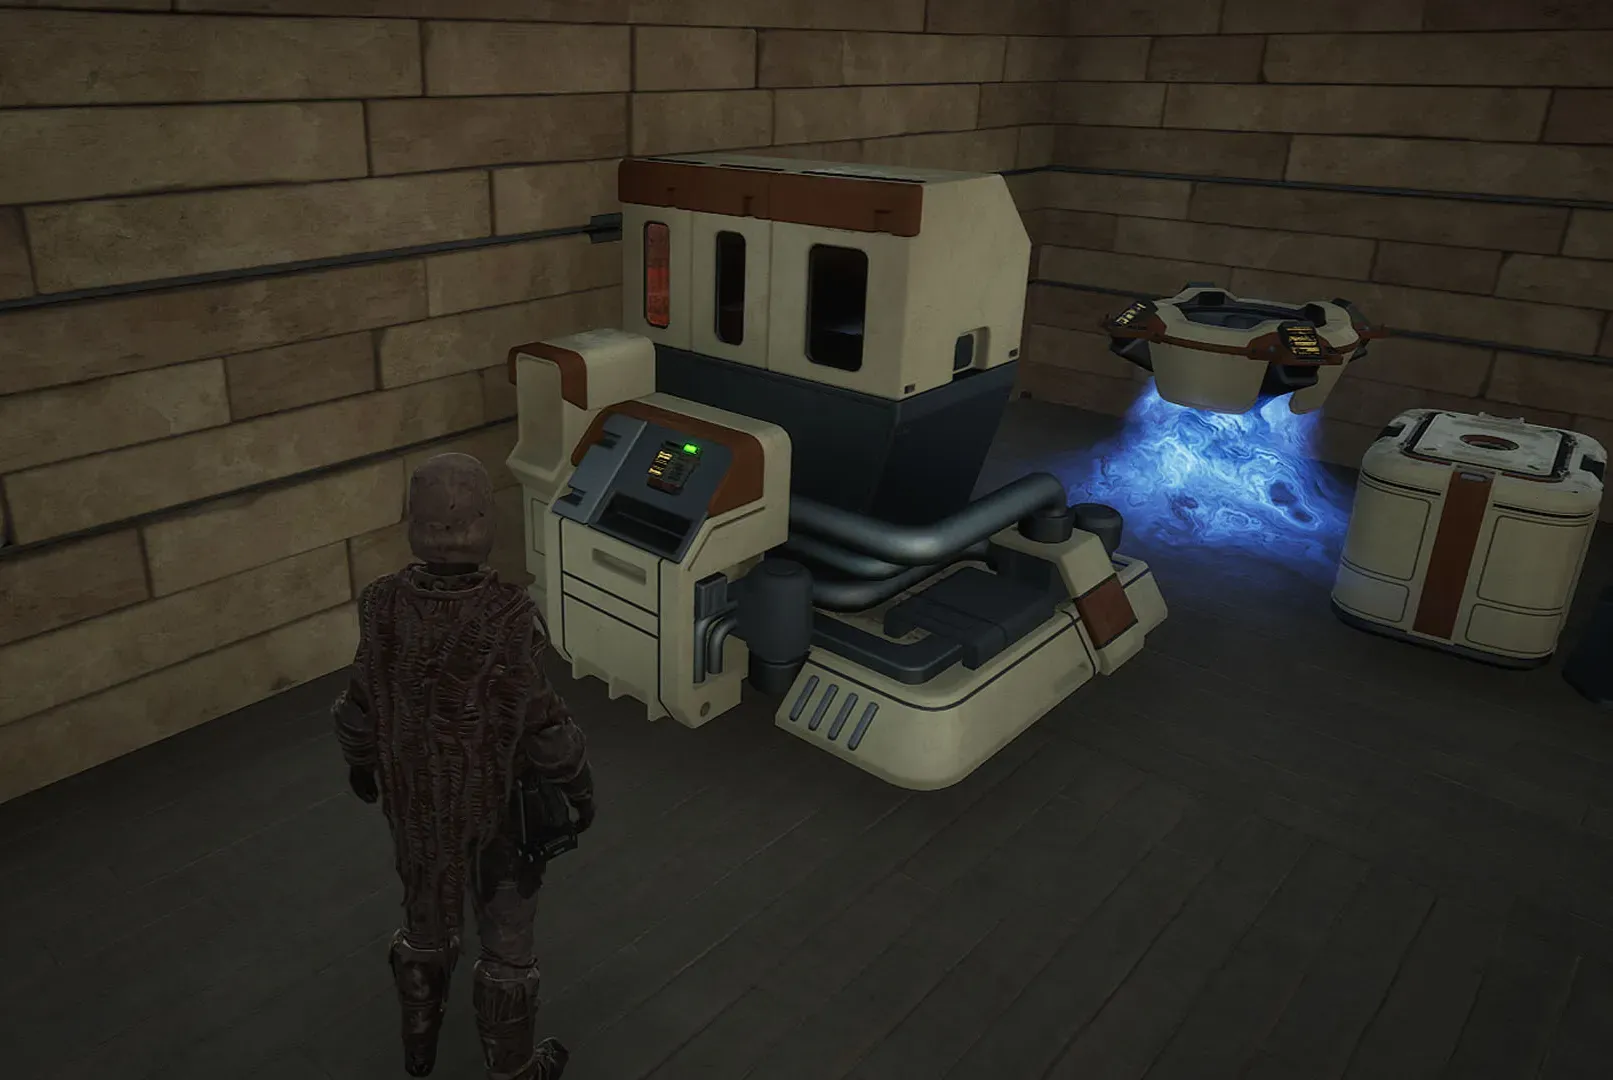
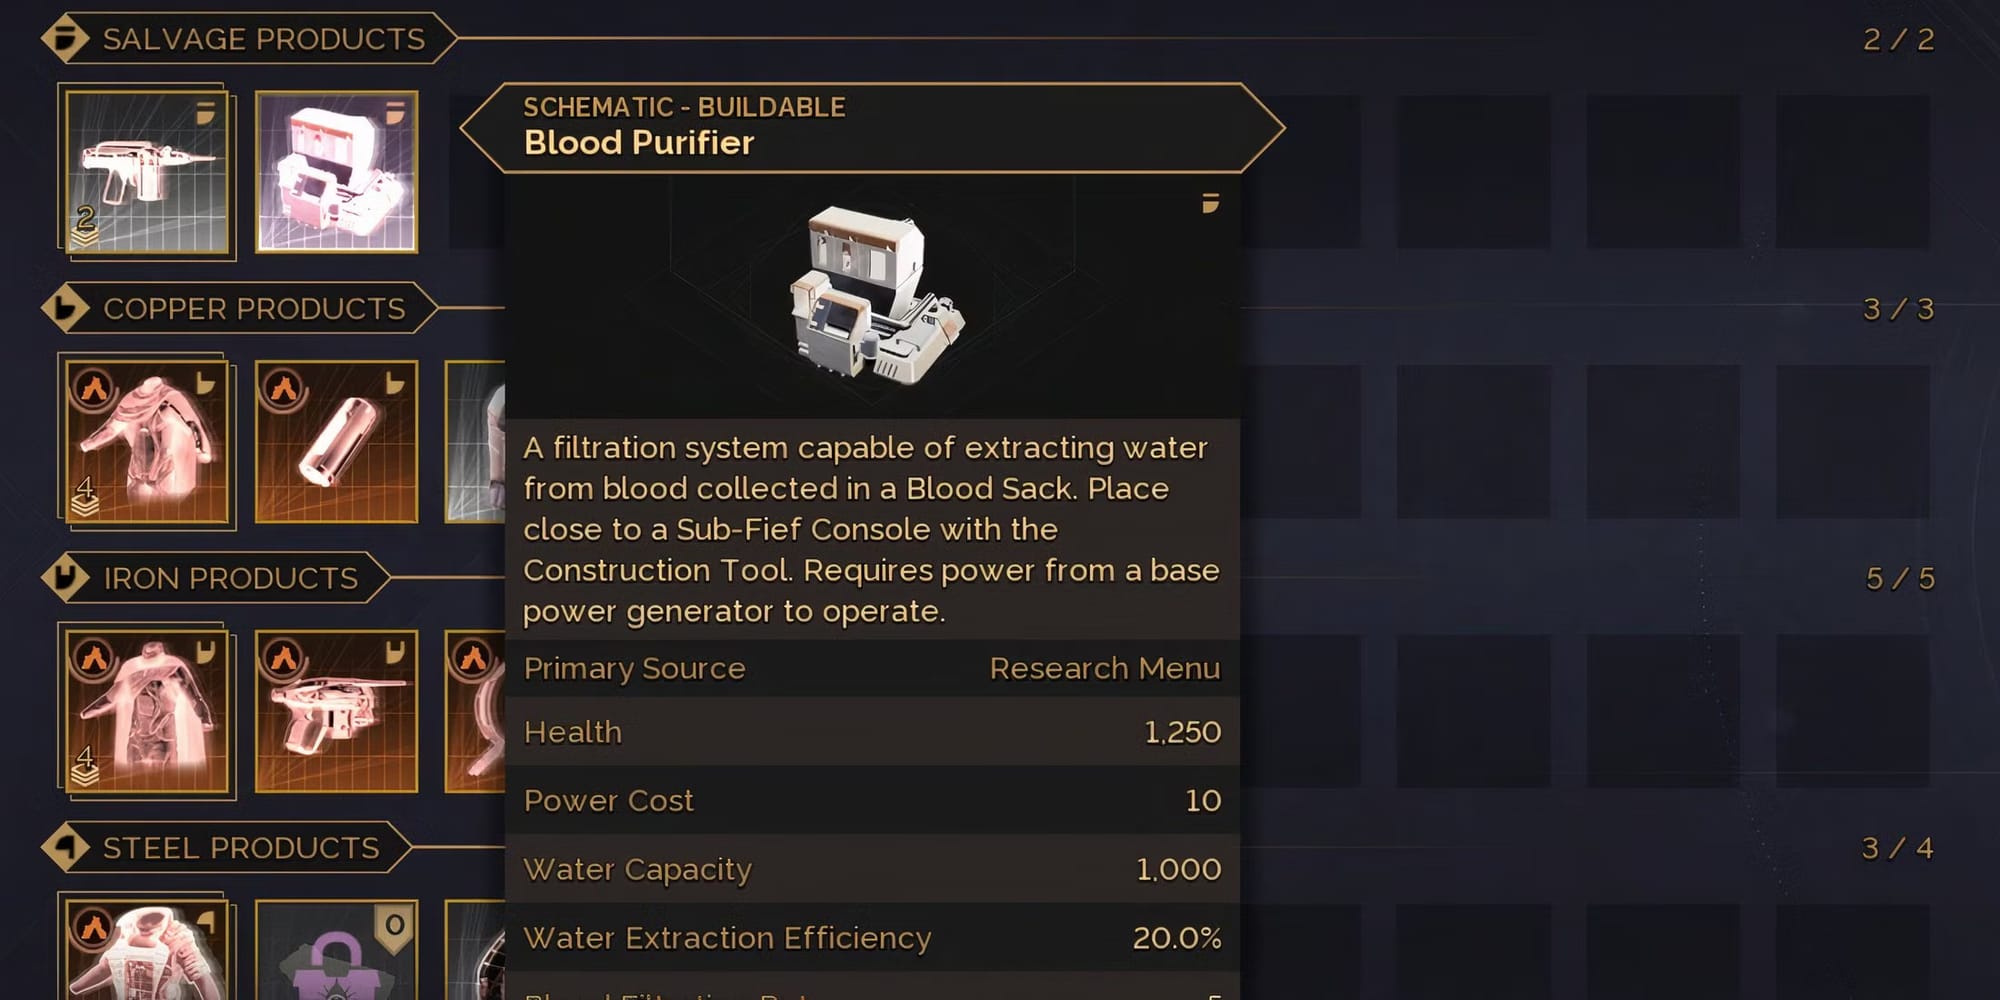
A basic model Blood Purifier in a player's home. (Image credit: Funcom)
Since scavengers respawn regularly, just like resources, you'll have plenty of opportunities to replenish your supply. Make blood-to-water conversion an essential part of your survival routine on Arrakis to significantly improve your chances of staying alive.
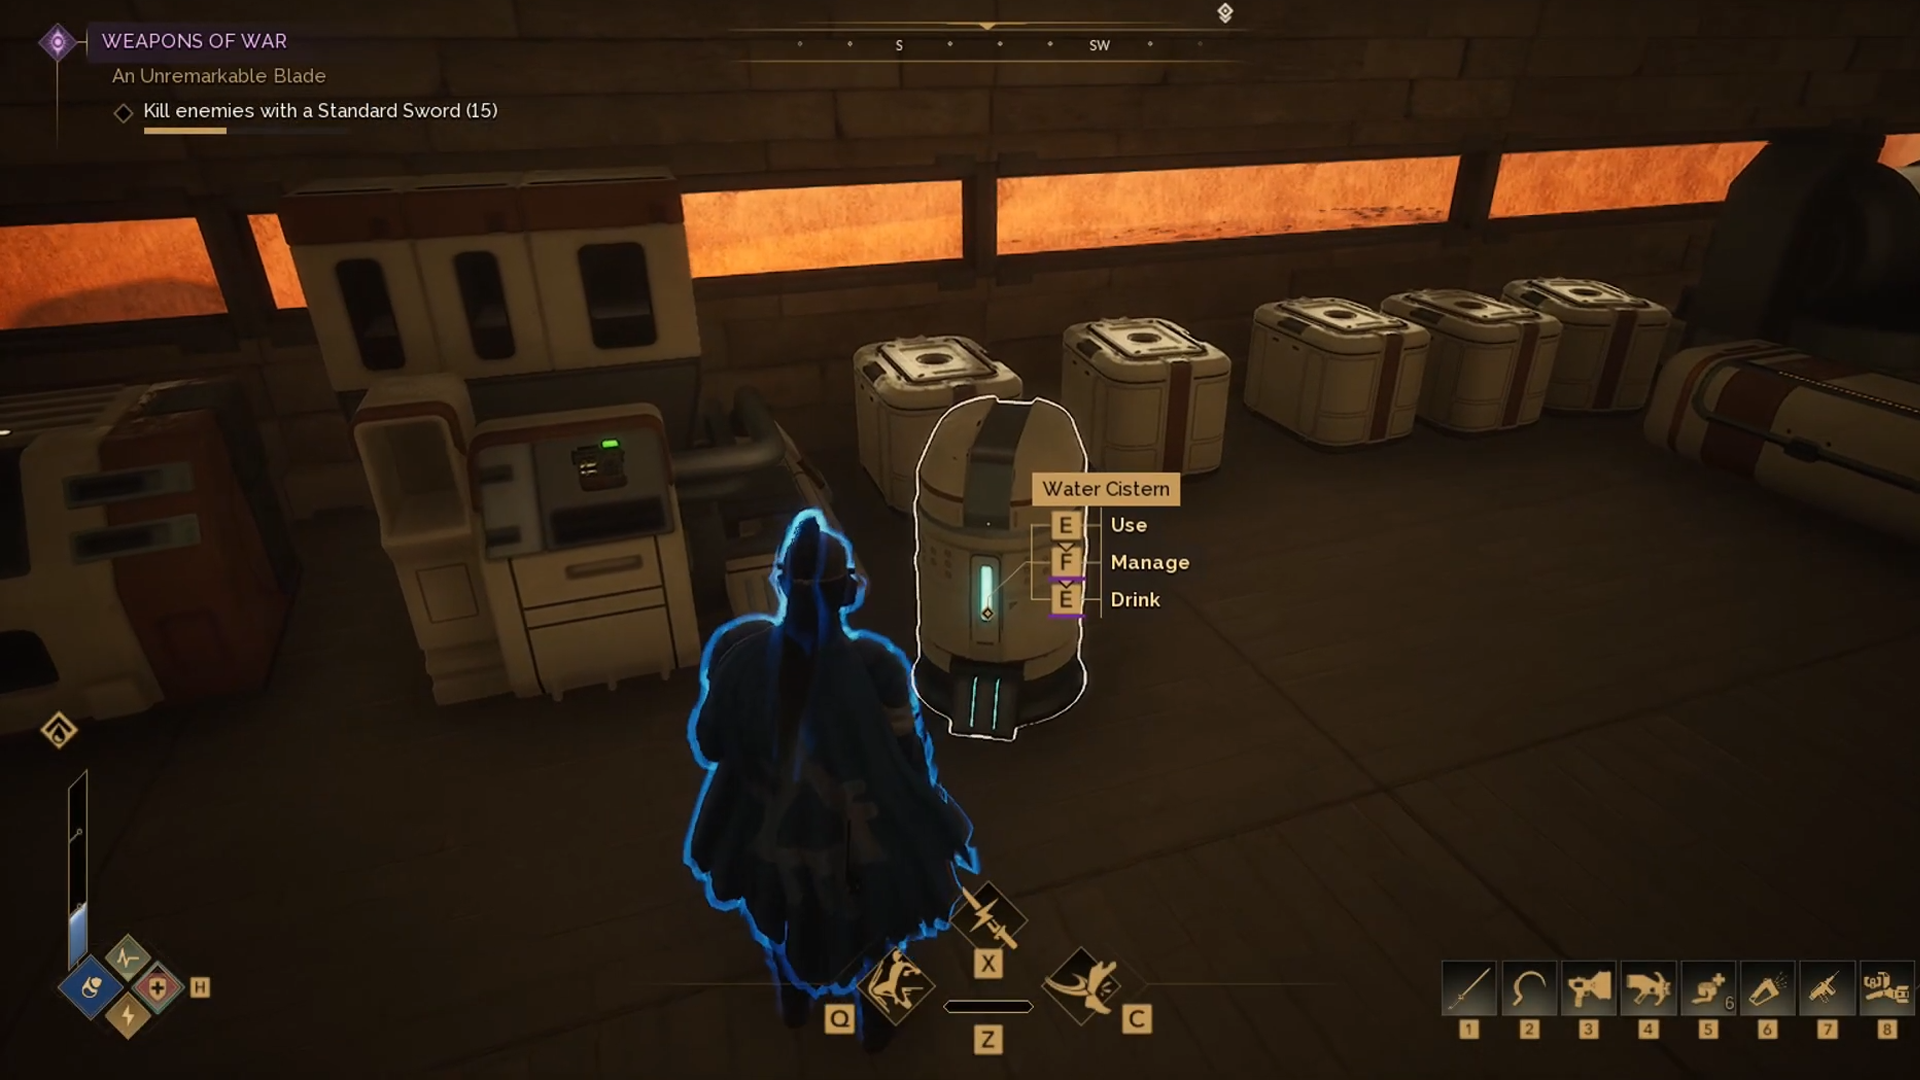
💧Be mindful of your hydration levels
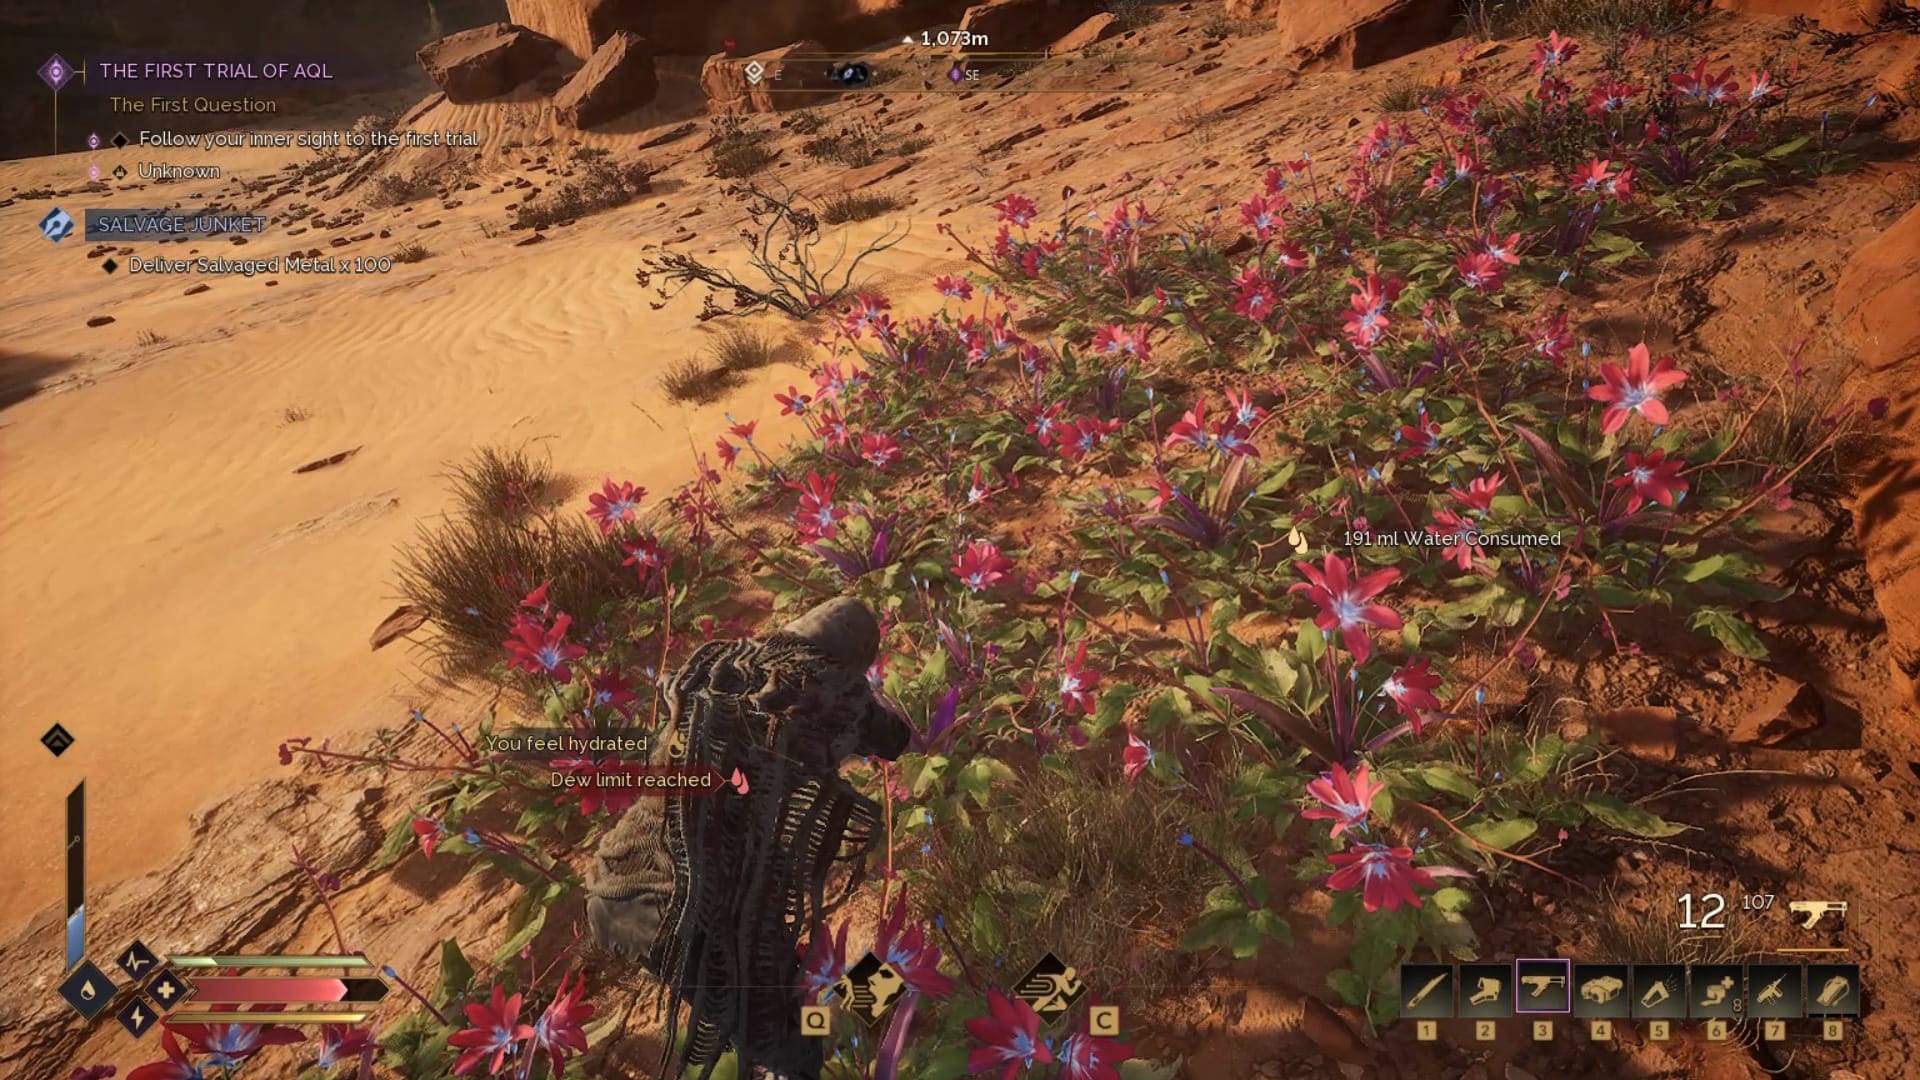
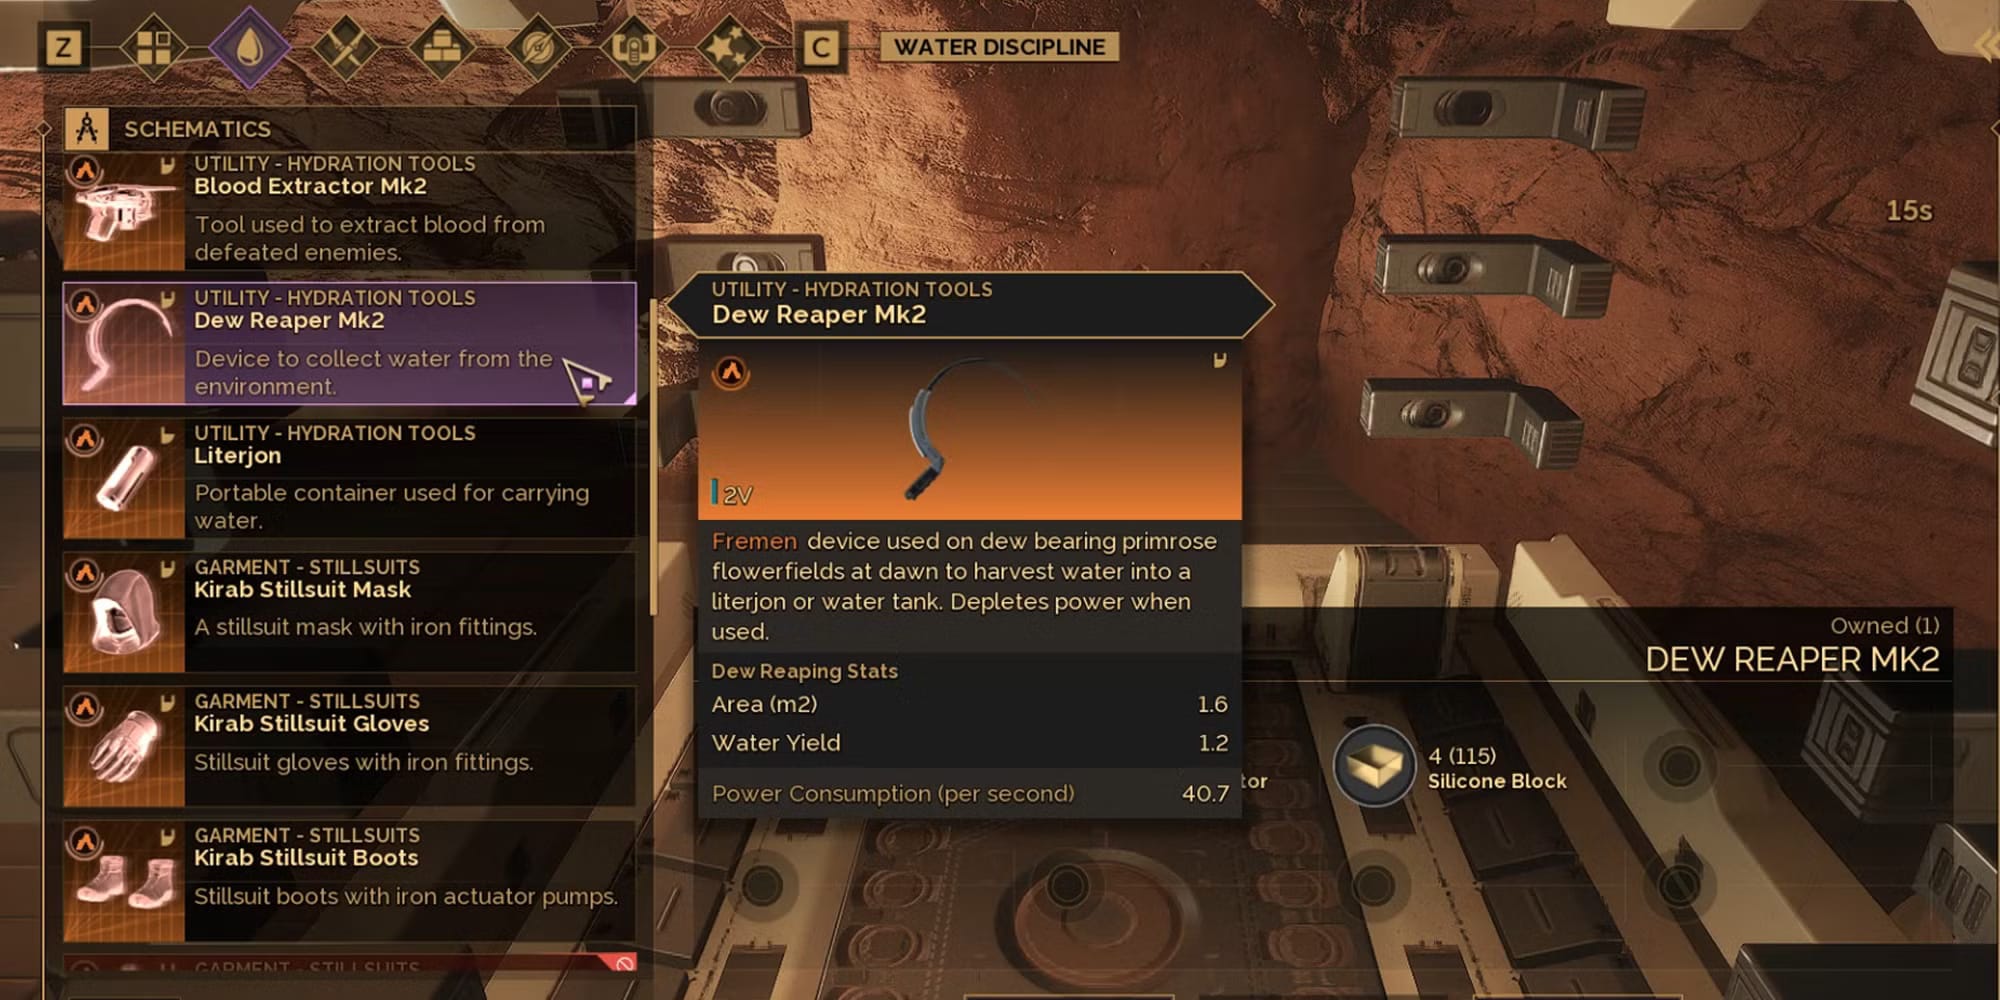
In Dune: Awakening, practicing water discipline is critical to survival. The desert offers limited hydration—dew from flowers found near rocks or inside caves can only replenish your first hydration bar, which is useful in dire emergencies but insufficient for long-term survival.
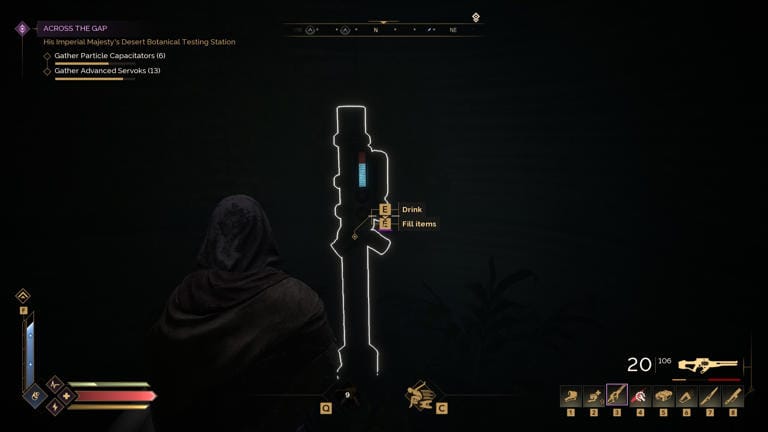
To fully rehydrate, you’ll need purified water, available at hydration stations found within Points of Interest (PoIs) like scavenger camps or shipwrecks.
As mentioned in the preceding section about blood collection, once you've established your own base, you can construct a Blood Purifier station, allowing you to convert enemy blood into drinkable water. I highly recommend that you fully hydrate at your base and drink your fill before leaving for any excursion.
In terms of blood collection out in the wild, there is a gruesome but useful mechanic you can do with a Blood Sack with any blood contained within. In an emergency, you can directly drink the blood to combat dehydration—though I strongly advise against this unless you're absolutely desperate, as it inflicts a significant debuff.
As you progress through the game, you will encounter quests introducing you to a garment called a Stillsuit. This garment is prominently featured in the Dune novels and films. A Stillsuit is attire which recycles your own body's moisture, offering a crucial backup source of hydration during exploration.
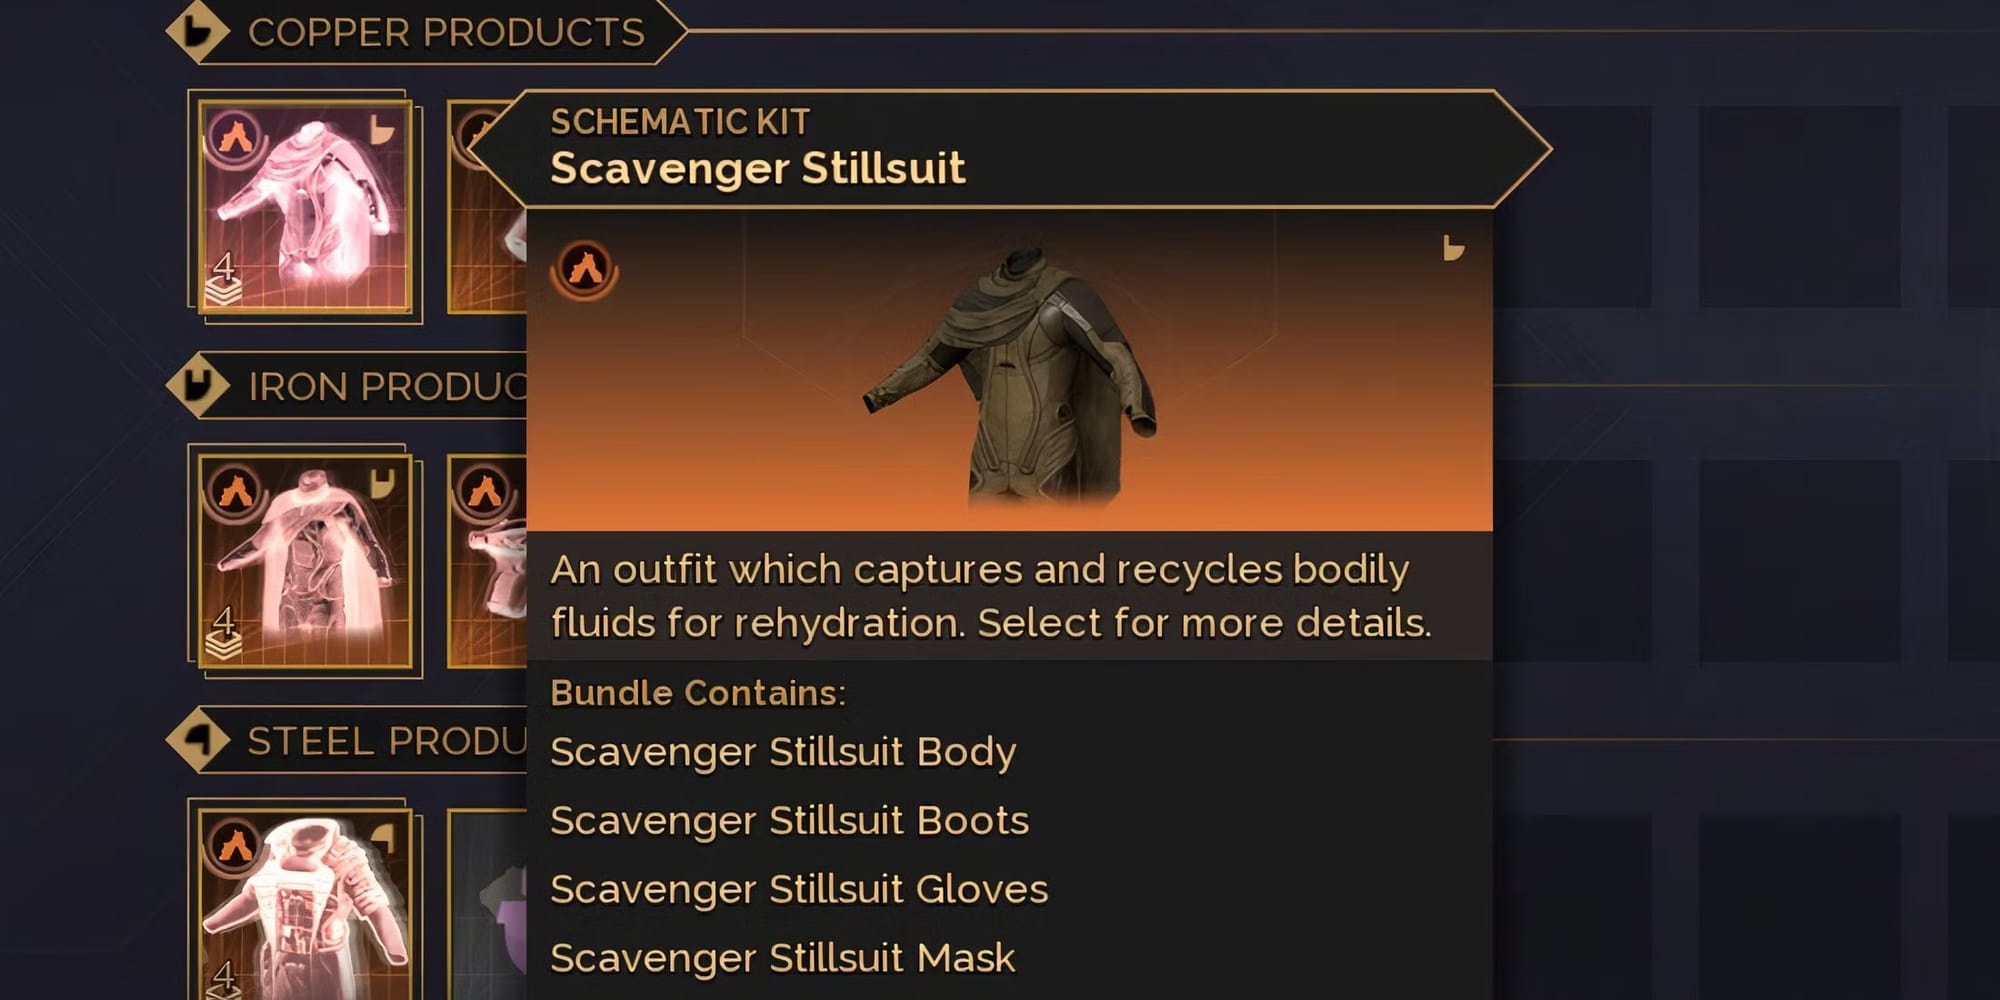
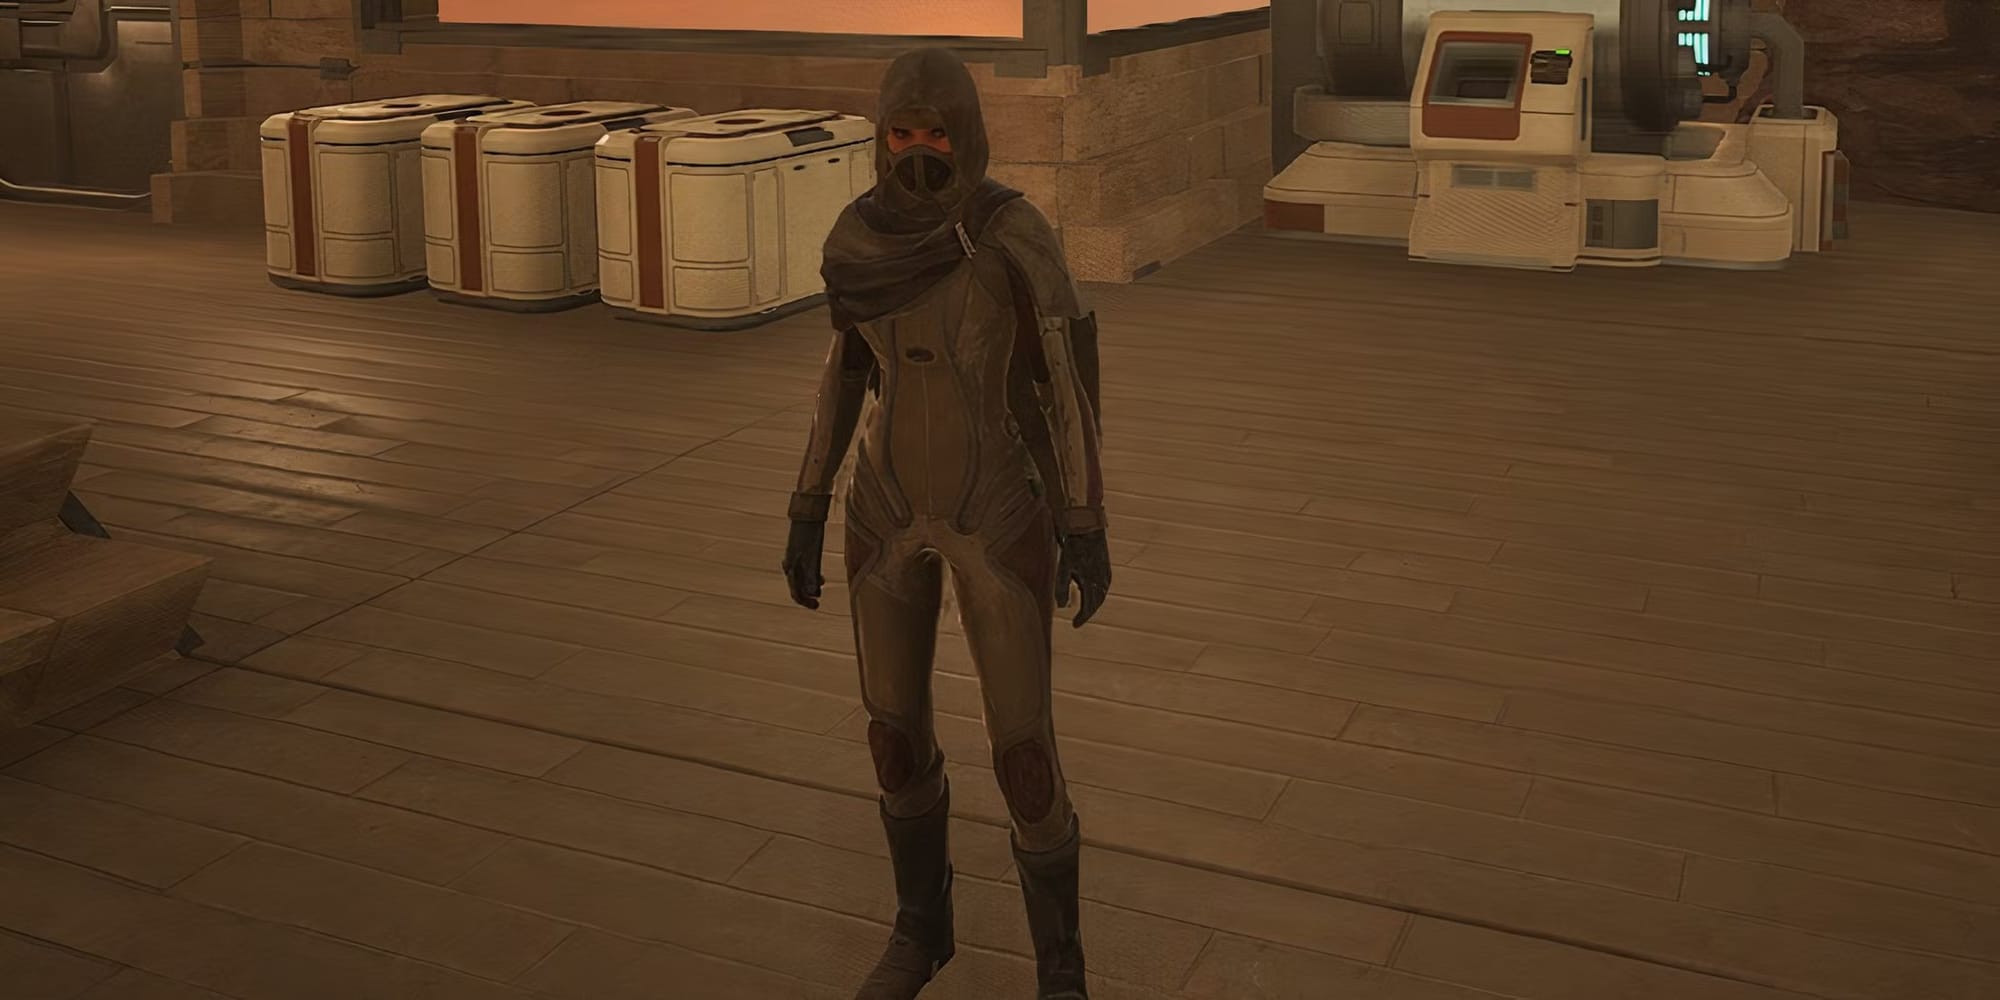
Common early-to-mid game stillsuits. The Scavenger stillsuit is the first one you will craft. The Kirab stillsuit is a little more advanced. (Image credit: Funcom)
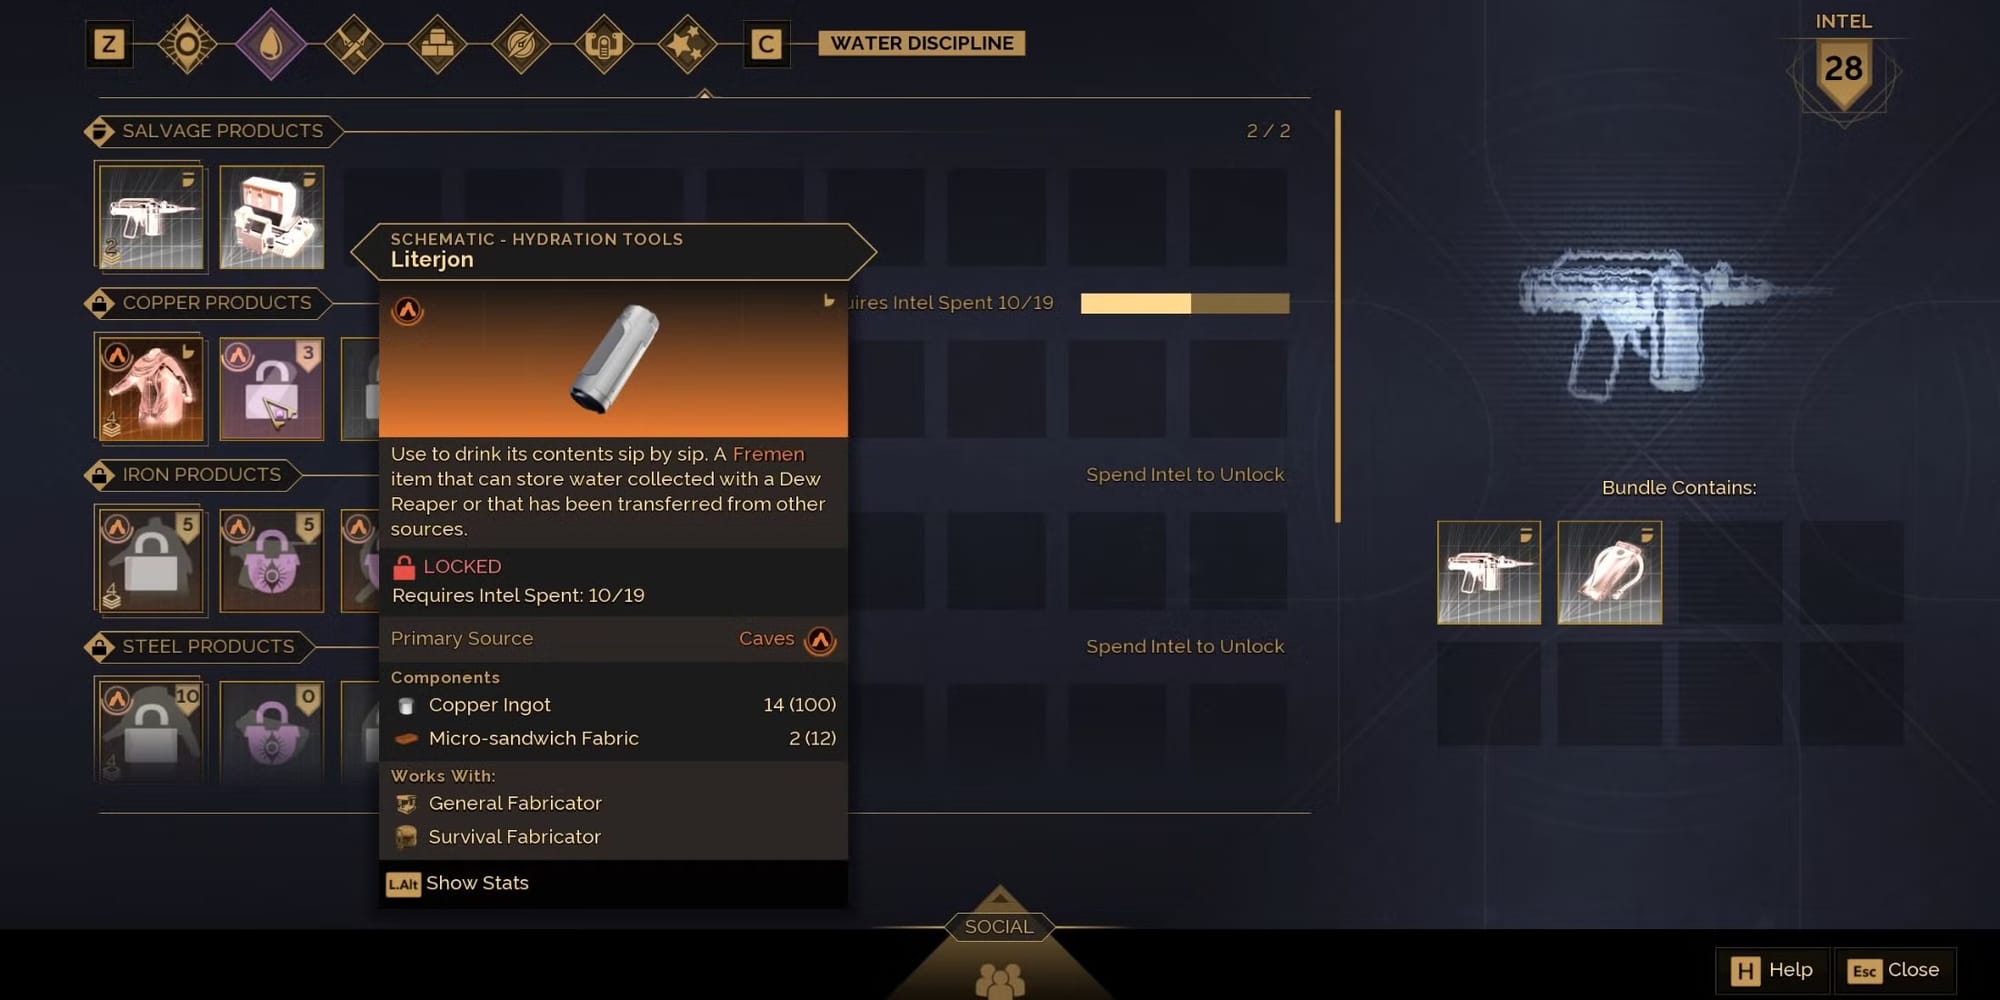
As you progress and unlock a water container called a literjon, your ability to journey further from your base dramatically improves, fundamentally changing the pace and rhythm of your adventures on Arrakis.
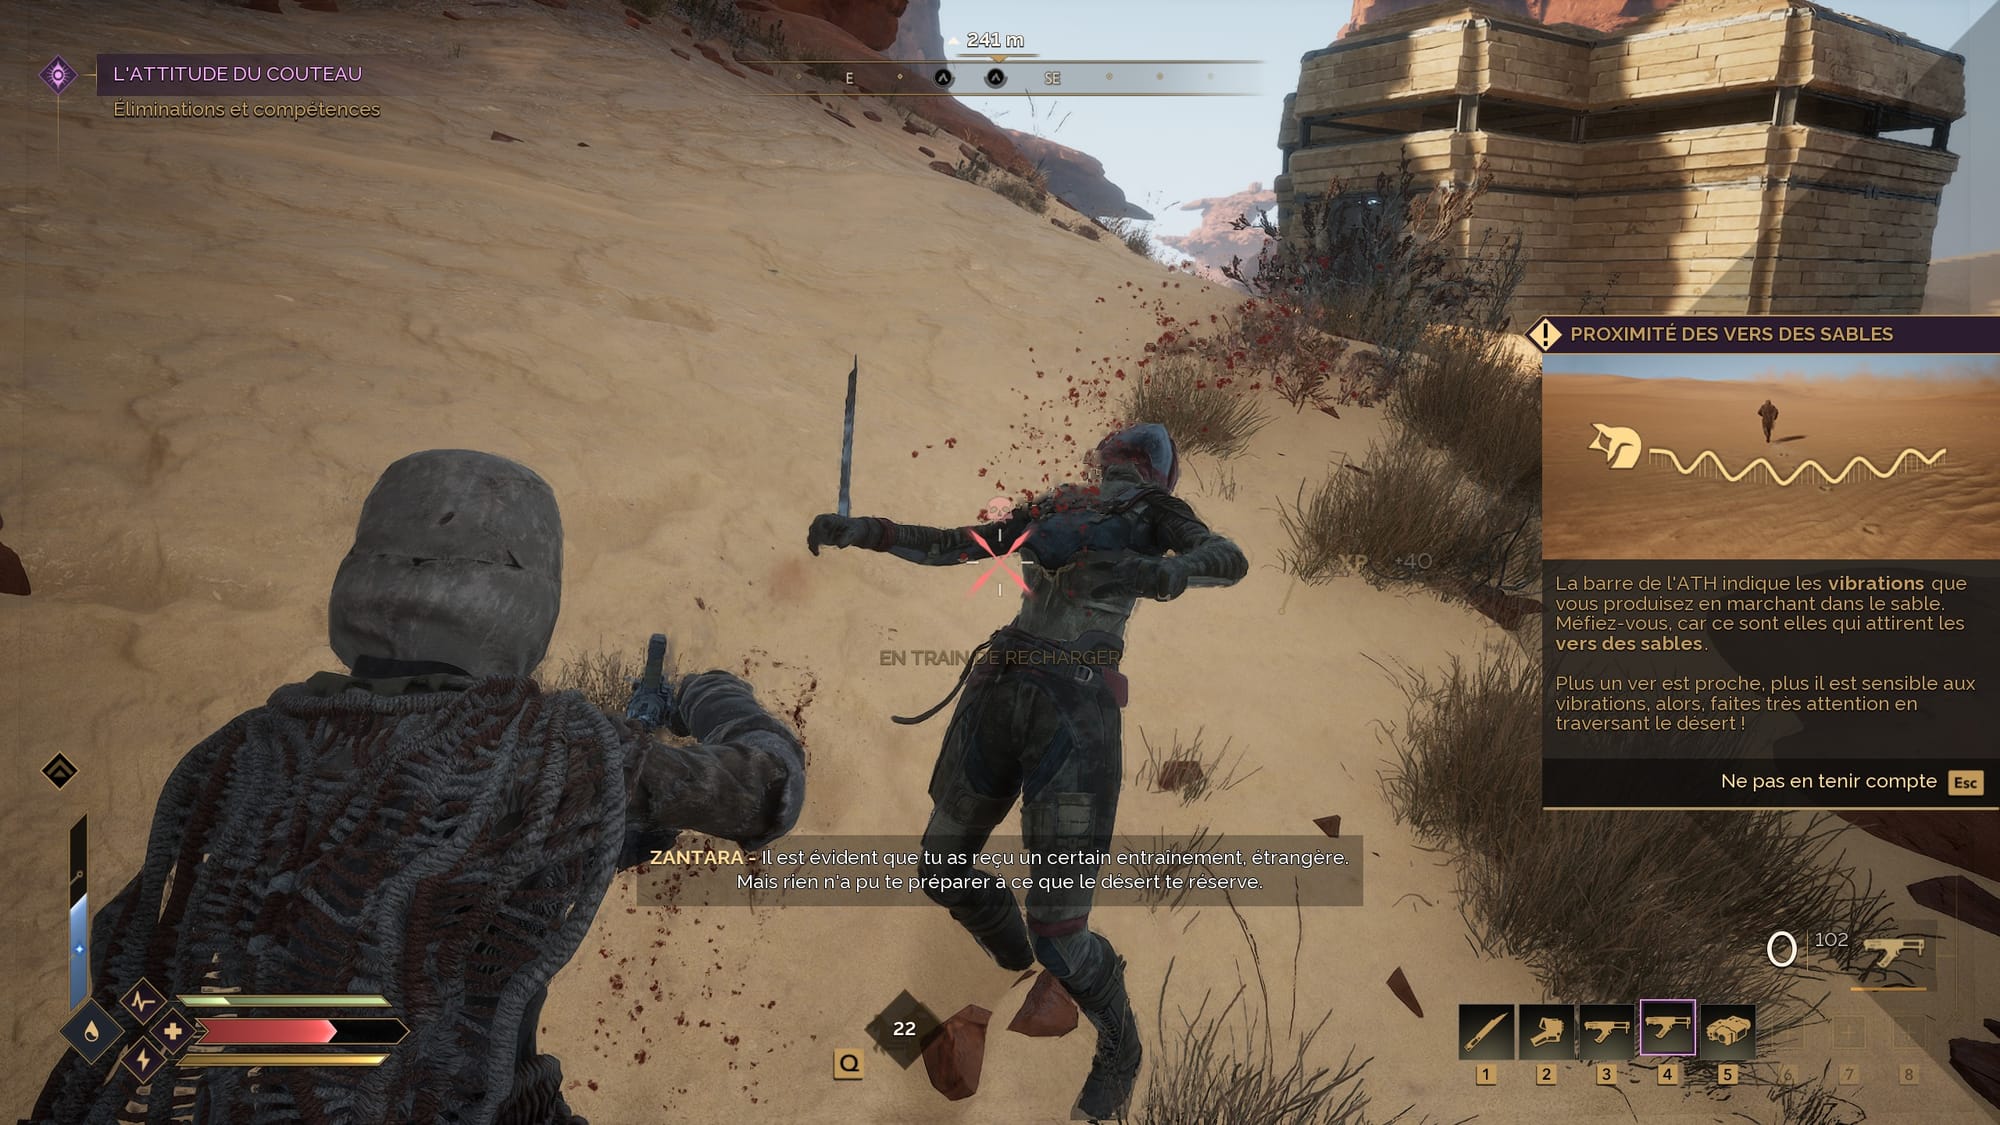
🪱 Never run on open sand.
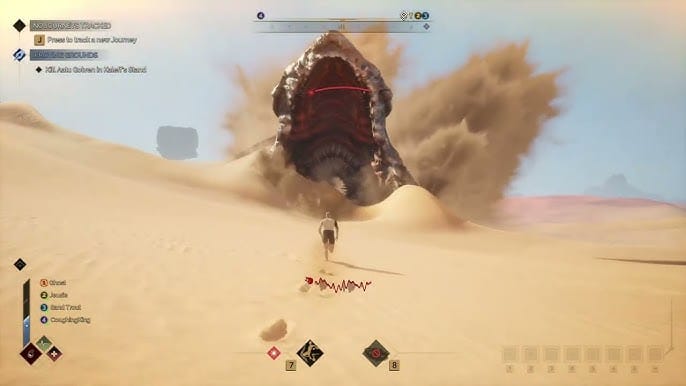
Beware the Sandworms. Move smartly or lose everything. In Dune: Awakening, survival means constantly staying aware of the deadly sandworms lurking beneath Arrakis's desert sands. These massive creatures are ever-present dangers, alongside scorching heat and violent sandstorms.

You'll see a red indicator dot on your HUD whenever a sandworm emerges to consume players, warning you of nearby danger. But beware: most sandworms are invisible beneath the surface. Always assume they're waiting under every stretch of open sand.
When crossing open areas between rocky islands, pay close attention to your vibration meter. Running quickly, performing actions, or even standing still on open sand increases vibrations, making you an easy target. Remember—speed draws attention. If the sandworm proximity indicator shows a distance of under 1000 meters, you have less than 30 seconds to get to safety. And if a sandworm catches you, you'll lose all your equipped gear instantly.
Move carefully, minimize vibrations, and always stay vigilant—your survival depends on it.
⚠️Don't take your chances with Sandstorms and Worms.
Arrakis is notoriously dangerous, with two particularly lethal threats: violent sandstorms and massive sandworms. Sandstorms strike randomly but come with a two-minute advance warning, while sandworms are attracted by vibrations and noise generated when crossing open desert terrain.
If a sandworm catches you, it’s an instant death, whereas sandstorms gradually shred your health until you either reach shelter or the storm subsides.
What makes these hazards especially brutal is their impact on your inventory. Unlike other deaths—where your dropped backpack and gear can be recovered—dying to sandstorms or sandworms permanently destroys your items. (The first encounter with each hazard is an exception, serving as a tutorial.)
Stay vigilant, manage vibrations, heed storm warnings, and never underestimate these deadly elements—especially when carrying valuable equipment.
🌄Always look for shelter areas from sandstorms while traveling.
If you get a sandstorm warning, you have mere minutes or seconds to get to cover. Get to some kind of overhang, hide under a rock outcropping, inside a ravine, a scavenger campsite, anything. (I even found shelter wedging into a narrow crevice in a cliff face once.)
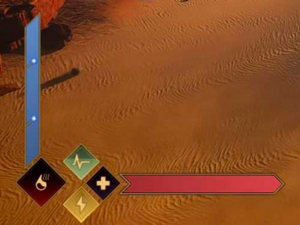
If you are not sure if your character is in a safe spot, here’s how you can tell. There is an icon in the lower-left of your UI. That is the “Sheltered” icon. If this icon lights up, you are safe from the shredding gale-force winds.
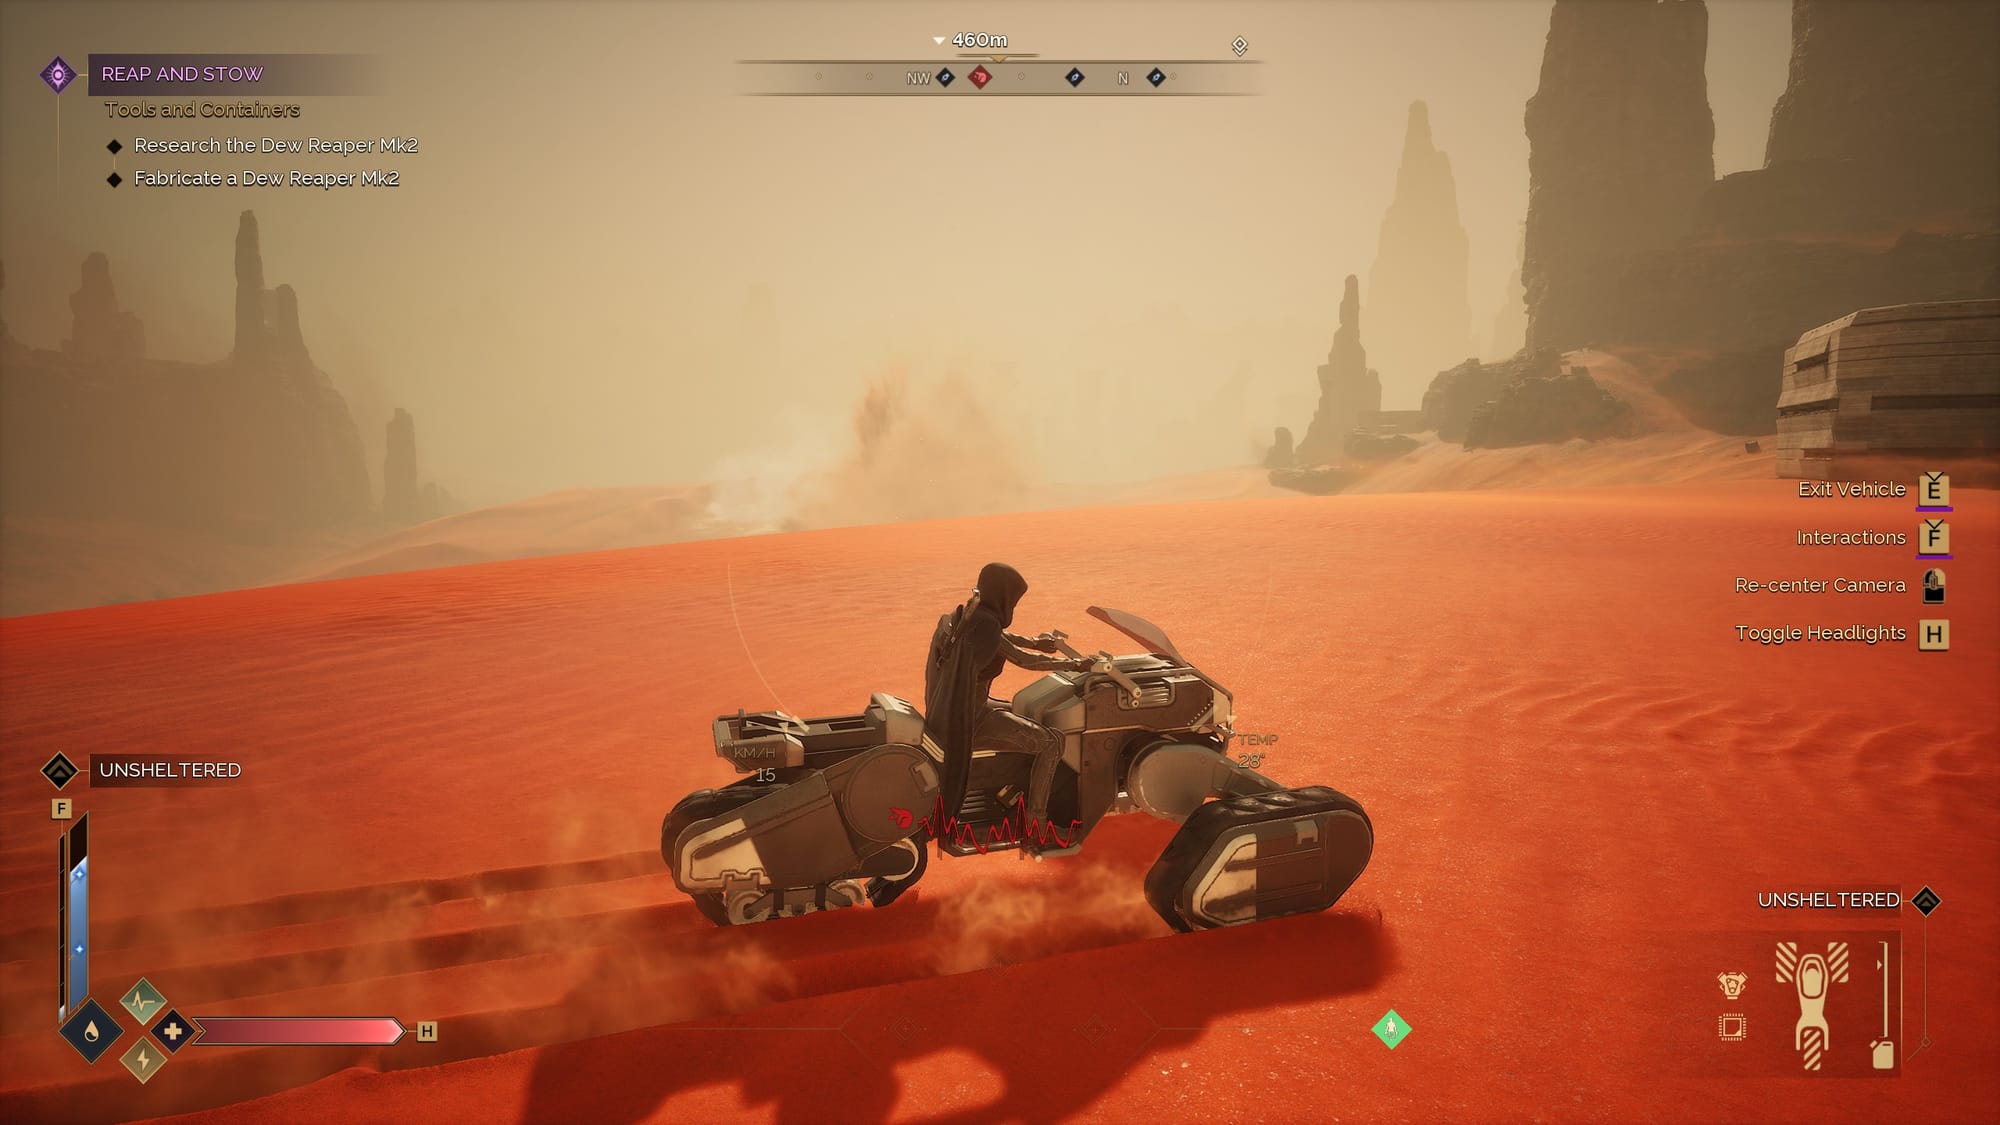
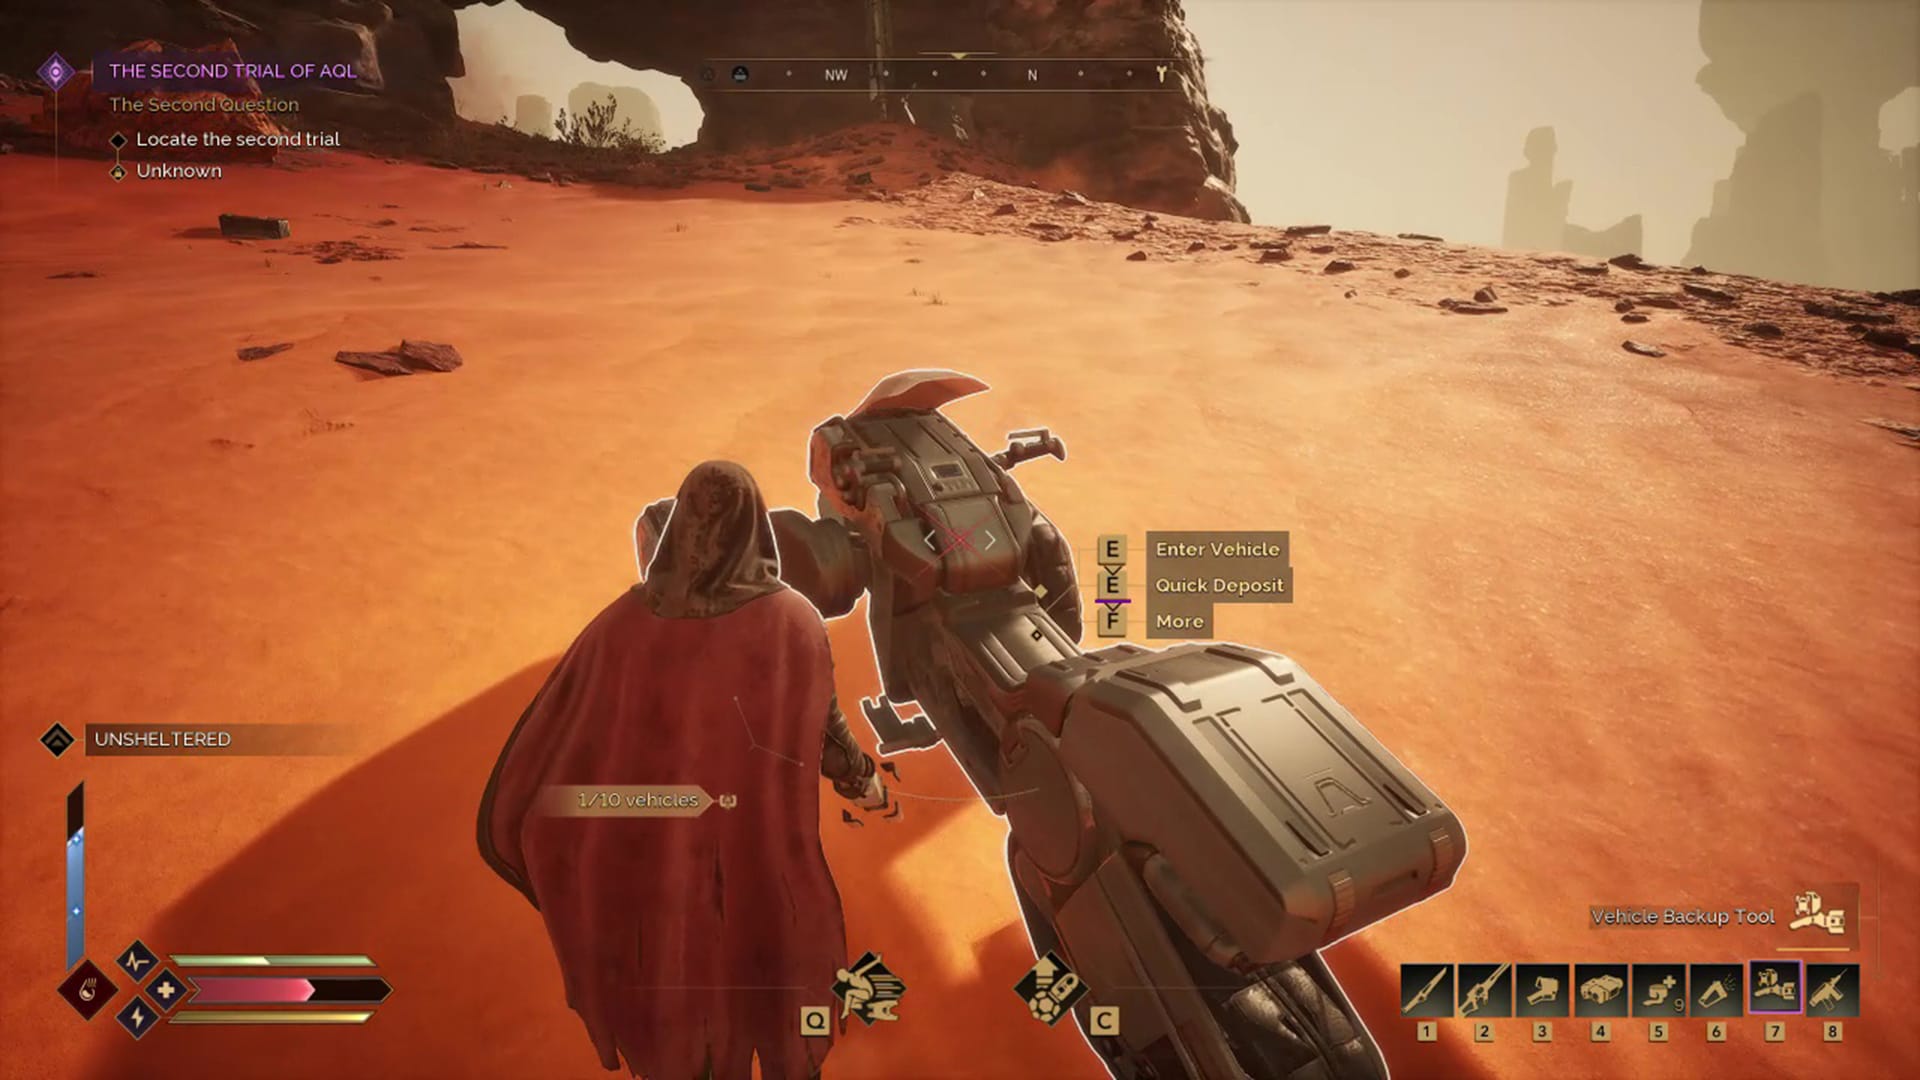
Keep in mind that when you acquire vehicles, they have their own "sheltered" status indicated by an icon in the lower-right corner of the UI. Note that your character’s sheltered status and the vehicle’s status are tracked separately, so stay aware of both for optimal safety.
🗺️Use Your Map to Locate Essential Resources
When you launch a Survey Probe, your map won't just reveal local landmarks—it will highlight all available resources in the region. These resources are divided into two main types: ambient resources, such as water fields or ore deposits, which you can farm or gather directly; and landmark locations, like crashed ships or research stations, offering more specialized and complex materials.
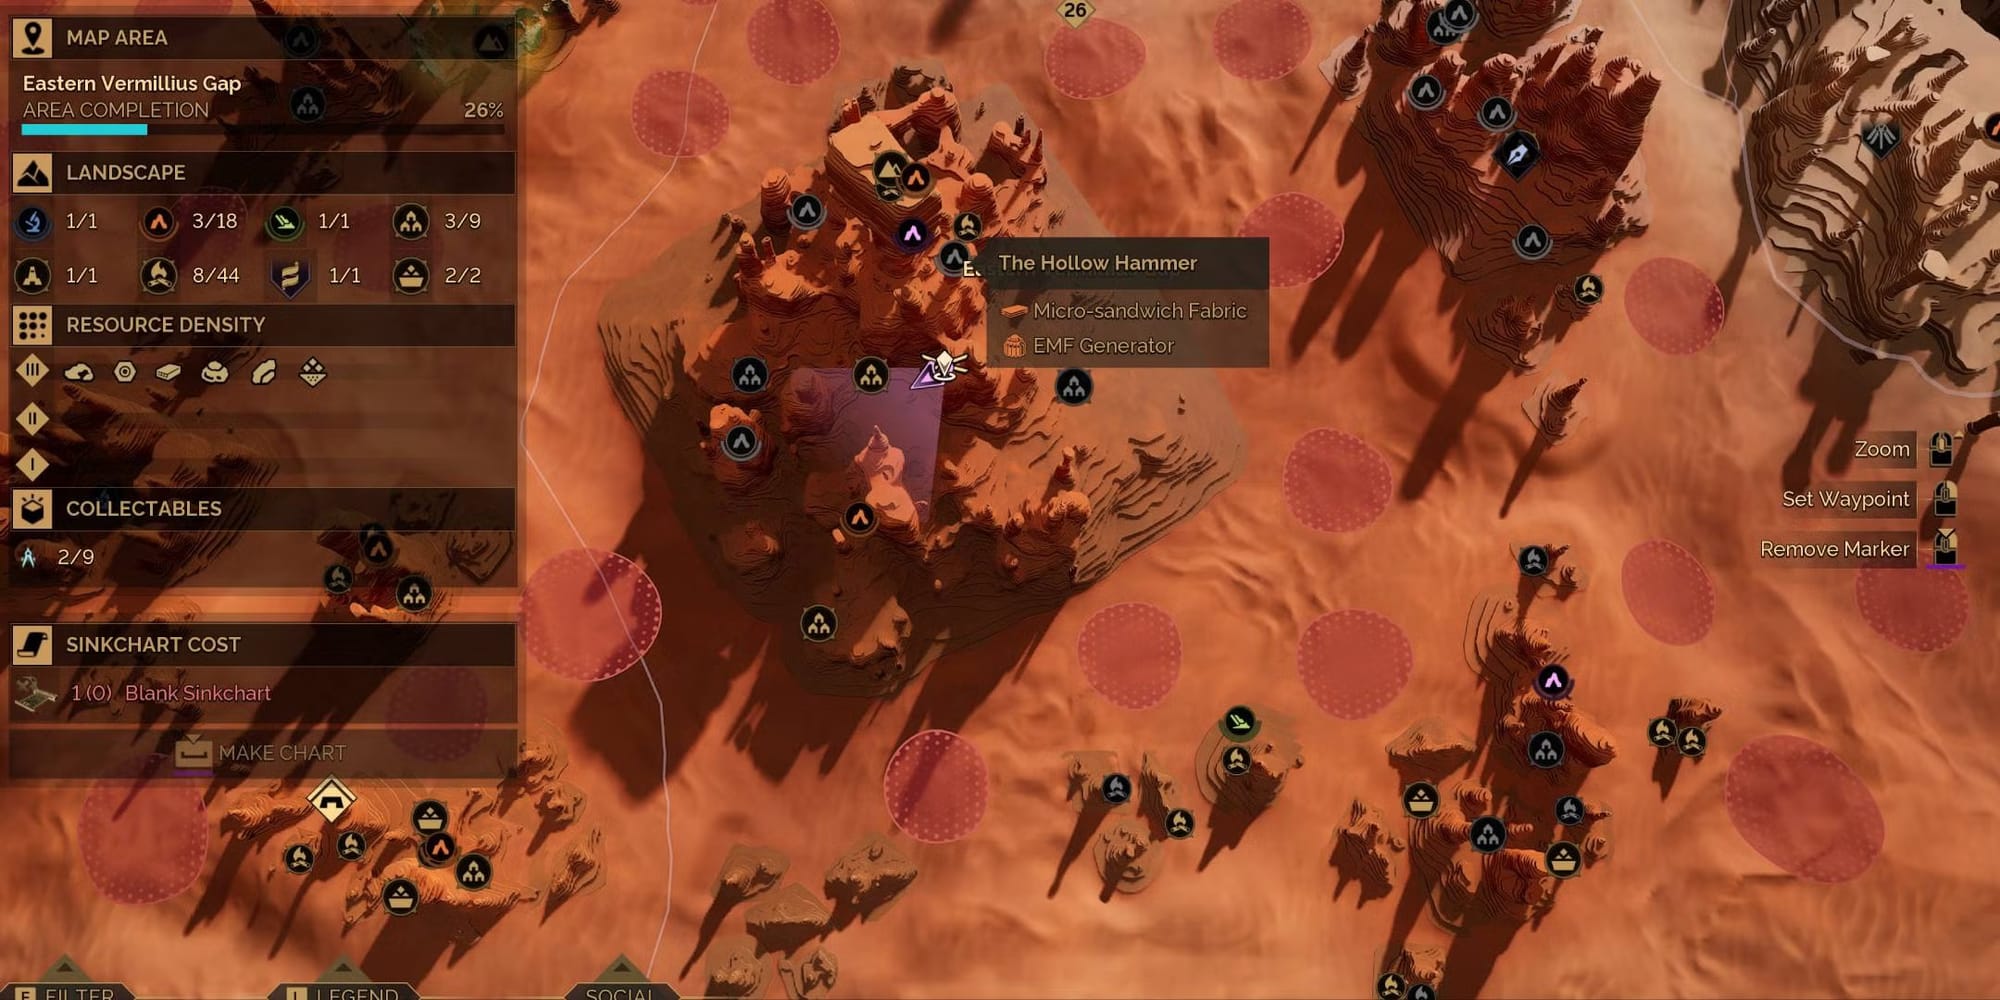
Hover over these spots on your map, and you'll see detailed information about the exact components and resources they provide. This lets you efficiently plan your route and objectives across Arrakis—so you always know precisely where to go, and exactly what you’ll find there.
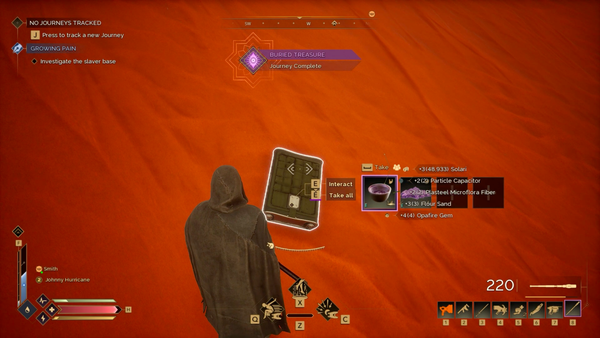
✨ Follow the Lights to Valuable Loot
The lights are great environmental clues in the game. In Dune: Awakening, lights aren’t just decorative—they’re critical guides leading you directly to important loot. Different types of glowing indicators represent various lootable items scattered across Arrakis.
For instance, lootable bodies are frequently found in open areas or marked by blinking rescue beacons, making them visible even in darkness or from afar using Binoculars. Containers, on the other hand, emit distinct colored lights, ranging from soft blue to bright fluorescent green, and are often hidden in corners, foliage, or tucked away in hard-to-reach spots.
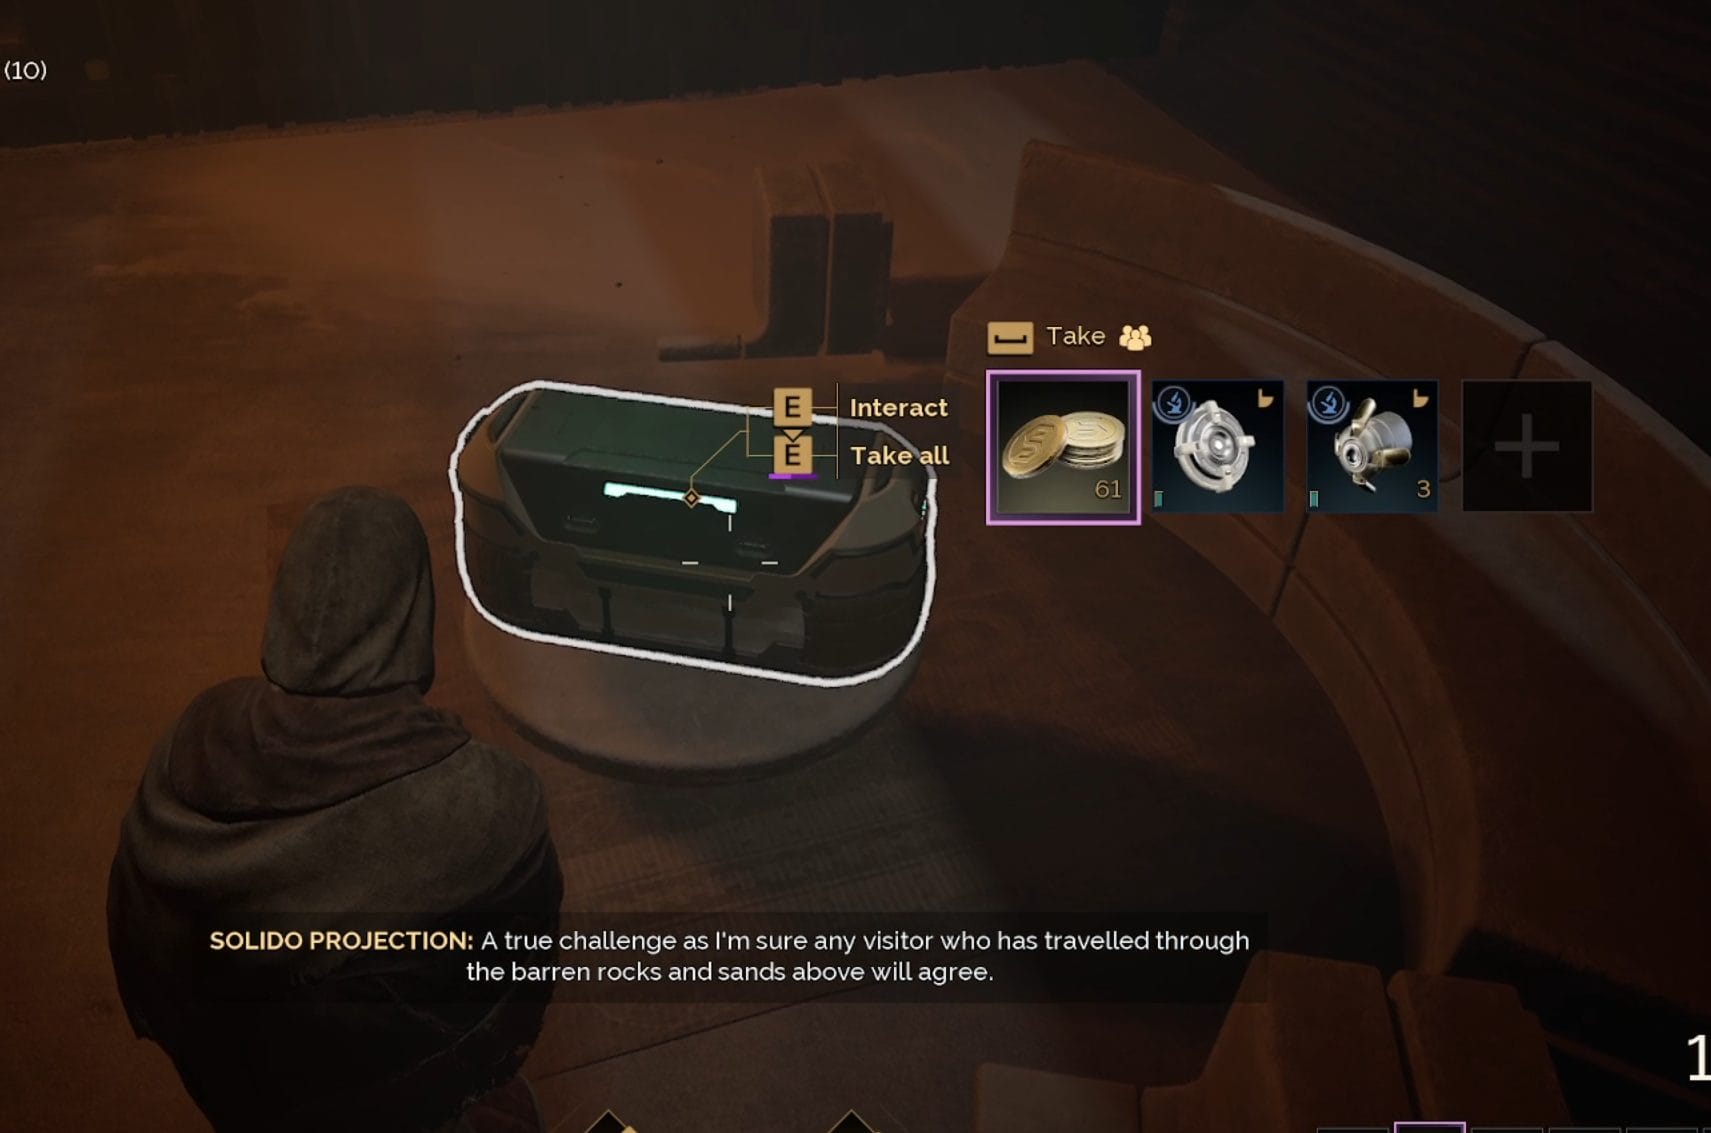
Three examples of chests with bright lights. This is what you should train your eye for. (Image credit: Funcom)
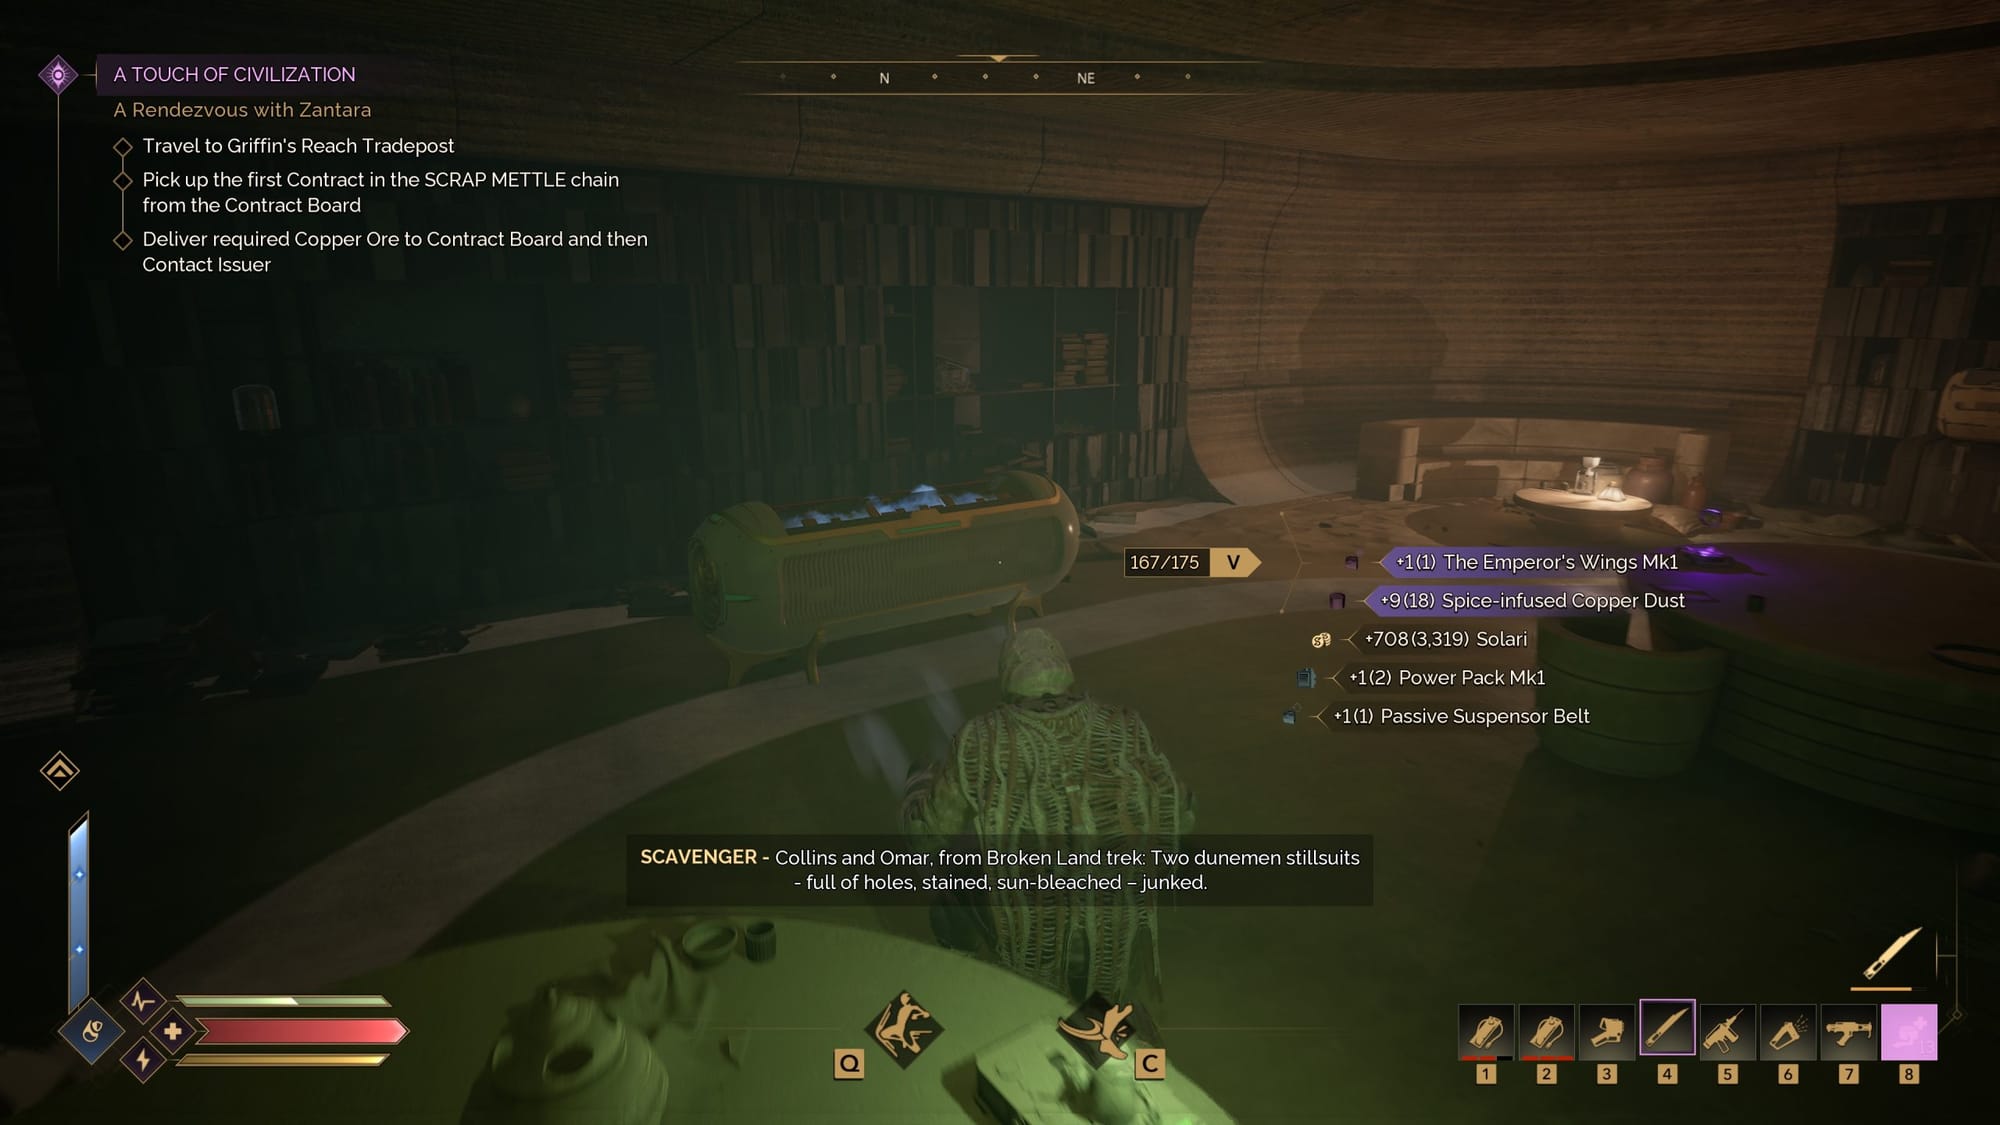
By keeping an eye out for these luminous signals, you'll consistently find valuable crafting materials and resources. Additionally, exploring dungeon-like Points of Interest (PoIs) will often reward you with Spice-infused materials and rare, Unique Schematics—making these ventures well worth your time.
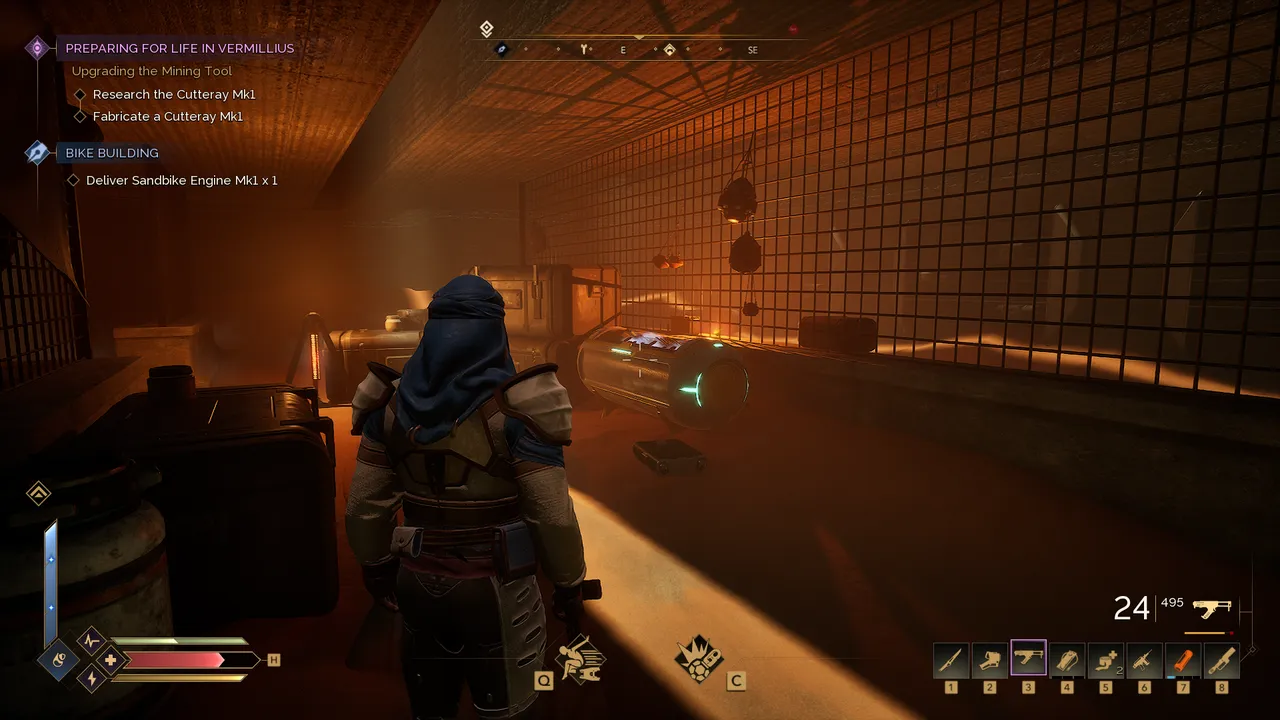
🔎 Look for Intel nodes to level up your crafting and thus your gear.
Gathering Intel points is essential for crafting and progression. Intel points in Dune: Awakening function similarly to research points found in other survival-crafting games—they’re crucial for unlocking crafting recipes and advanced technologies. You'll find these valuable points scattered across Intel Nodes, specific locations rich with collectible Intel.
Once you've scanned a region using your Survey Probe, check your map carefully for these Intel Nodes—often located within outposts or other resource-rich areas. Successfully gathering Intel from these points grants significant XP bonuses and accelerates your progression by unlocking essential schematics.
Intel Nodes are scattered throughout the world. Available points will be marked on the map after you perform a Survey. (Image credit: Funcom)
Each Intel pickup grants around 3 Intel Points in early-game areas. Be cautious, though; these Points of Interest (PoIs) are typically guarded by Scavengers, so always bring weapons for self-defense.
To easily spot Intel pickups, listen carefully for their distinctive humming sound, and watch for the bright green light accompanied by a holographic compass symbol. Intel locations also clearly indicate when you've fully collected all available Intel at a site.
Remember: exploration is vital, so thoroughly investigate these nodes to ensure you're unlocking the best vehicles, weapons, and advanced gear necessary to thrive in the later stages of the game.
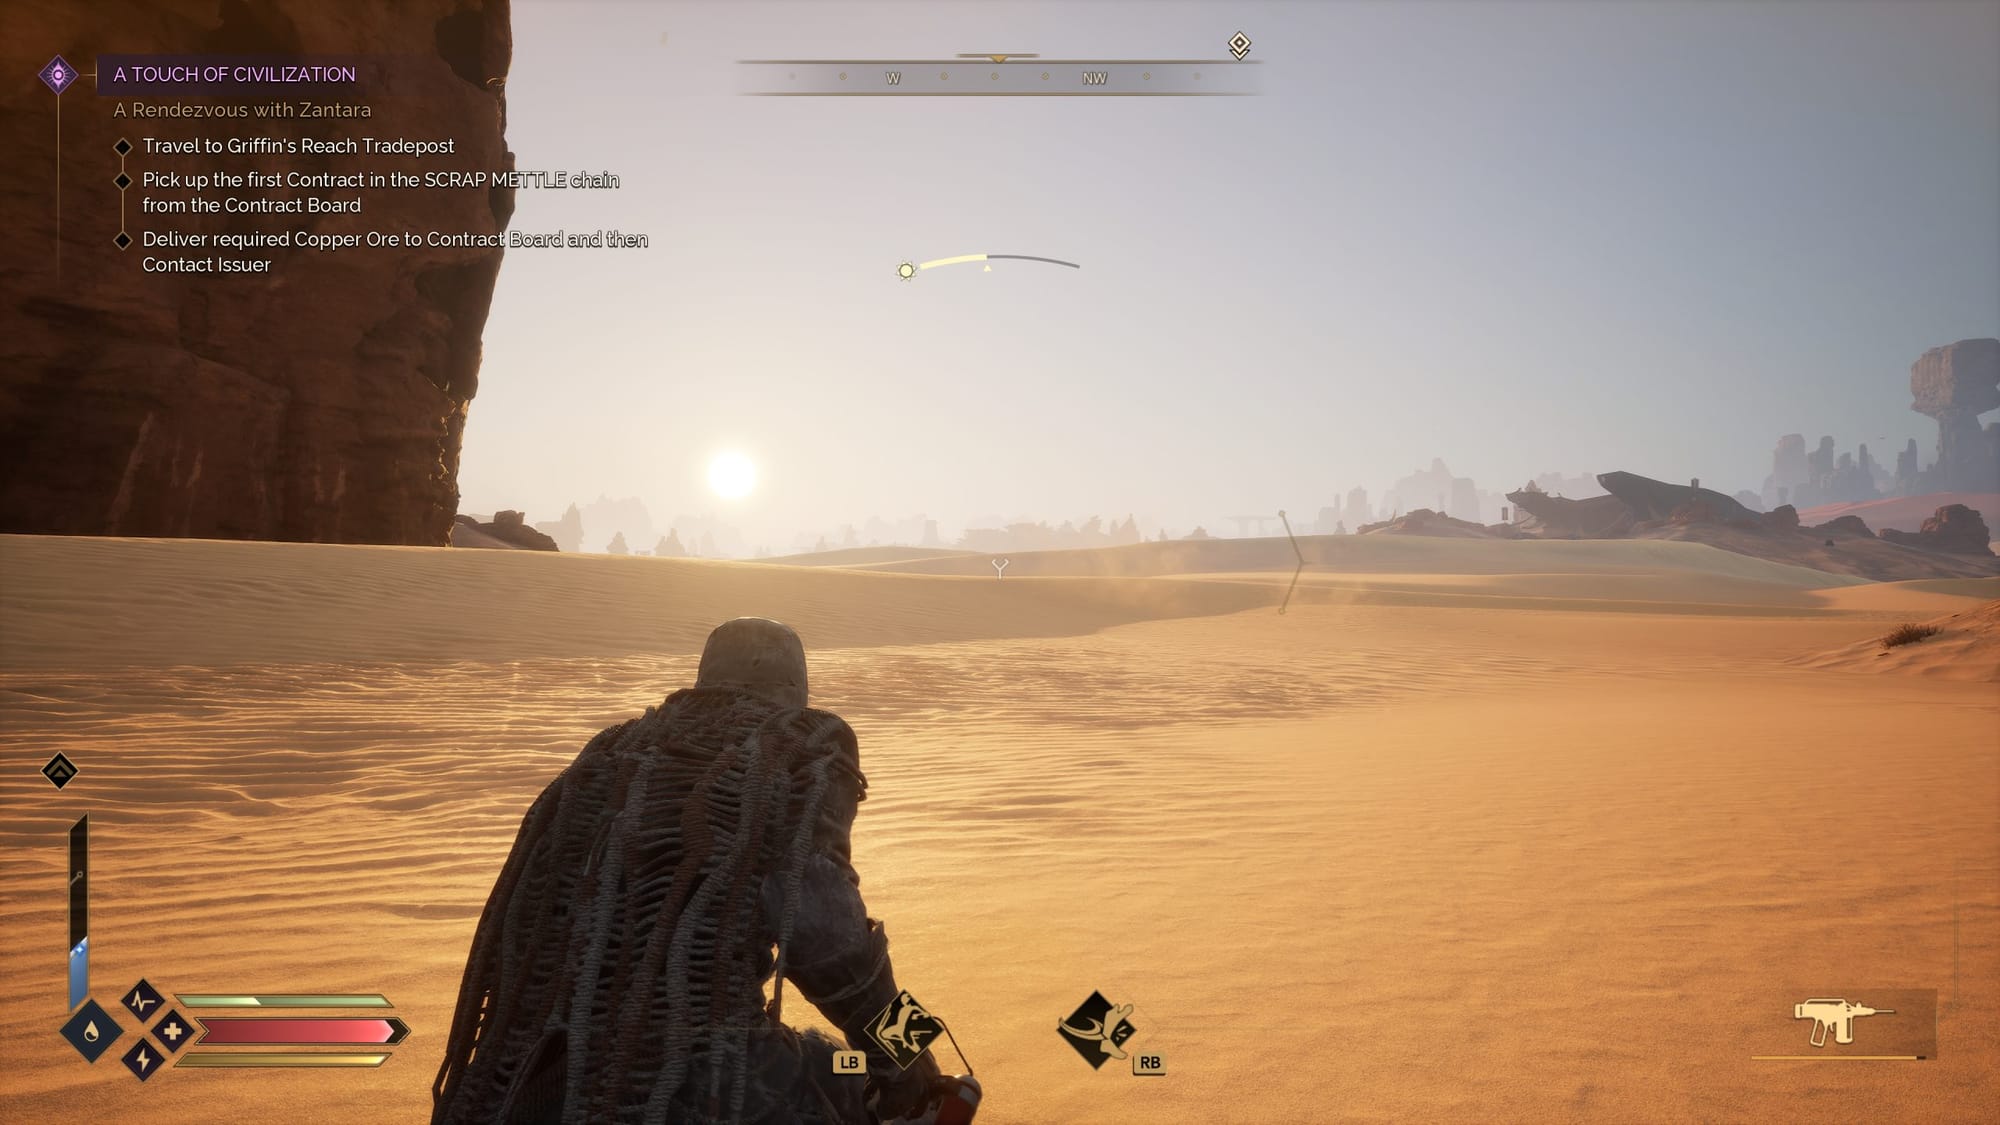
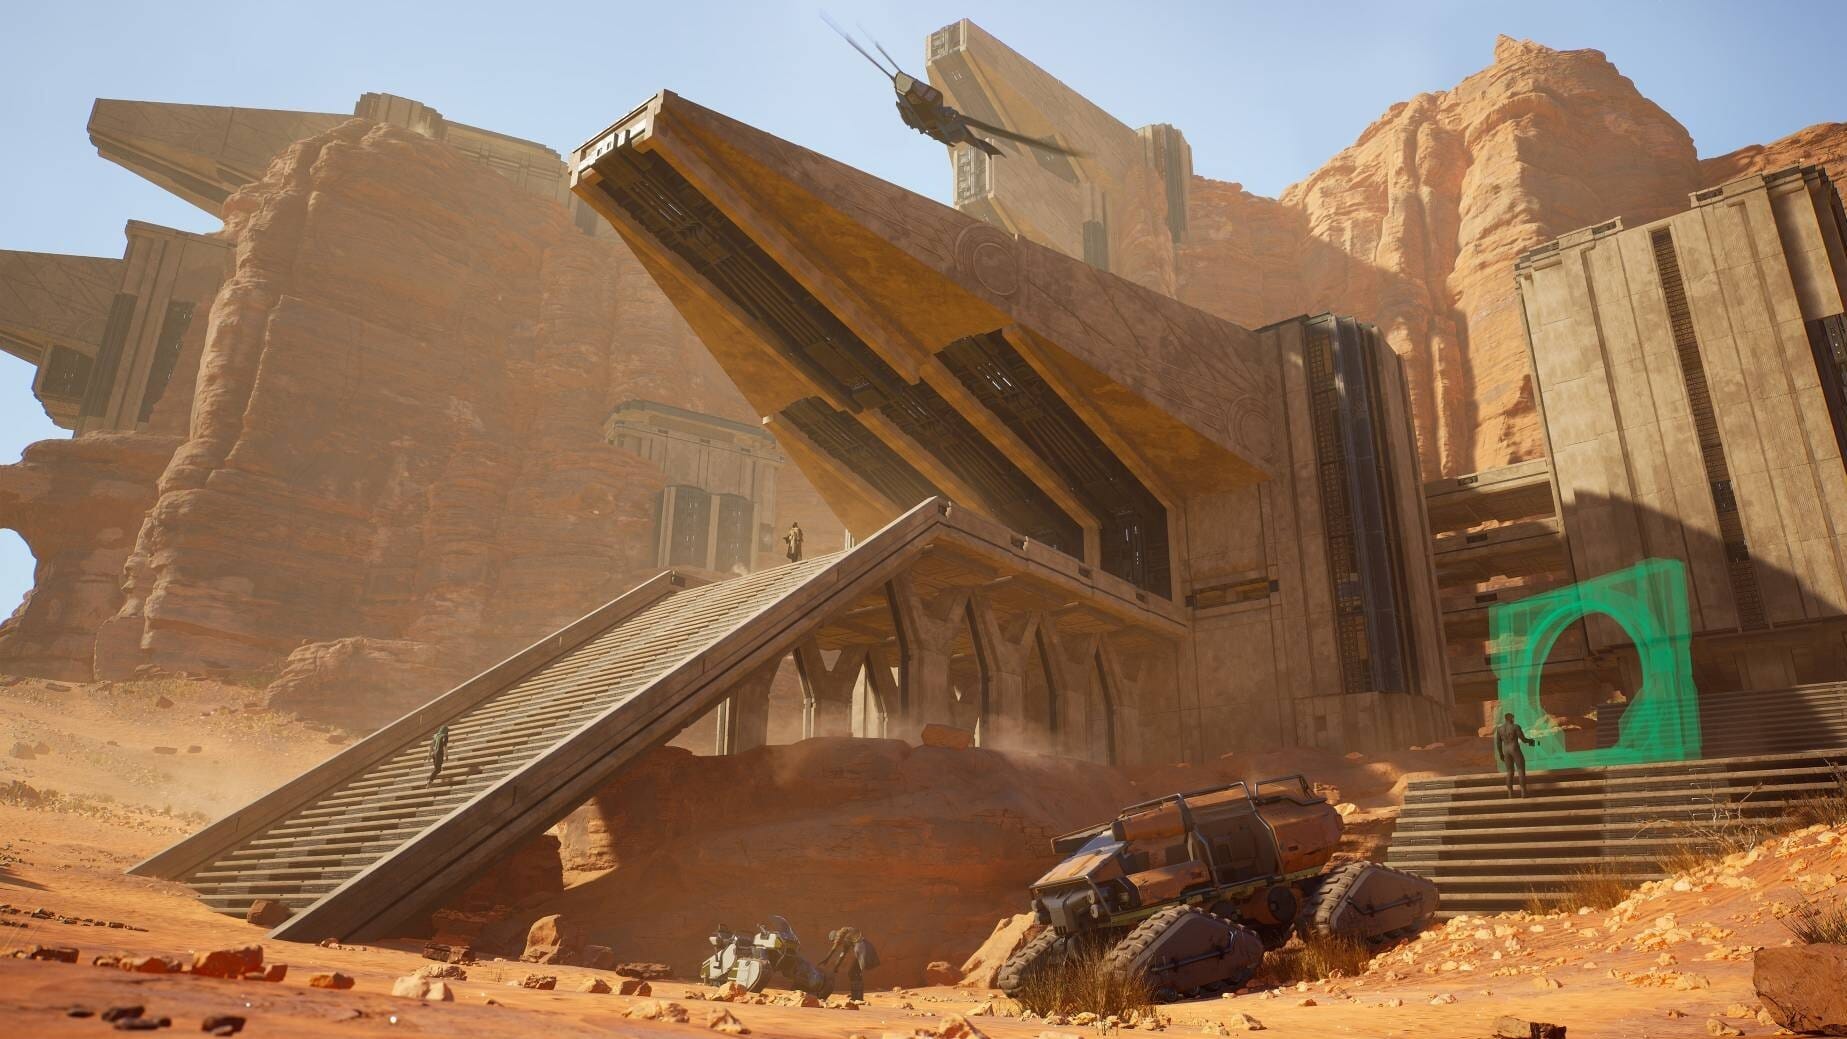
💰 If you're flush with cash, a Tradepost is a good way to get easy resources.
If your pockets are overflowing with Solari, Tradeposts offer a convenient shortcut to acquiring resources quickly and safely.
Early in your journey through Dune: Awakening, you'll encounter the Griffin's Reach Tradepost as part of the main questline. However, each region across Arrakis has its own Tradepost, acting as hubs where you can accept missions, interact with various factions, and—most importantly—trade with merchants. Although these traders rarely stock exceptionally rare items, they're invaluable for swiftly obtaining essential resources without the risks involved in scavenging dangerous territories.
Additionally, Tradeposts often host Trainers—special NPCs who unlock new skill trees and abilities. Be sure to explore these hubs thoroughly; what starts as a simple shopping trip could end up significantly enhancing your capabilities.

⚔️ Build faction reputation in between completing main and side quests.
Between main missions and side quests, dedicate time to boosting your faction reputation.

Increasing your standing with factions is crucial in Dune: Awakening, as it unlocks major features and opportunities—most notably the ability to purchase your very own Ornithopter, dramatically expanding your exploration capabilities.
🎯 Stay on Top of the Main Quest
Avoid ignoring the main story—completing these core missions not only unlocks powerful new technologies but also introduces you to some of Dune: Awakening’s deeper mechanics and systems. Keeping pace with the storyline ensures you have all the tools and knowledge needed for long-term survival and success on Arrakis.

Get the Advanced Fremen Deathstill as soon as possible, or at least the basic model.

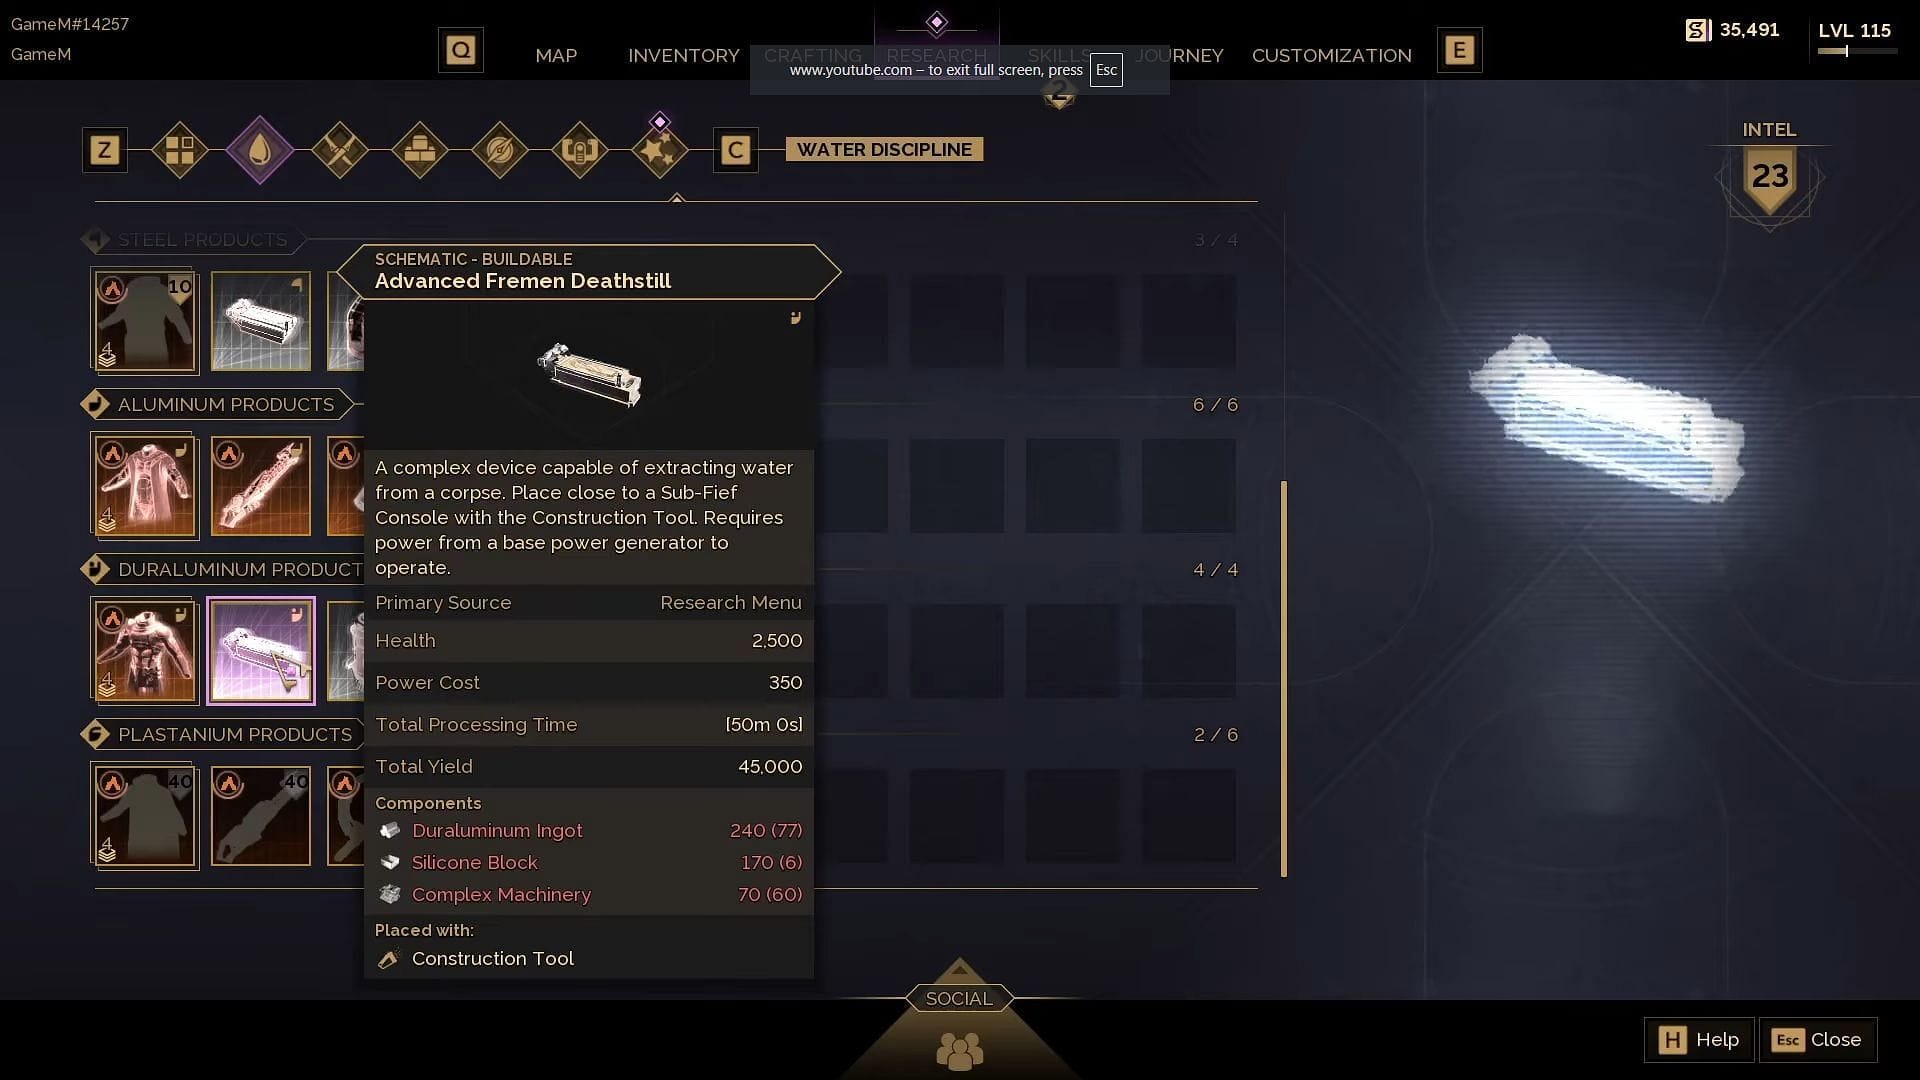
The Advanced Fremen Deathstill is the most efficient way to harvest water in Dune: Awakening. It can generate a whopping 45,000 mL of water per hour. Say goodbye to manual blood harvesting. Just plop a corpse in there every once in a while. (Image source: Funcom)
☀️ Beware of Sunstroke
Keep a close eye on your sunstroke bar —don’t let it max out. While sunstroke itself won't directly harm or kill you, it significantly accelerates dehydration.
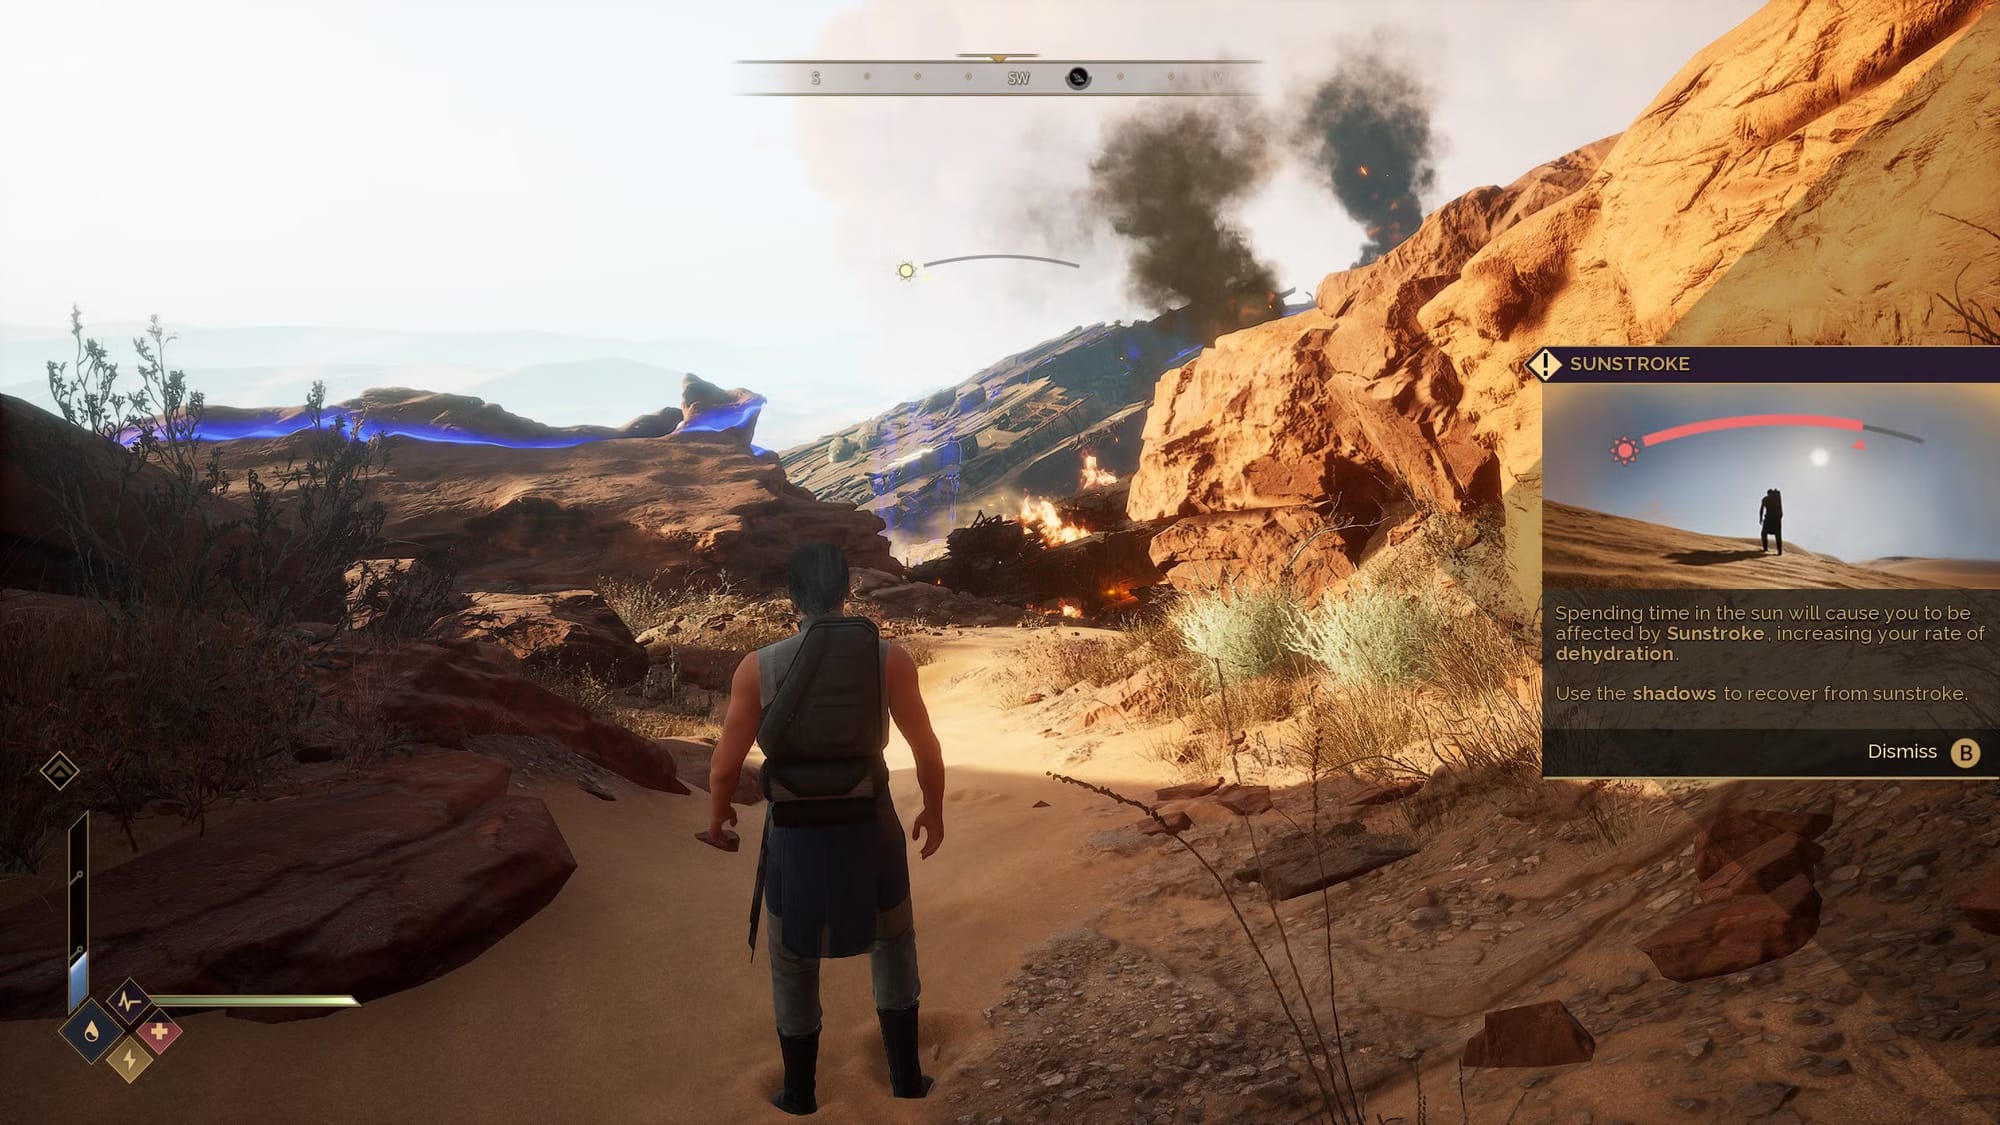
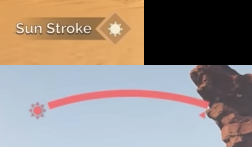
Your sunstroke bar is the curved bar in the top-middle of the screen. (Image credit: Funcom)
Rapid dehydration reduces your stamina regeneration and, if it reaches critical levels, begins draining your health.
🌞 Always Remain Close to the Shade
The sun is a deadly enemy. In Dune: Awakening, the scorching sun of Arrakis can quickly drain your water reserves, leading to dehydration and exhaustion—both of which can be fatal.
Water Discipline is essential from the very start, as even brief exposure to direct sunlight can rapidly prove lethal.
The simplest yet most vital strategy to survive is sticking to shaded areas whenever possible. Hugging rock walls or staying within the shadows cast by cliffs can drastically reduce the risk of insolation. Ideally, plan your main exploration activities during nighttime when the harsh sun isn’t a threat.
If caught in the open during daylight, quickly seek crevices or rock formations to shelter in until nightfall. Doing so helps conserve precious water, allows you to venture farther safely, gather more valuable loot, and avoid succumbing to Arrakis’s greatest danger: the relentless star, Canopus.
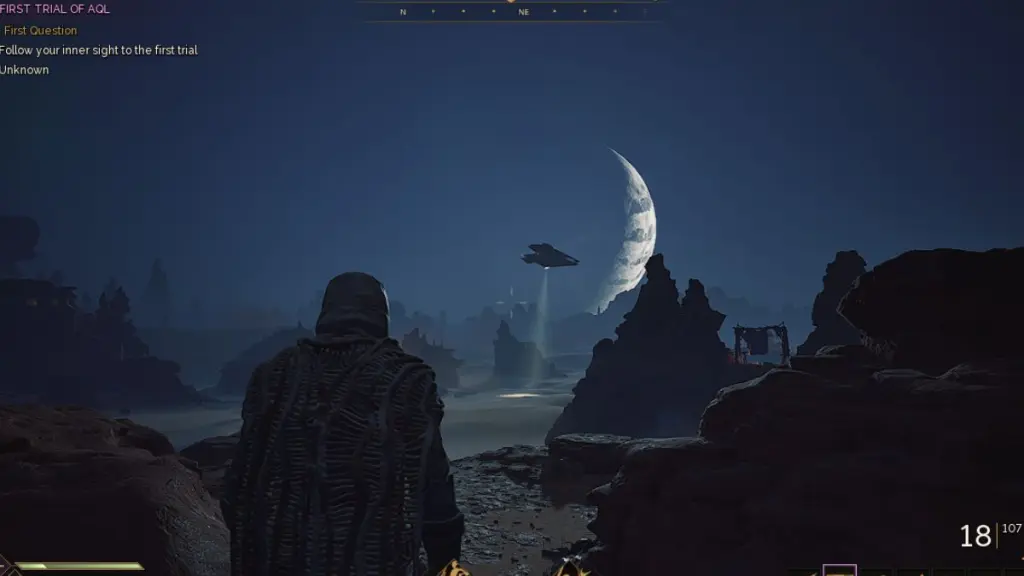
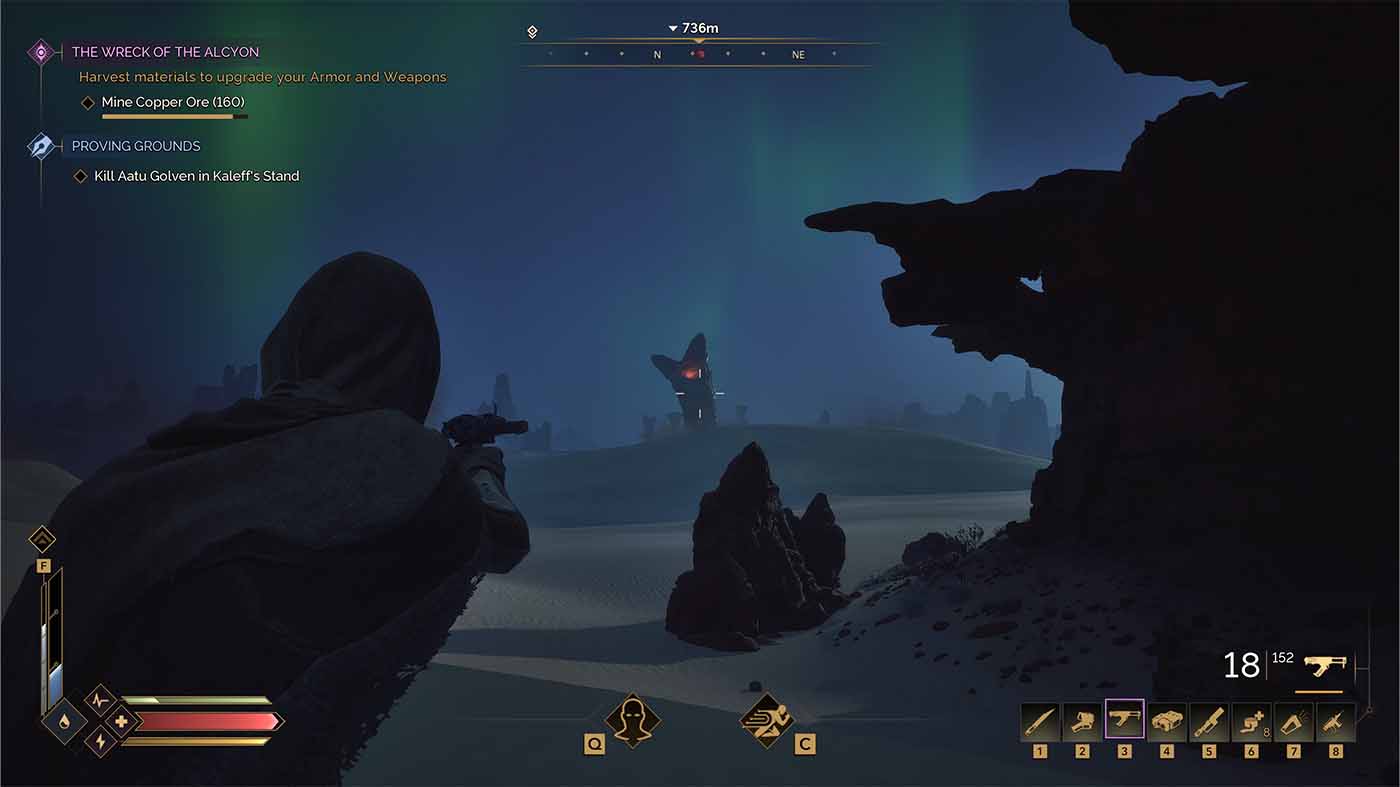
🌙 Explore at Night, Not Day.
In most survival games, darkness brings danger—but on Arrakis, it's actually the daytime that's far more deadly due to the intense heat of the sun.
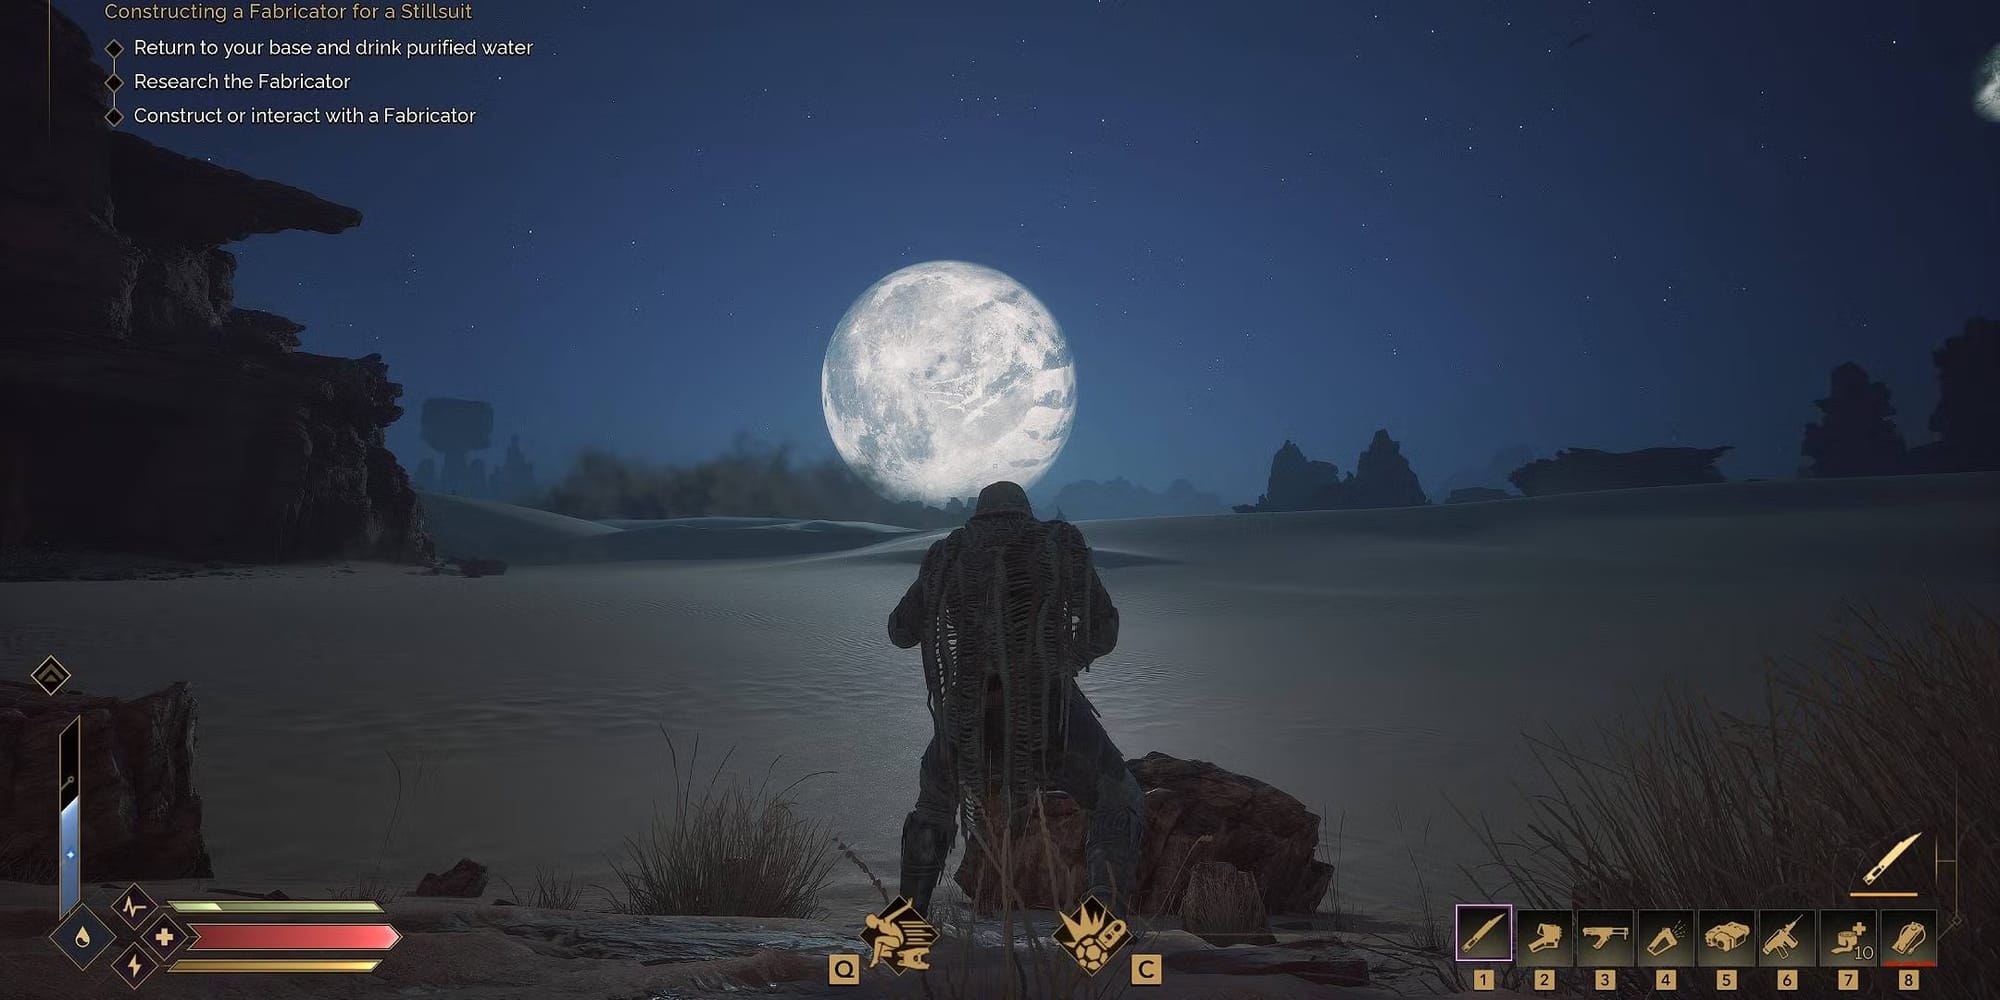
Nighttime exploration provides two key advantages:
First, the absence of sunlight means you won't risk overheating, allowing you to move freely without constantly seeking shelter. If you must explore during daylight, carefully map out routes that pass through shaded resting spots.

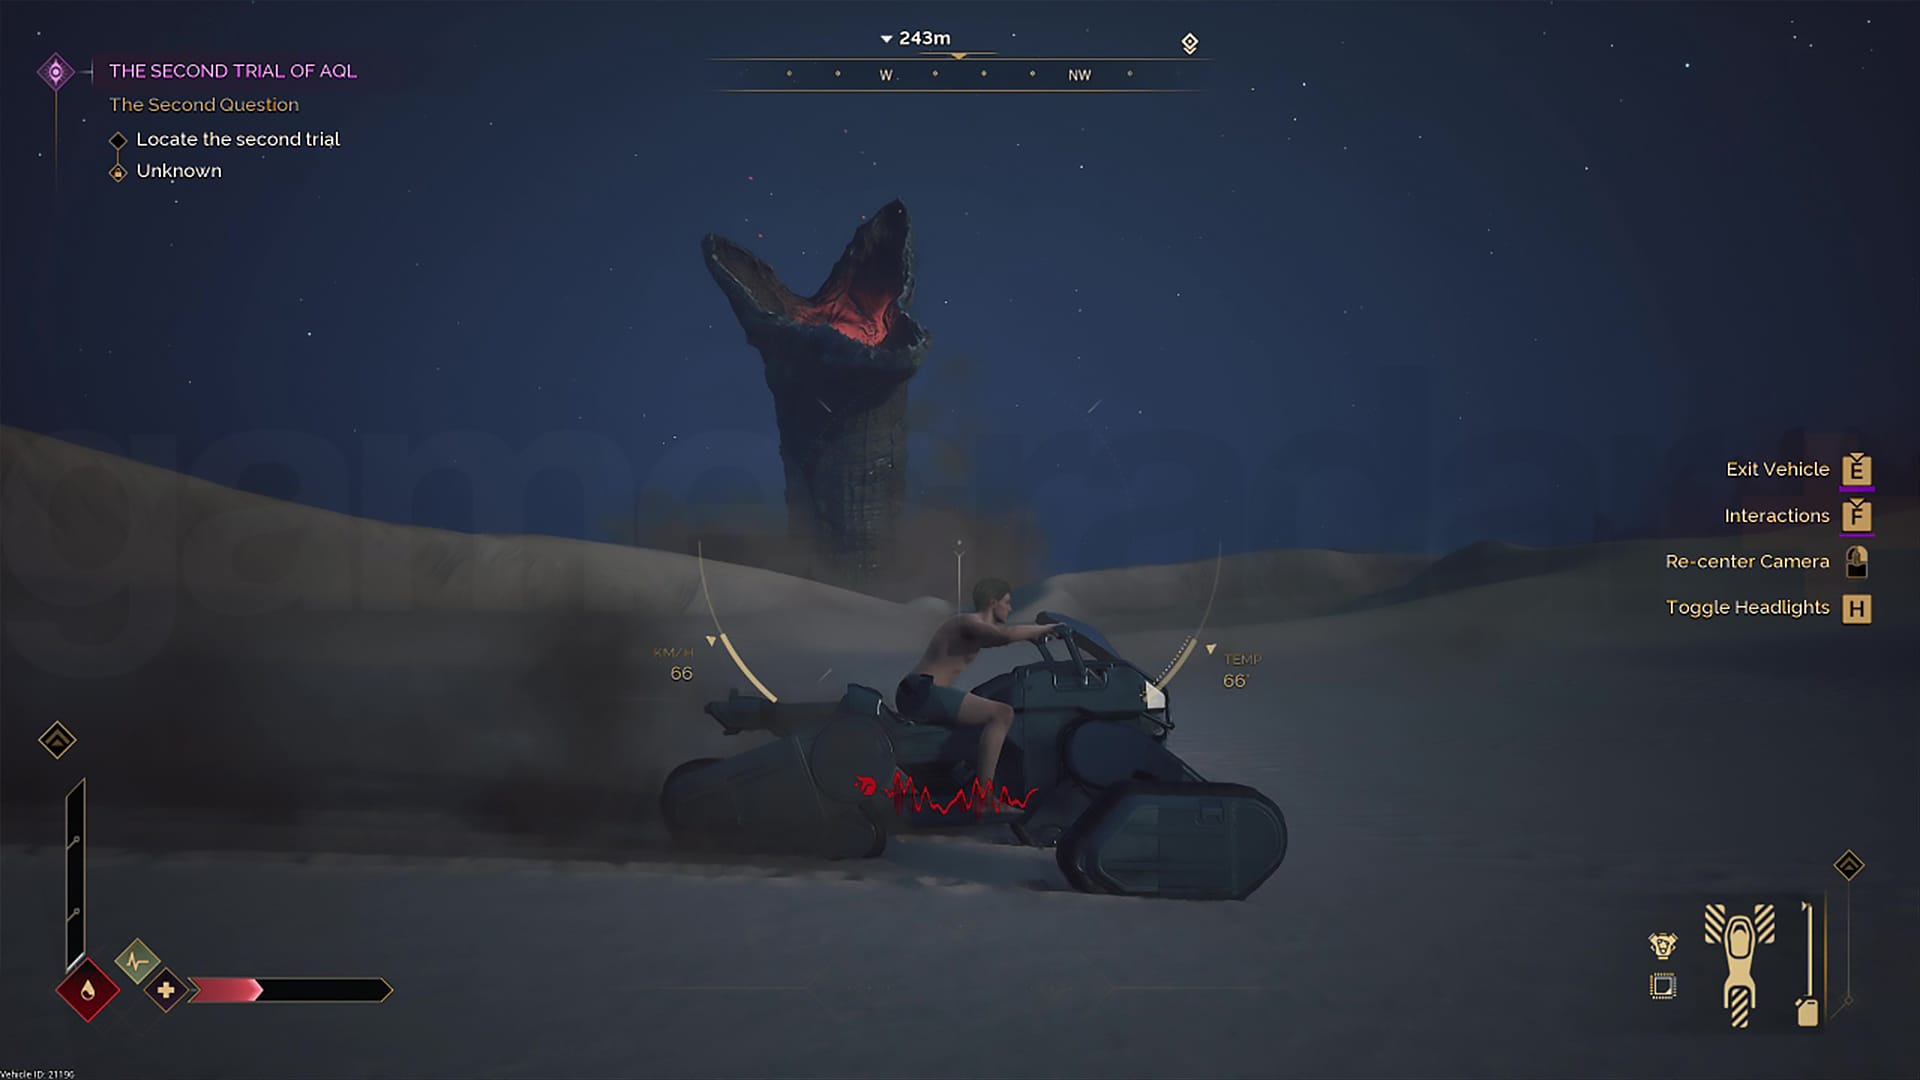
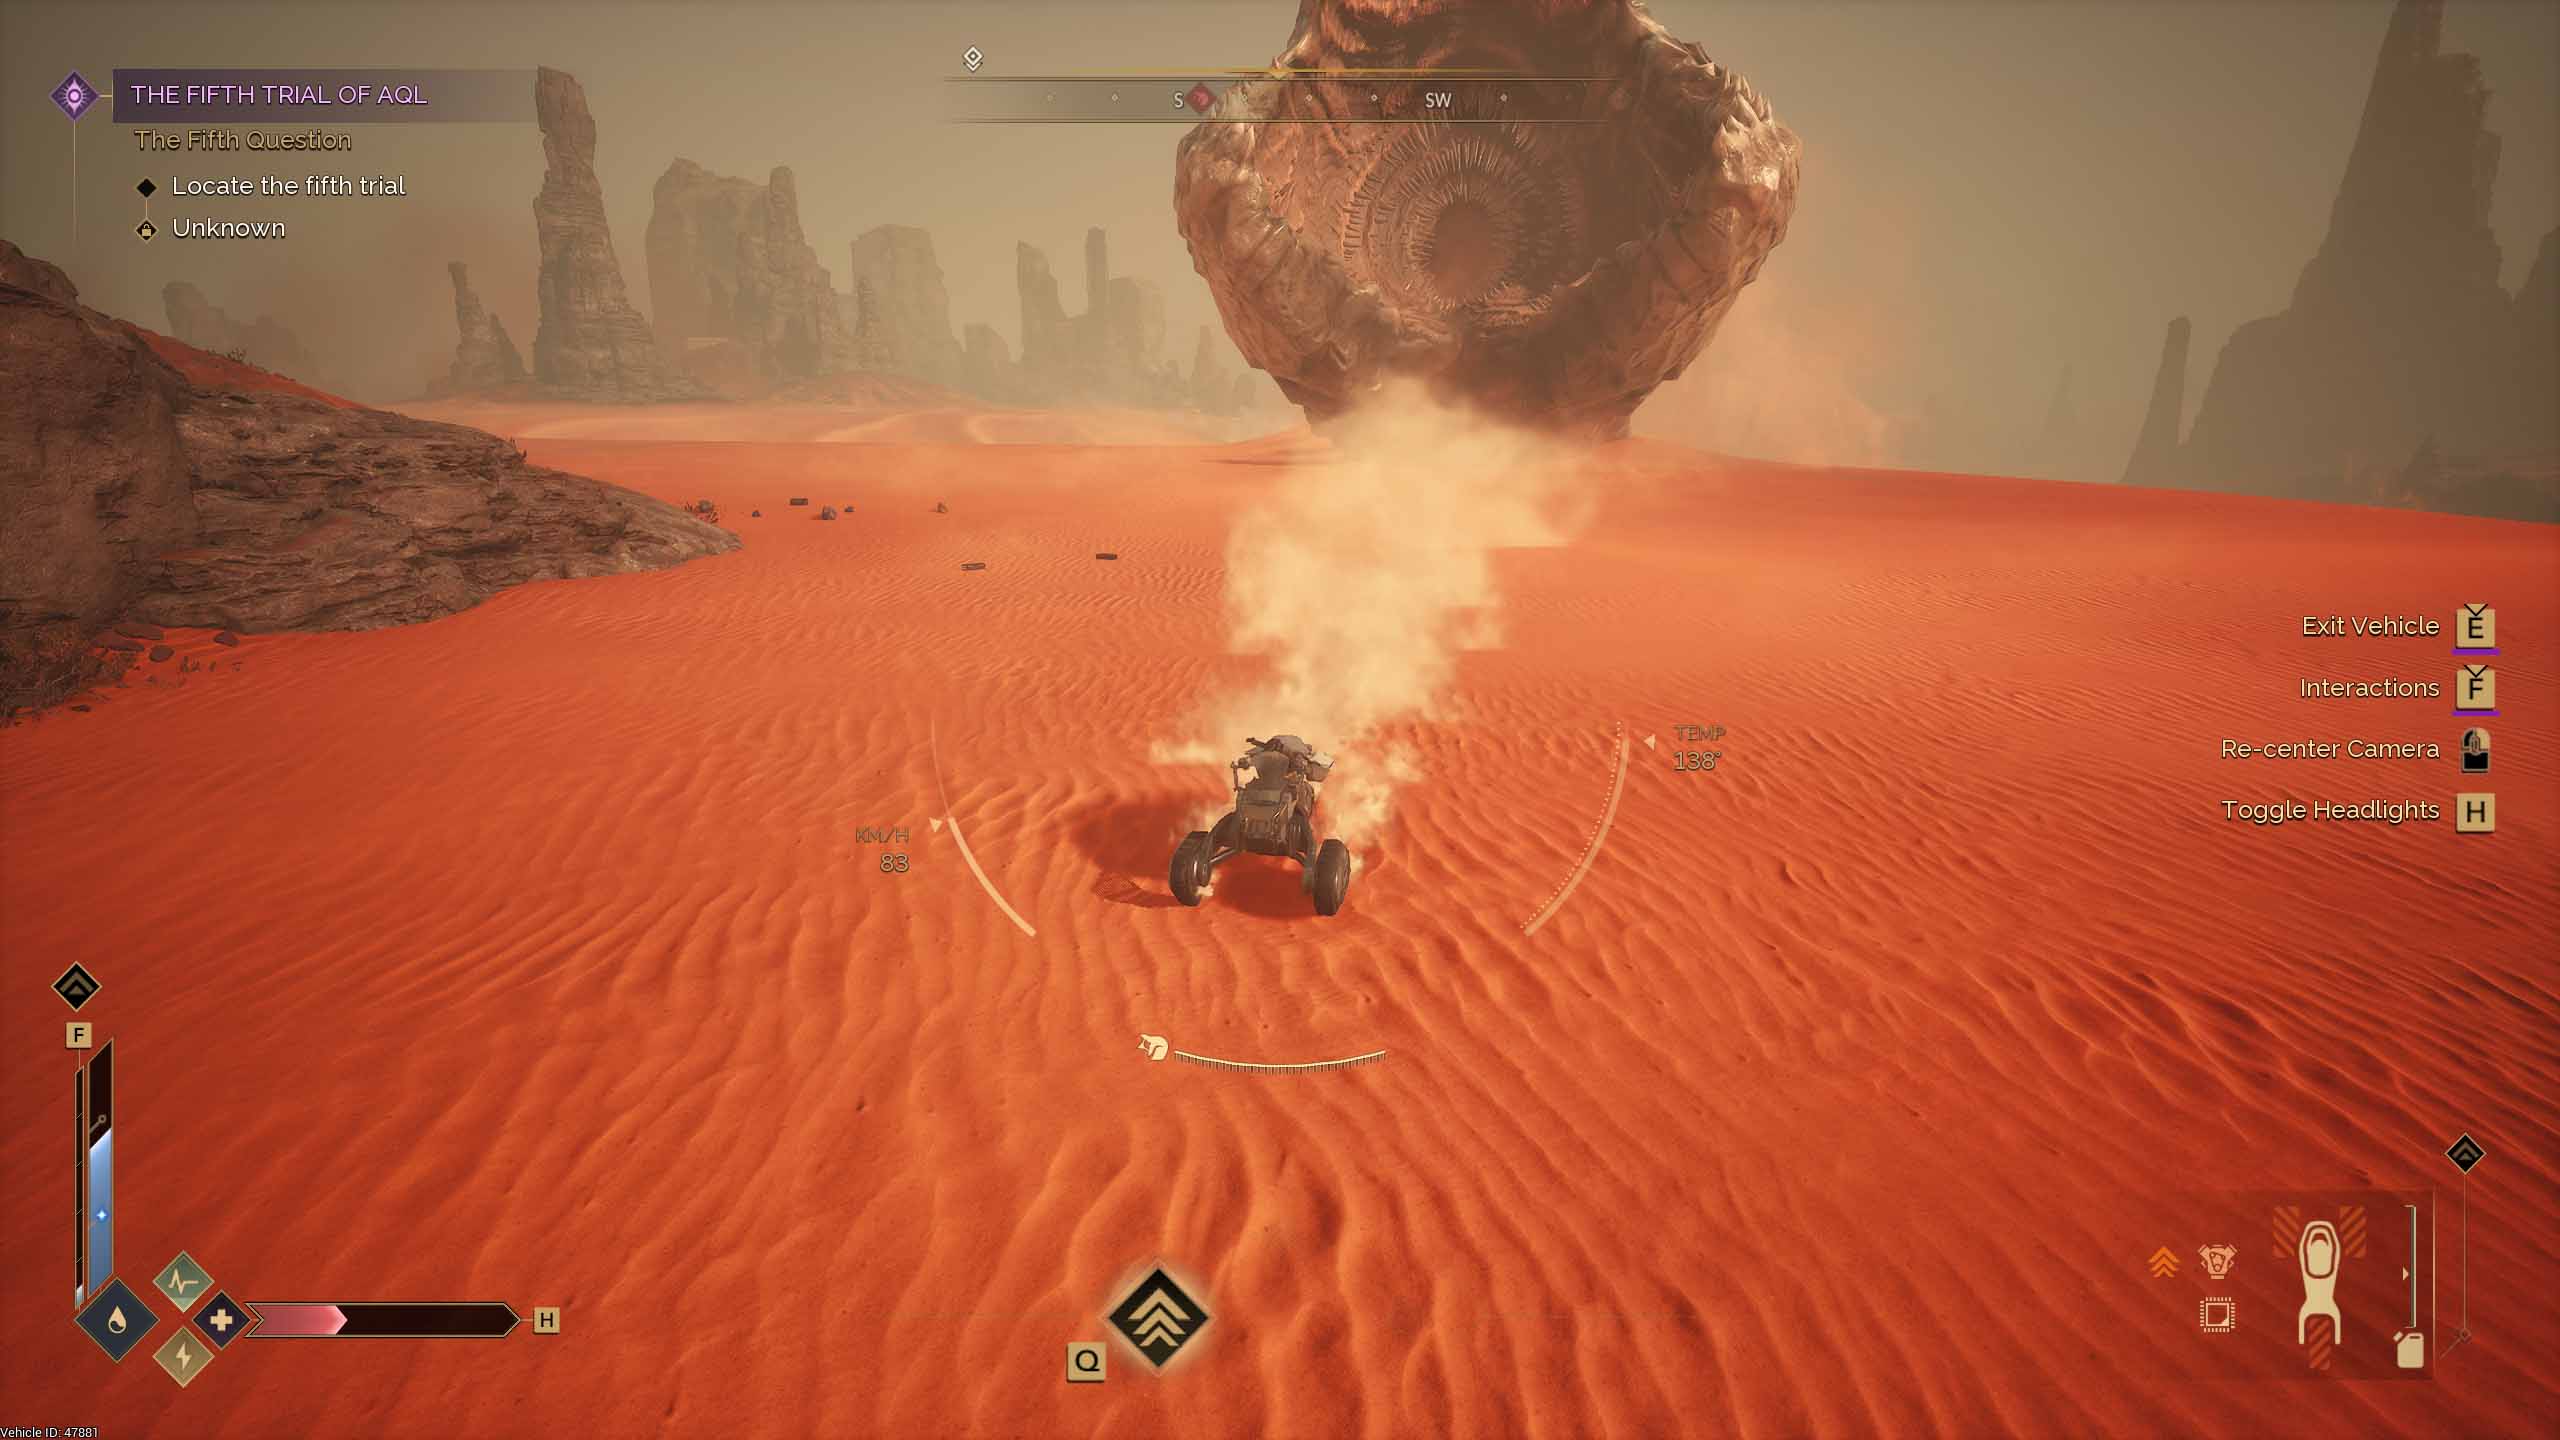
Second, many of Arrakis’s greatest threats emit noticeable light, becoming easier to spot in the dark.

Survey ships, glowing sandworm mouths, and other hazards stand out clearly at night, giving you crucial early warnings to avoid or prepare for danger.
💧 Always Keep a Reserve of Purified Water at Your Base
While your Stillsuit provides a helpful trickle of hydration, its slow recharge rate means it can't reliably serve as your main water supply.
Always maintain a healthy stockpile of purified water back at your base—ready to replenish your hydration at a moment’s notice in case you’re stumbling in from the desert.
🛡️ Use Suspensors and Shields with Caution
In Dune: Awakening, certain specialized devices greatly enhance your survival chances, with two of the most valuable being the Suspensor and the Shield. Suspensors lower your gravitational pull, enabling you to float, safely execute large jumps, and eliminate fall damage.
Shields, meanwhile, offer essential protection against ranged attacks. Both tools are game-changers, particularly the versatile Suspensor.
However, these benefits come with significant drawbacks. Both devices draw energy from your suit’s integrated power pack, meaning you'll quickly drain your supply if you don't manage energy carefully—always carry spare packs to avoid getting stranded at critical moments. Even more dangerously, both devices raise your vibrational footprint, dramatically increasing your chances of attracting Sandworms.
When traveling across open terrain, turn off these tech devices to minimize vibrations, making yourself less detectable and significantly safer from lurking threats beneath the sands.
🚨 Avoid Sardaukar Patrols at All Costs
In Dune: Awakening, encountering a Sardaukar Patrol means almost certain death, especially for newer players. These elite troops are frequently spotted at night, with small scouting ships patrolling overhead, illuminating the sands with powerful searchlights.
If you're caught in one of these searchlights, you'll be instantly paralyzed by an energy beam, leaving you helpless as Sardaukar troops descend for the kill. Armed with deadly Dart Rifles, these soldiers can effortlessly take you down from a distance—your early-game Makeshift Maula Pistol simply won’t suffice against them. Unless you consider yourself to be a particularly skilled player, don’t take them on.
To survive, remain vigilant, steer clear of searchlights, and avoid patrol routes altogether until you're better equipped and ready to face these formidable enemies.
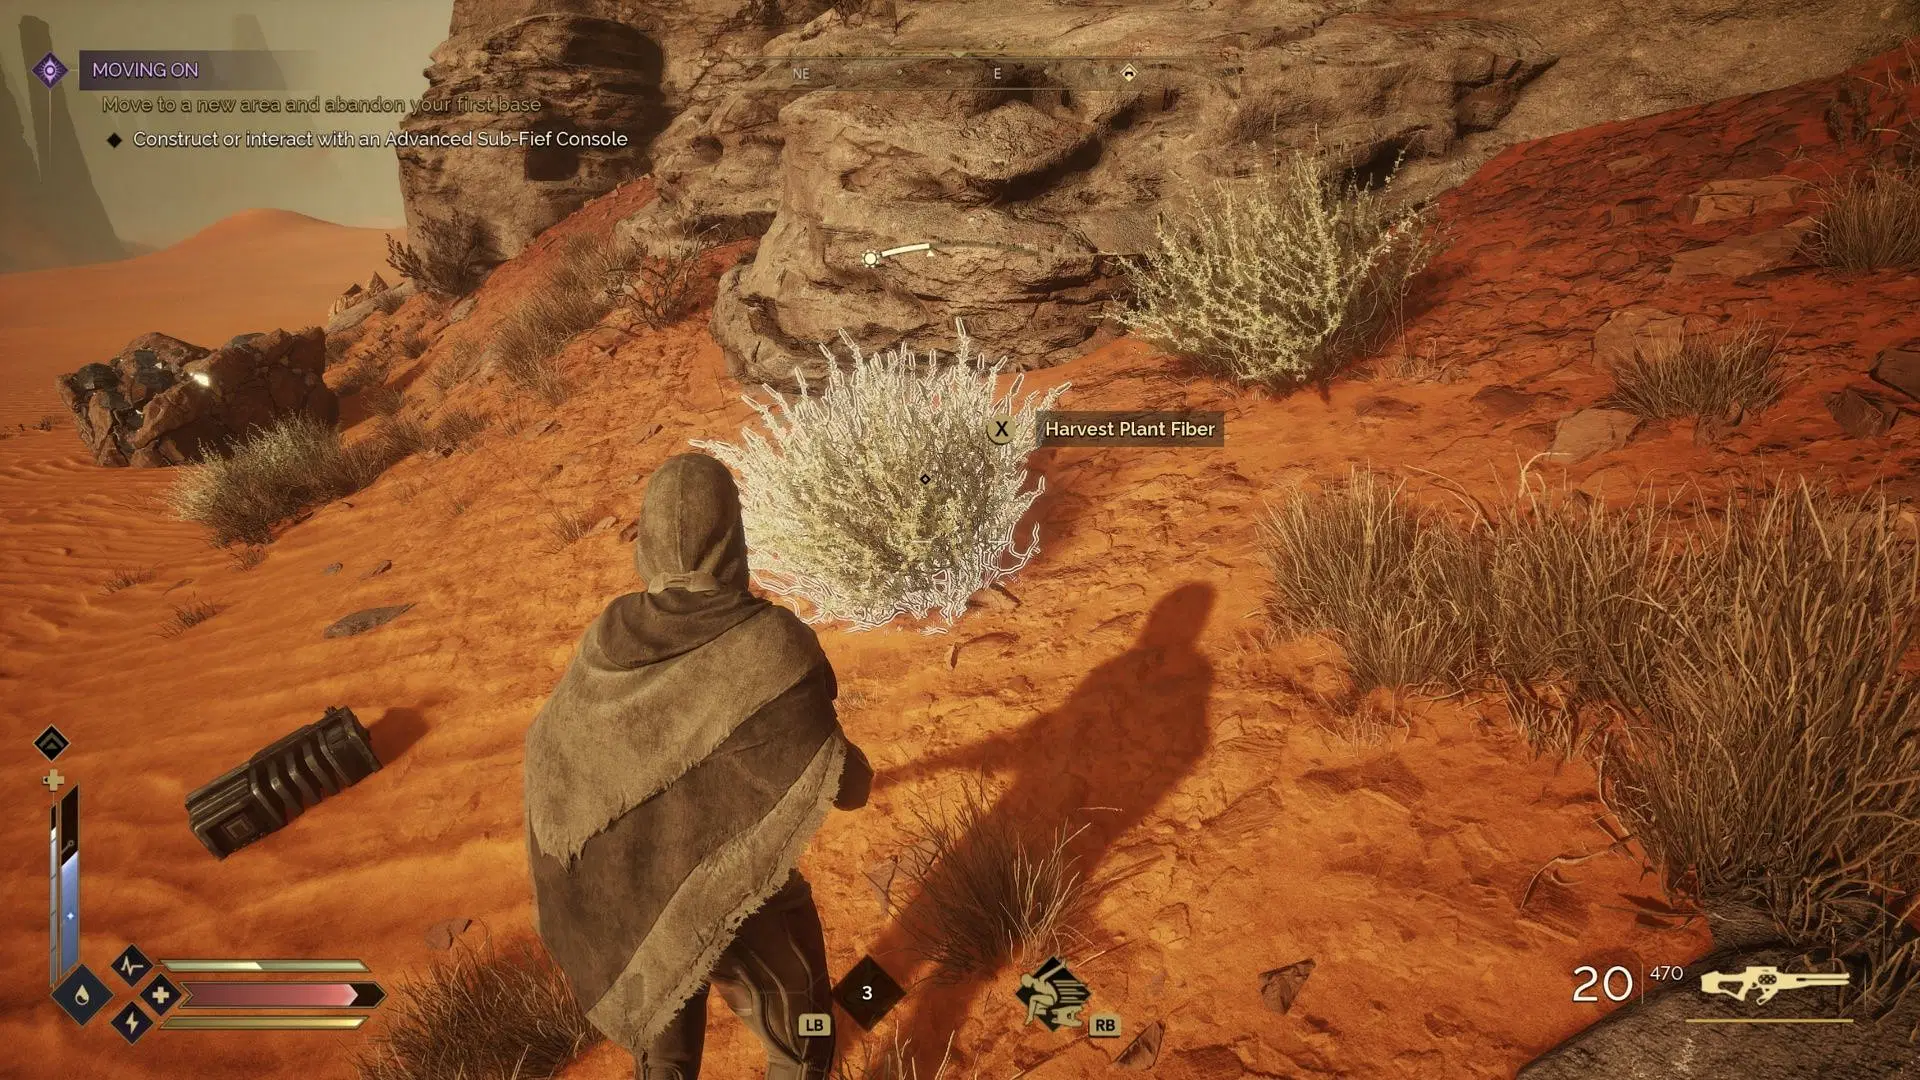
🌿Grab all the granite, plant fiber, copper, and metal you can find.
These materials are required for building walls, foundations, and most other base and progress-related machines and crafting recipes.
🏚️ Don’t Get Too Comfortable in Your First Base
Your initial base in Dune: Awakening isn't meant to be permanent. As you progress through the story, you'll inevitably need to leave it behind and relocate elsewhere.

While dismantling structures will refund some materials, moving all your stored resources to your new home can quickly become tedious.

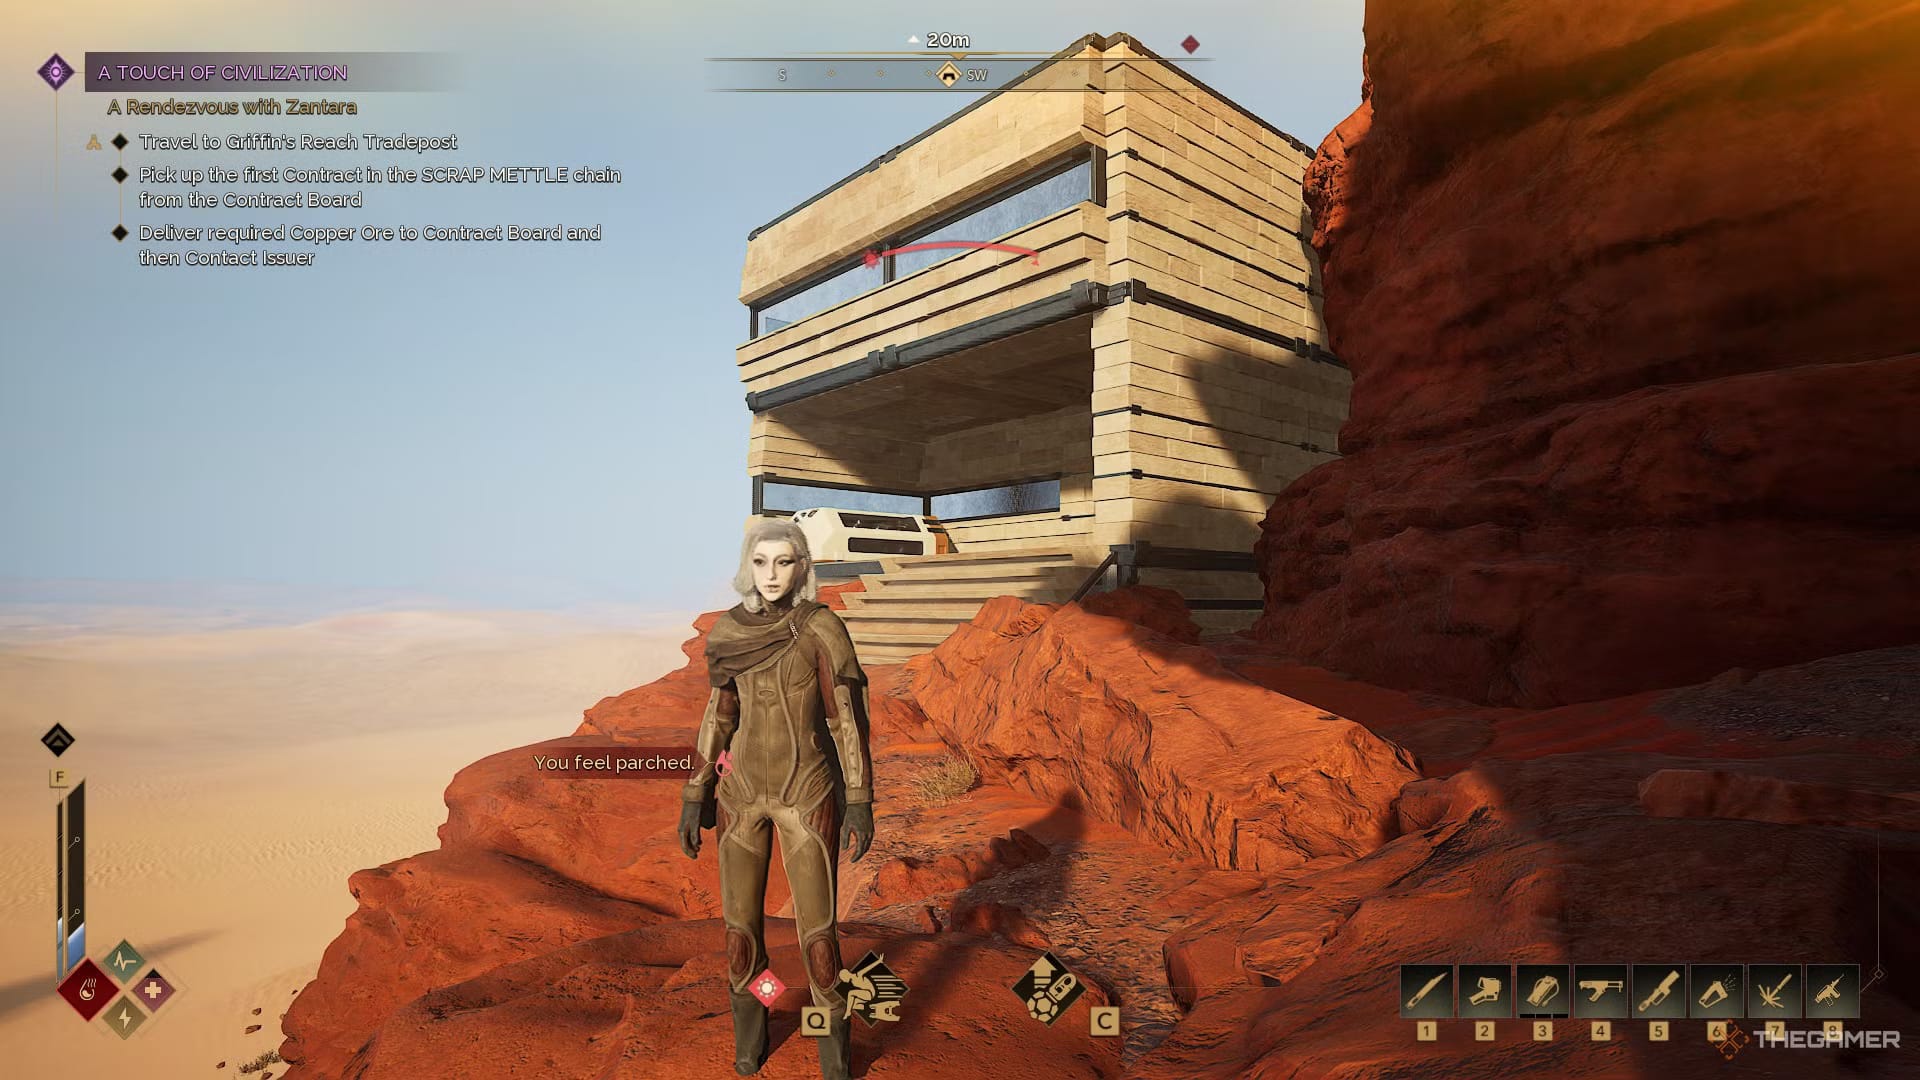
Do NOT build large grand houses like these as your first house. You will be forced to abandon your first house soon after you build it for a quest. (Image credit: Funcom)
Do not spend time decorating your first house. You will need to relocate soon. Please keep this in mind. I have heard of players who spent hours decorating their little humble abode then realized they had a quest to abandon their home.

Keep the exterior small and the interior contents simple. Just the bare necessities for crafting your Sandbike, storage, and hydration.
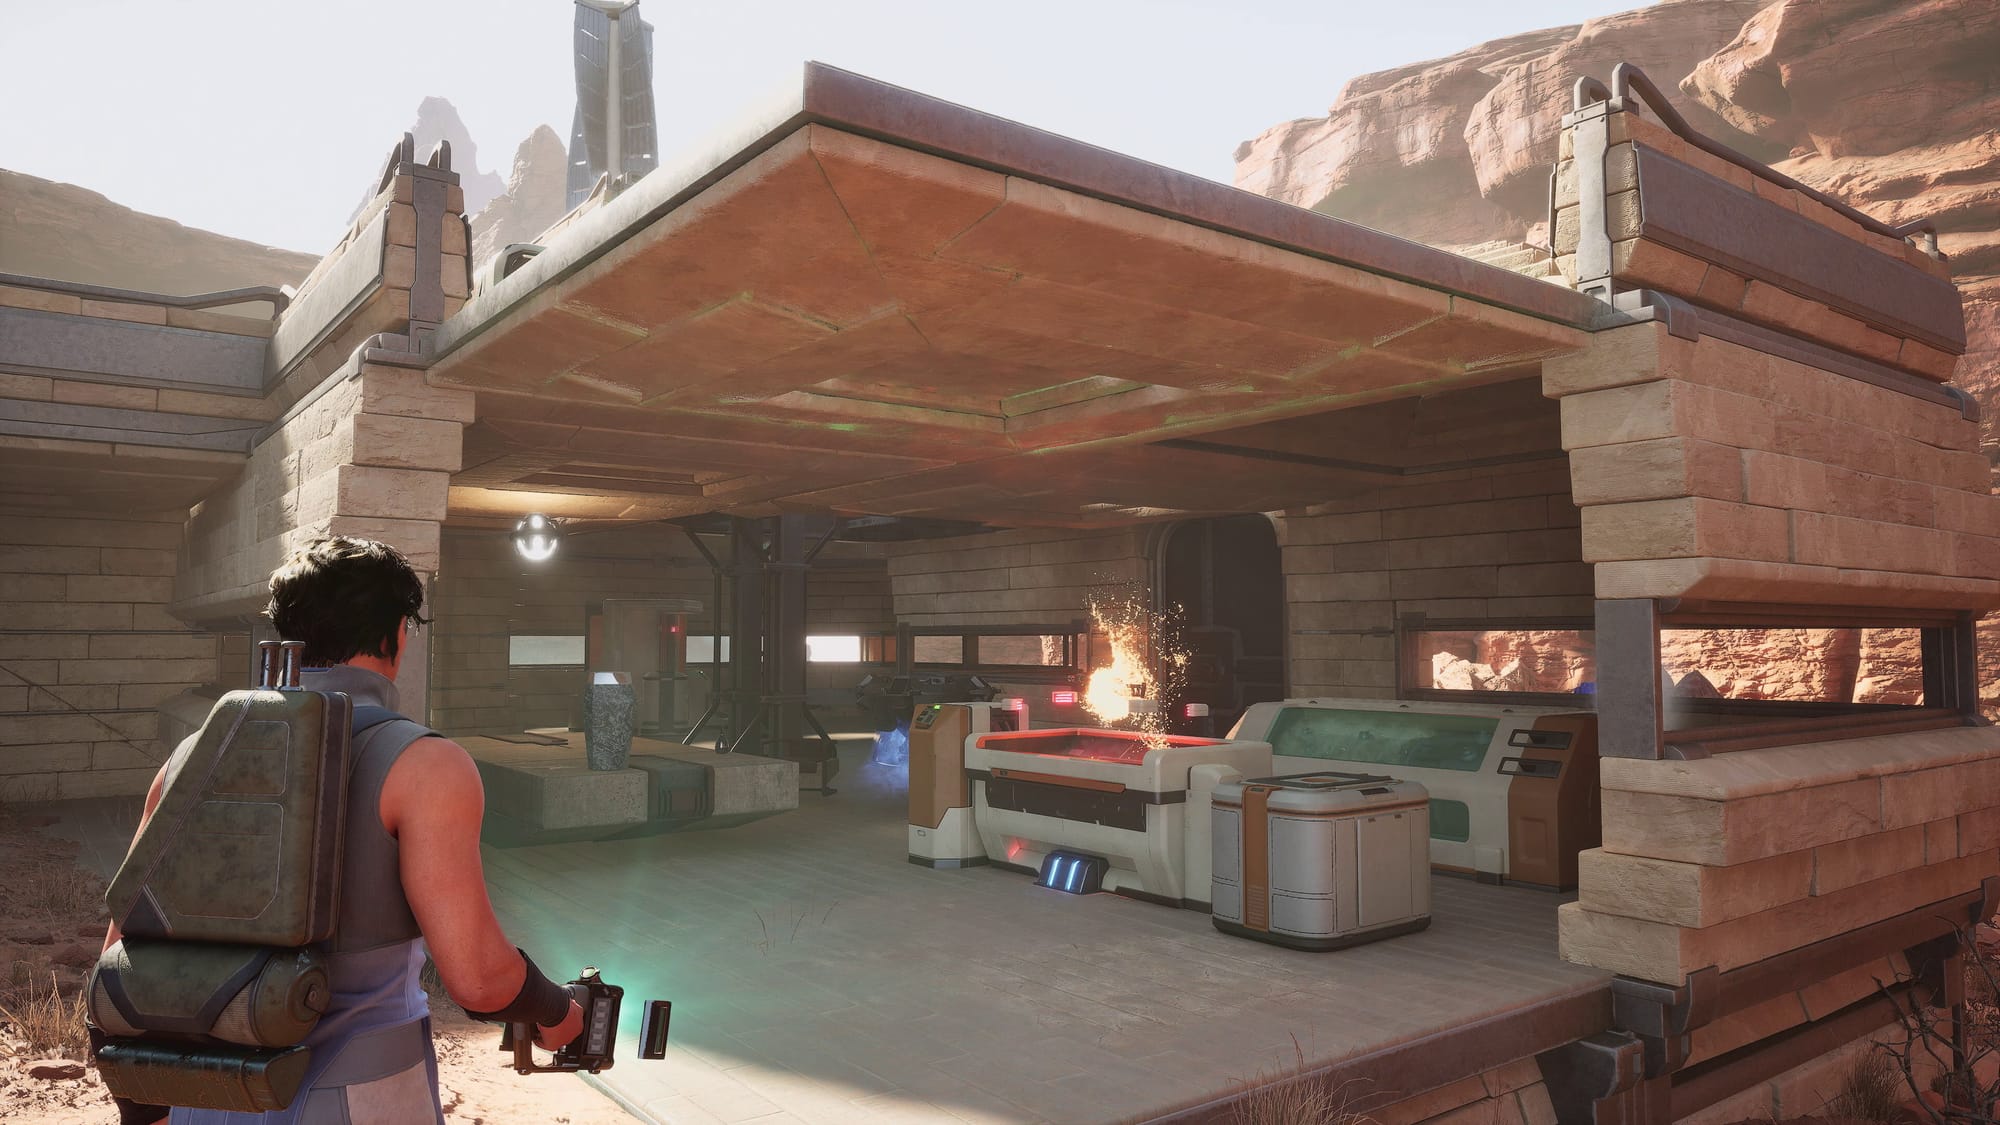
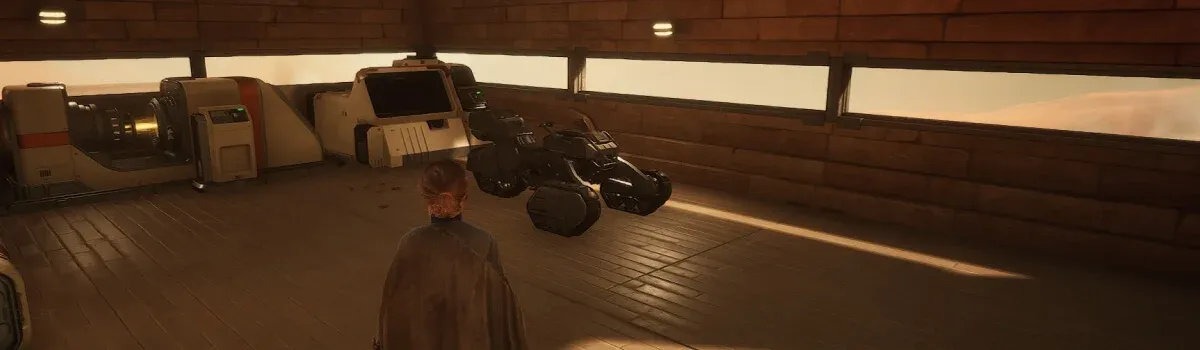

THESE are the types of small houses you should make as a first home in Dune: Awakening. (Walls removed to show the interior contents.) Anything bigger is a waste of effort. Save the extravagant house and decor for the endgame. (Image credit: Funcom)
Treat your first base as temporary storage, and avoid investing too heavily in it emotionally or practically. Remember, the real base-building begins once you're settled in a more permanent location.
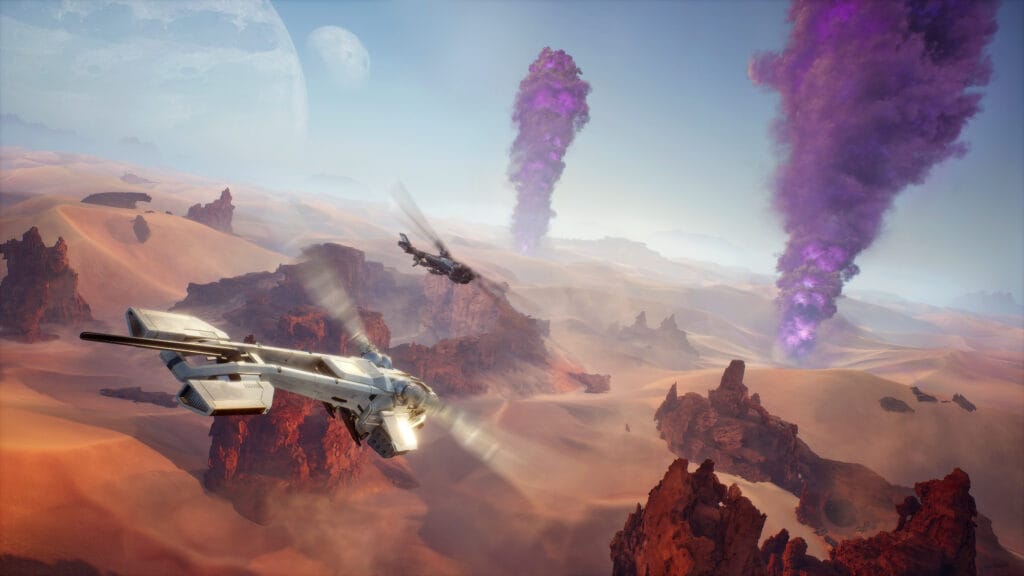

Spice blows in the Deep Desert and player-versus-player ornithopter combat are part of the endgame of Dune: Awakening. (Image credit: Funcom)

📦 Craft Storage Chests Early
Build several storage chests as soon as possible to store your surplus rocks, plants, and other resources. Your base’s initial sub-fief storage is limited, so having dedicated storage chests ensures you won't have to discard valuable finds while exploring Arrakis.
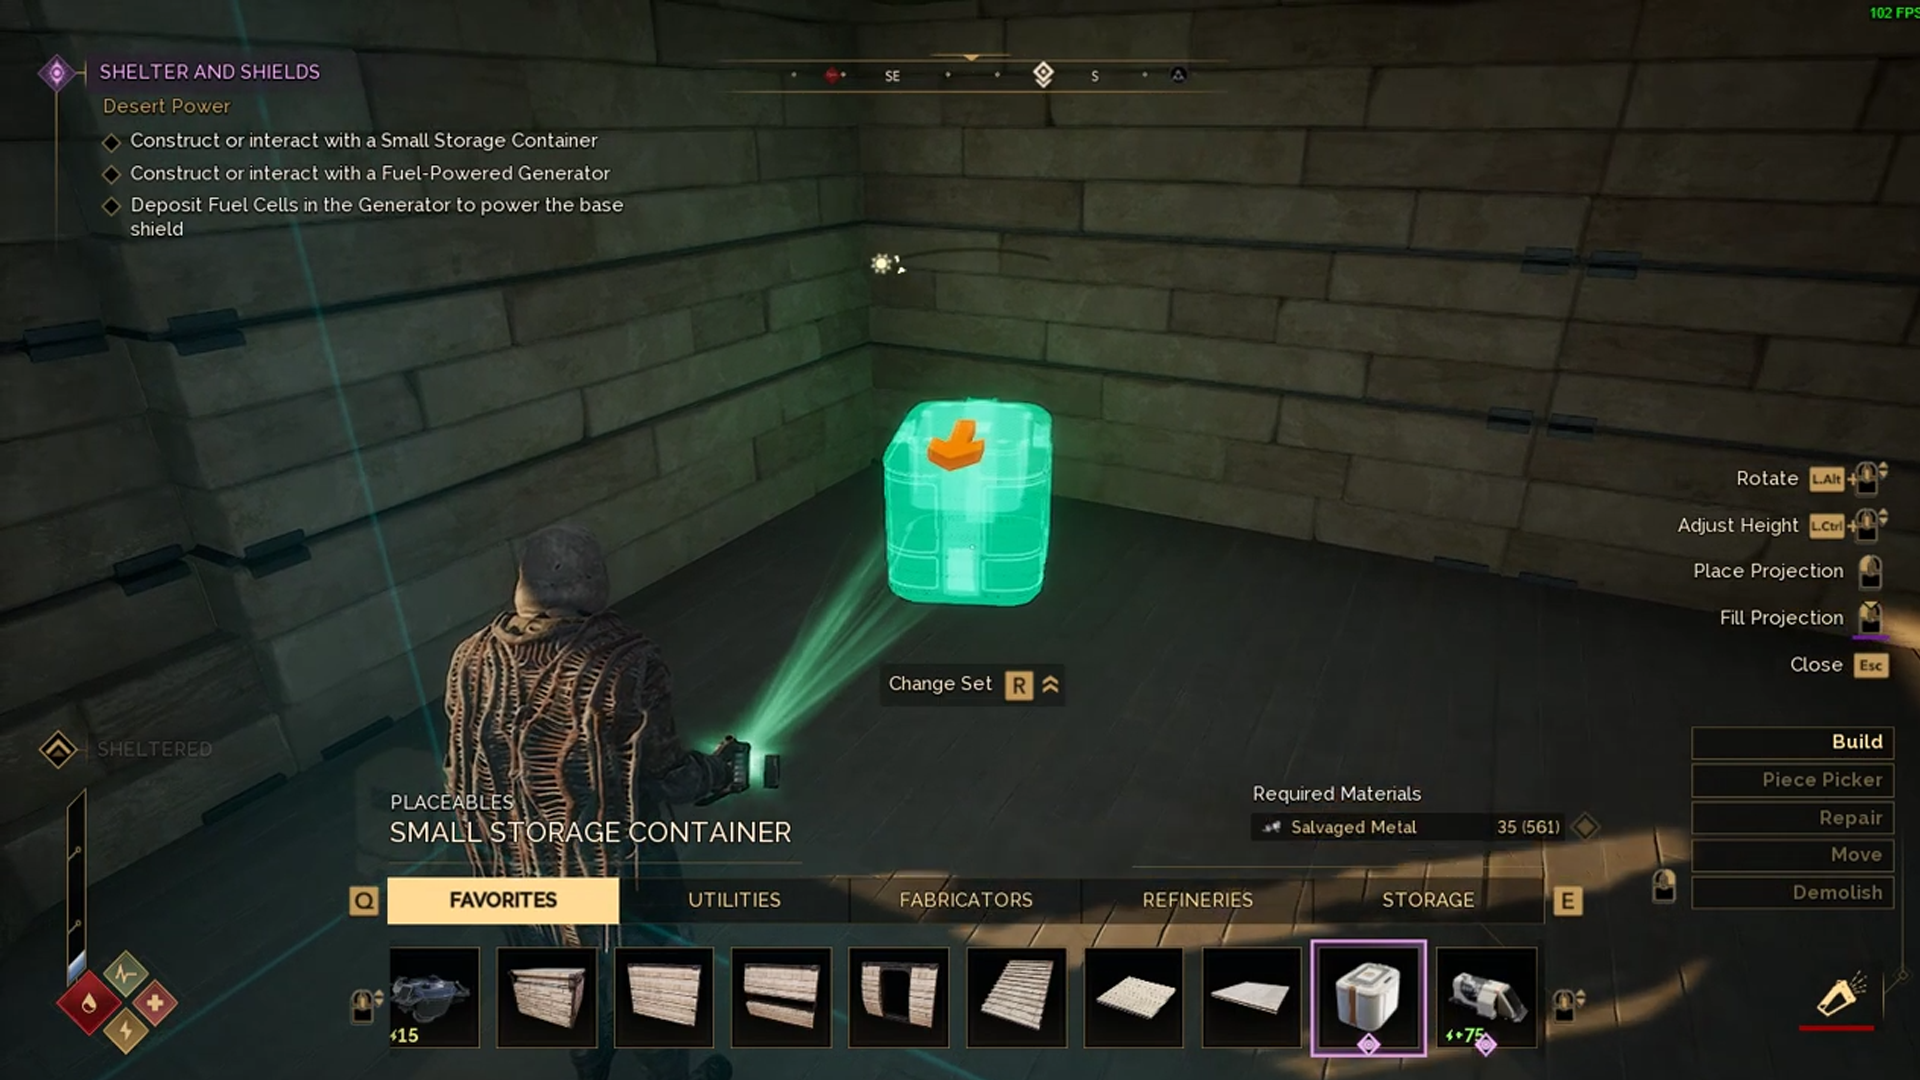
Placing a basis Small Storage Container inside a player house. (Image credit: Funcom)
Always drop off excess materials before heading out, keeping your inventory free for more important loot.
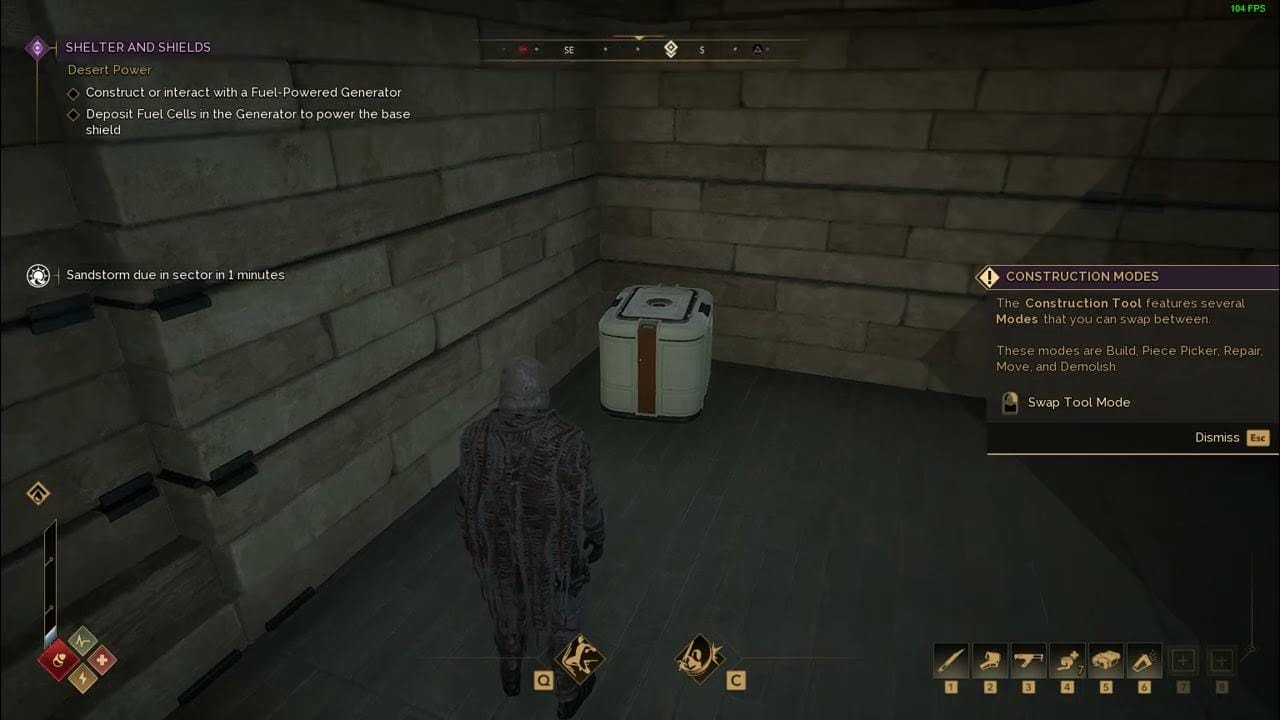
⚡ Keep Your Base Generator Fueled and Maintained
Your base relies on a fuel-powered generator—not just to run your house’s appliances like the Blood Purifier, but also to protect the entire structure. The generator powers essential shields that guard against damaging sandstorms and energizes security systems that prevent enemy players from raiding your base.
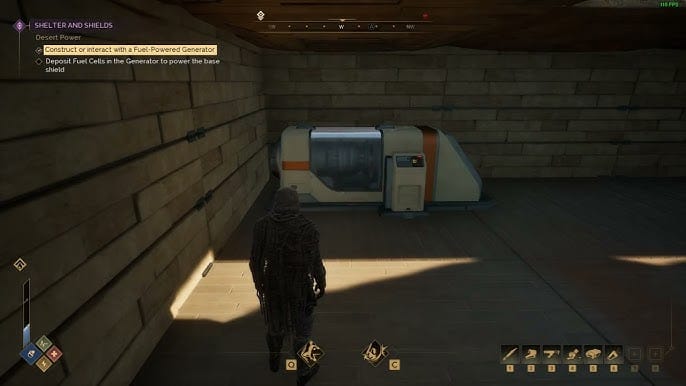
The generator interface clearly shows how long your current fuel supply will last. However, once it runs dry, your base becomes vulnerable to environmental damage and player attacks. Regularly check in to refuel and maintain your generator, especially after adding new devices, which can increase fuel consumption significantly.
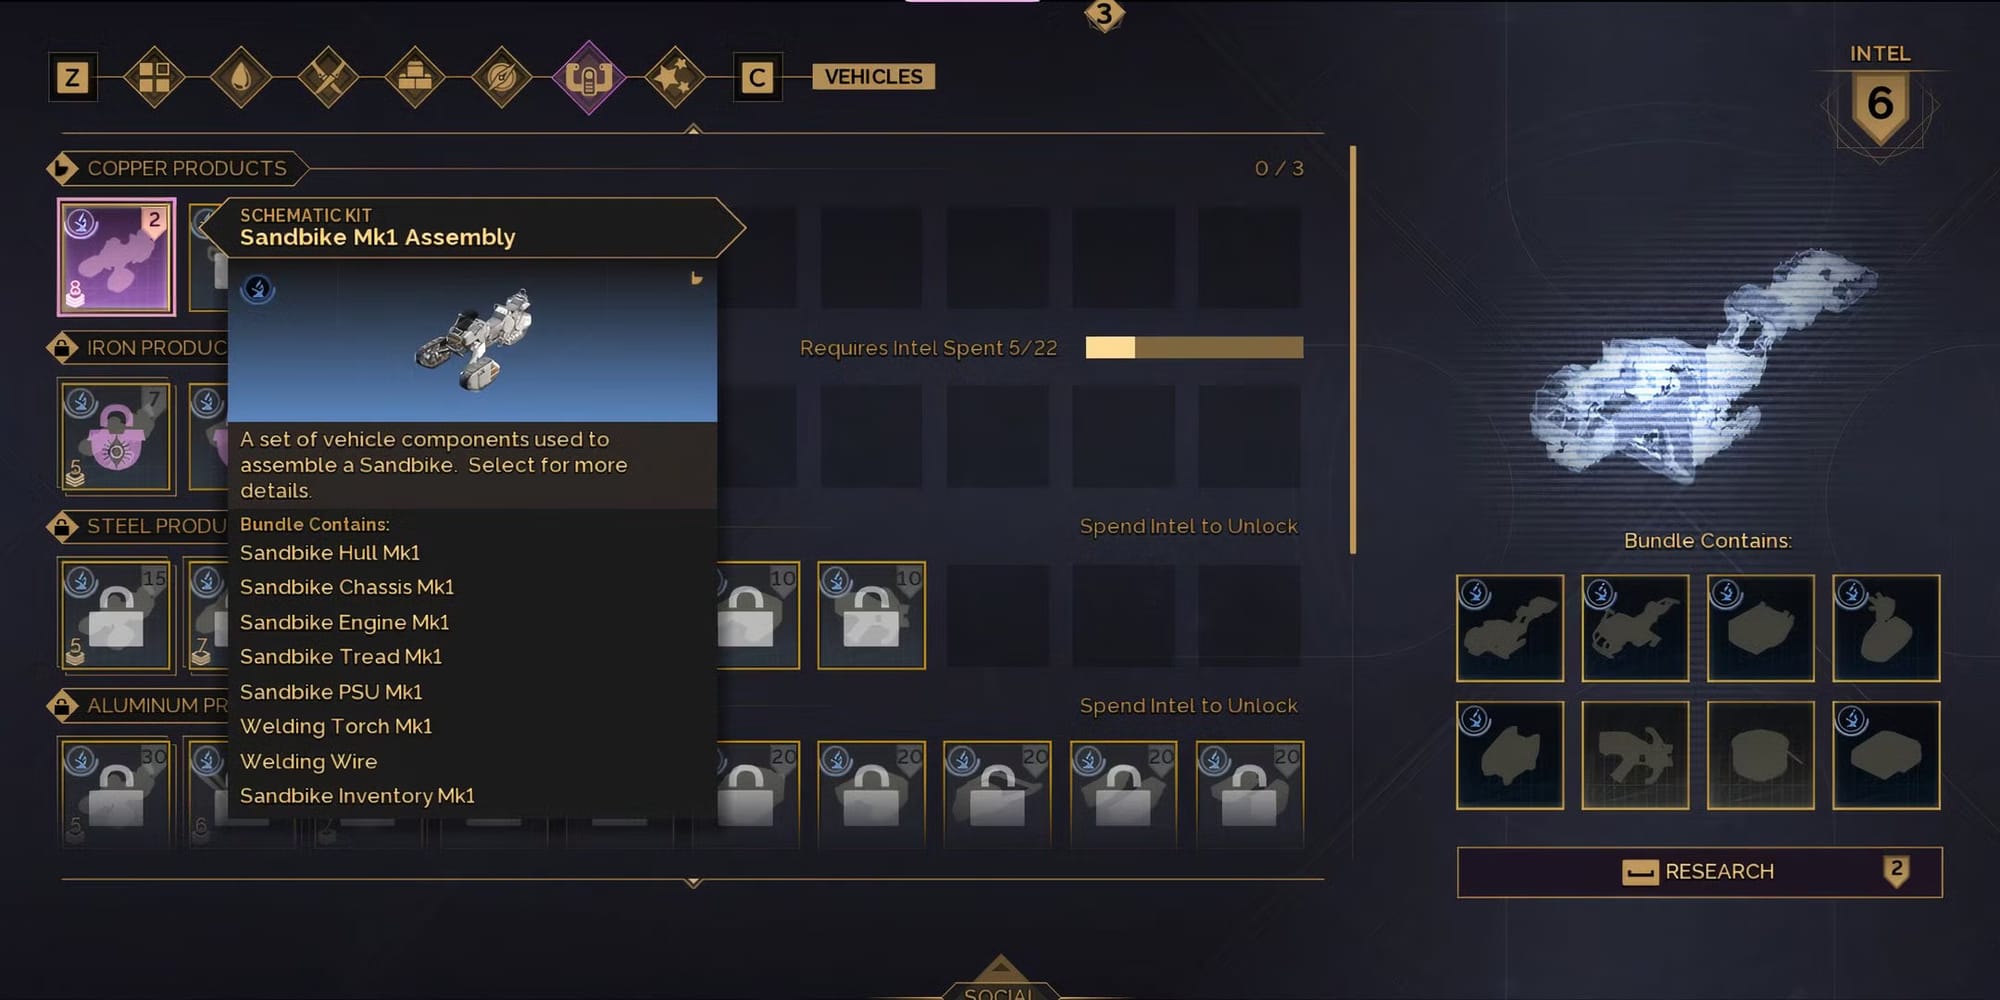
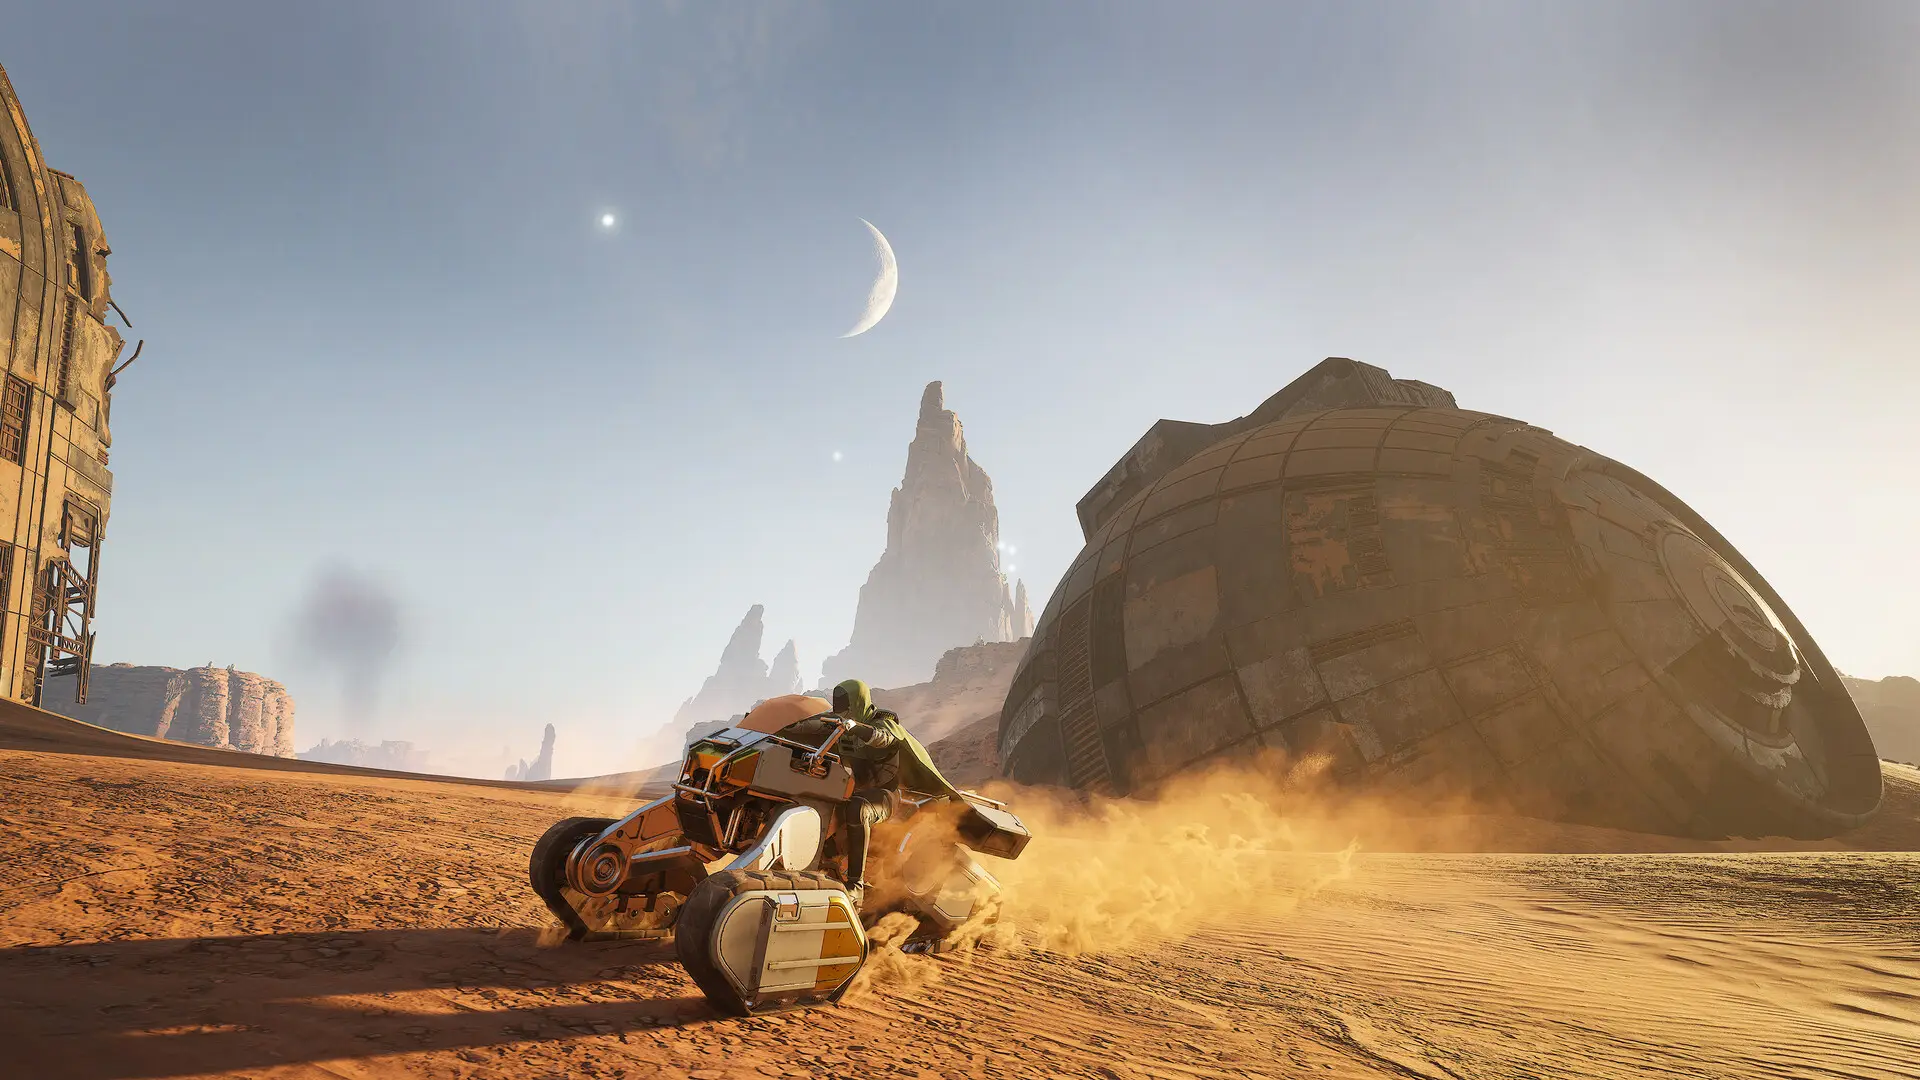
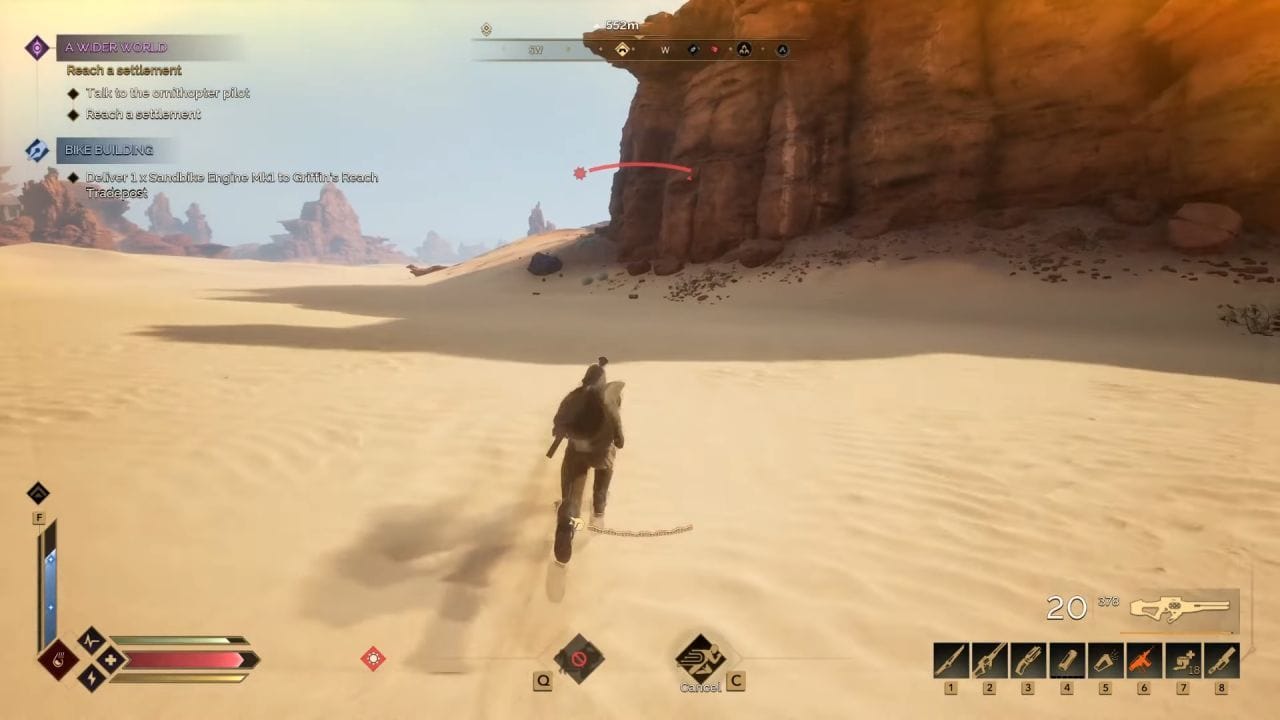
🏍️ Prioritize Unlocking Your Sandbike Early
Building your Sandbike should be your top priority in the early stages of Dune: Awakening. Sandbikes significantly speed up travel across the harsh deserts of Arrakis, making it easier to avoid threats like sandworms and sandstorms.
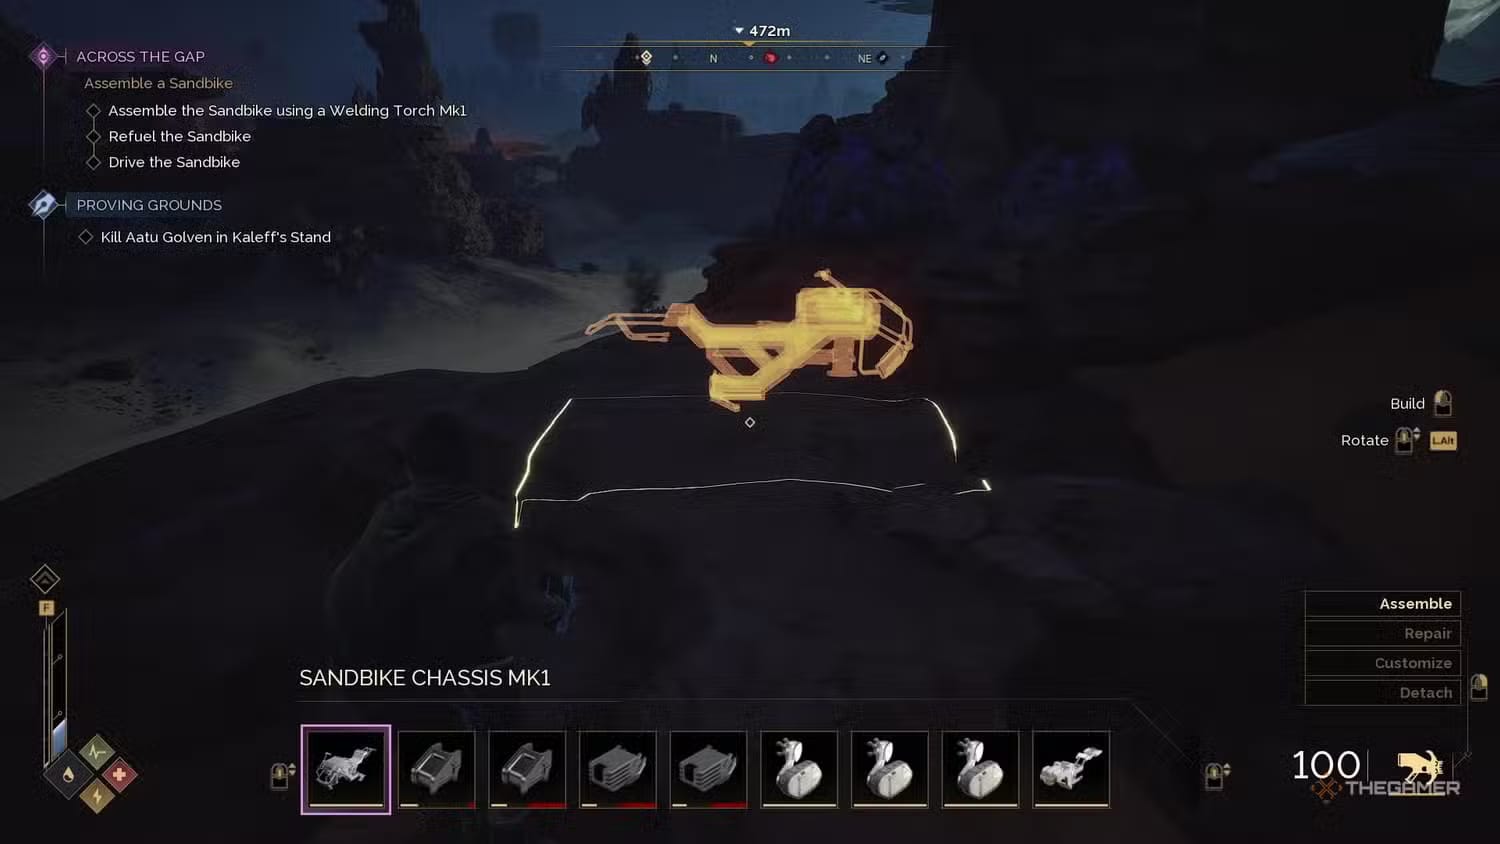
Sandbikes can be built indoors or outdoors. (Image credit: Funcom)
To build your first Sandbike, you'll need to follow smoke trails to locate bike wreckages and salvage parts. The schematic itself is unlocked by progressing through a series of main story quests given by Zantara, your primary Fremen contact. After investigating the Alcyon wreckage, crafting essential weapons, and assembling the Scavenger Set, you’ll receive one final quest leading directly to the Sandbike schematic.
Obtaining this initial vehicle greatly simplifies and accelerates your exploration, so aim to complete these early objectives quickly. With a Sandbike at your disposal, navigating Arrakis becomes safer and far more efficient.
⚠️ Falls Hurt, but Won’t Kill You
In Dune: Awakening, taking a tumble from cliffs or other high spots can injure you—but falling alone will never result in death. The worst-case scenario is dropping your HP to critical levels, which can leave you vulnerable if enemies are close by.
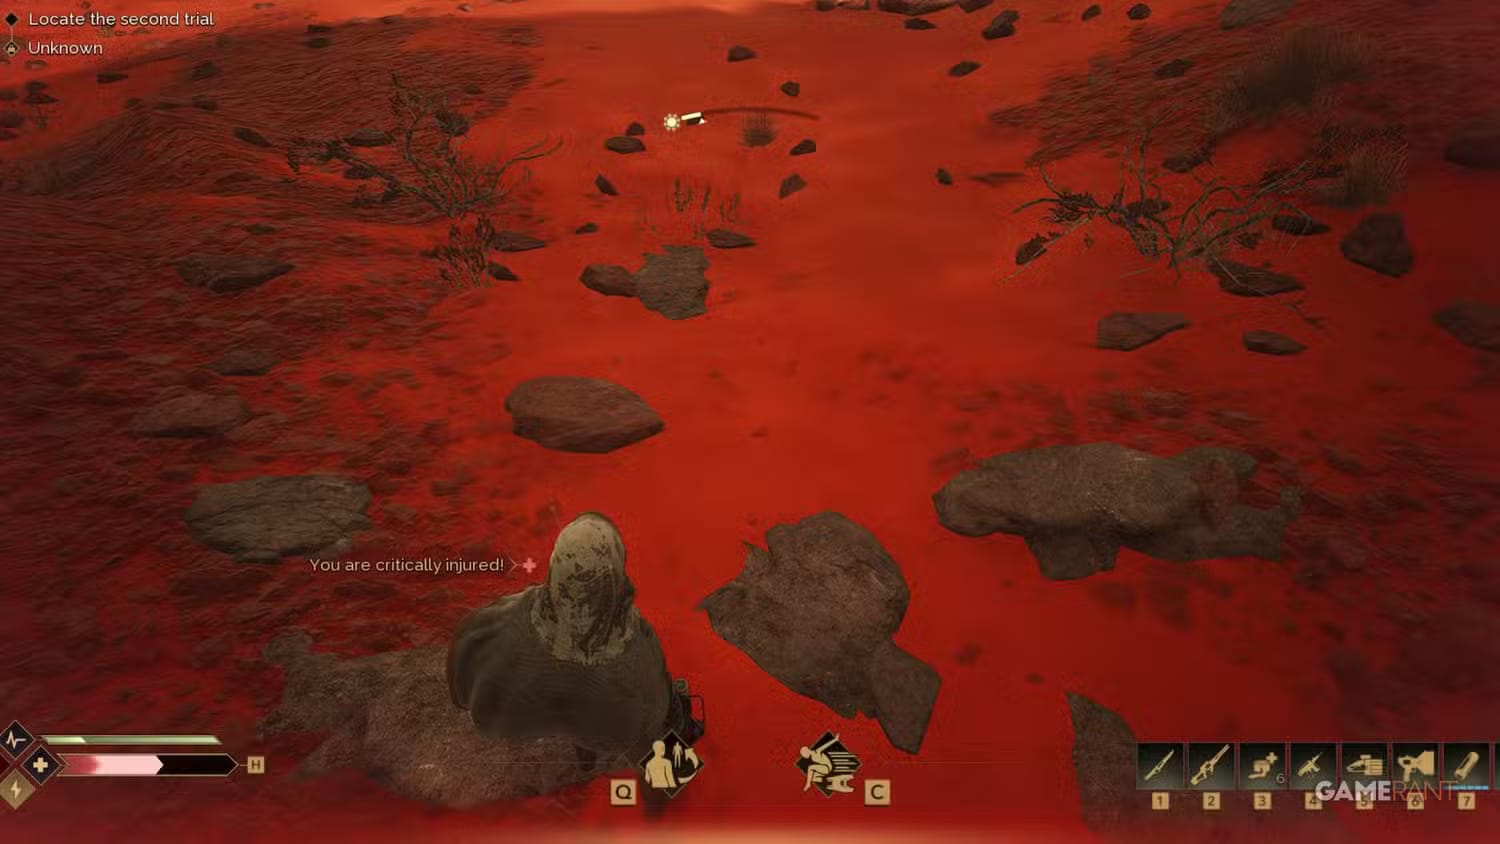
On the bright side, this mechanic allows you to jump from elevated locations without worrying about instant death. Just ensure the area below is safe enough for a quick recovery. Still look before you leap.
💀 Death Happens—But It’s Not the End
In Dune: Awakening, death is inevitable, but it's typically less punishing than you'd expect. Upon respawning, you'll retain all the equipment you had equipped when you died.

Your gathered resources, however, will remain at your place of death, neatly stored in a pack awaiting retrieval. Simply return to the spot where you fell to reclaim your belongings and continue your adventure.
📍 Always Carry and Use Respawn Beacons
Respawn Beacons are essential tools in Dune: Awakening—allowing you to mark custom respawn points and quickly reclaim your gear after death. They can be placed nearly anywhere on the map, making recovery faster and safer after falling to NPCs, enemy players, or sandstorms.
Crafting a Respawn Beacon is cheap and easy, requiring just 20 Salvaged Metal and about 4 seconds of your time. Given how abundant Salvaged Metal is across Arrakis, there's no reason not to have these lifesavers handy.
Strategically placing a Respawn Beacon near Points of Interest (PoIs) can safeguard your loot, especially since enemy NPCs respawn frequently and may overwhelm you unexpectedly.
With a Beacon nearby, you can confidently explore dangerous areas without fear of permanently losing your valuables.
😱 Death by Sandworm means total loss.
Beware—if a sandworm catches and kills you, you'll lose every item you're carrying permanently. Always plan carefully and move cautiously when crossing open sands on Arrakis.

If you are killed by a Sandword, the death screen will be different from the regular death screen. The icon is lopsided and the message will read: "Your Backpack Was Lost." (Image credit: Funcom)
If you want to play it super safe, travel the shortest possible distance from rocky point to rocky point, to get to where you want to go.
🪱 Don’t Try to Kill Sandworms
You can’t kill a sandworm in Dune: Awakening, so avoid wasting your ammo or effort.
Your only realistic options when facing these massive creatures are to either escape quickly or become their next meal. Always choose to run.
🏃♂️ Prioritize Mobility Over Combat
In Dune: Awakening, being able to move swiftly and evade danger is far more valuable than raw combat power, especially early on. Focus your skill points on enhancing movement and survival abilities before upgrading weapon damage.
🌌 Embrace Your Destiny on Arrakis
Congratulations—you’re now armed with the essential knowledge needed to survive and thrive on Arrakis. From strategic Survey Probe deployment and essential hydration tactics, to mastering mobility and evading deadly sandworms, you've taken your first steps toward mastering the harsh beauty of Dune: Awakening.
Remember, this guide has set you on the path, but the true secrets of Arrakis are revealed through exploration, patience, and courage. The desert rewards those who plan carefully, adapt swiftly, and respect its hidden dangers. Keep learning, keep experimenting, and soon you'll find yourself not just surviving, but thriving amid the dunes.
So suit up, embrace the challenge, and let the sands of Arrakis shape you into a legendary survivor. The spice—and adventure—awaits.

Good luck, adventurer. May your water reserves always run deep and your steps be ever vigilant.